In this tutorial, I’ll show you how to create a Sci-fi piece featuring a fantasy dolphin. First, we’ll build the base environment using several images of the landscape and sky. Later, we’ll add the stars and the nebula effect. After that, we’ll add the dolphin and create some fantasy/sci-fi effects for him using some nebula images and the standard tools and brushes. We’ll use several adjustment layers to enhance the final effect.
Preview of the Final Result
Tutorial Resources
Step 1
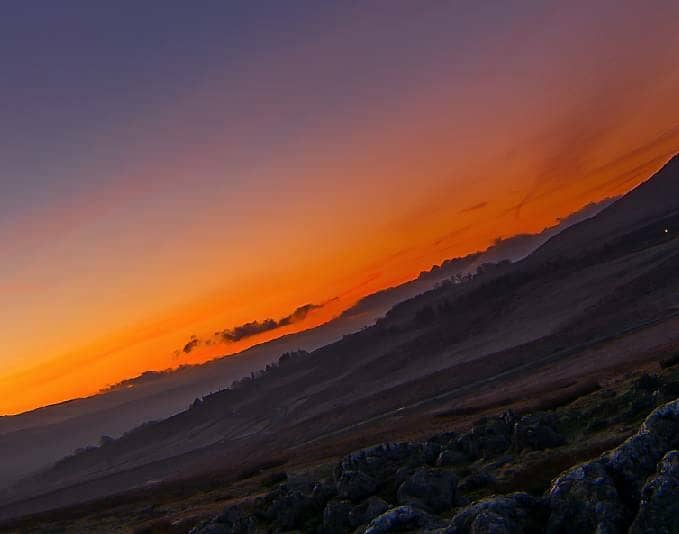
Create a new 1530×1888 px document in Photoshop and fill it with white. Open the ground 1 image and drag it into the white canvas using the Move Tool (V). Convert this layer to a Smart Object and use the Free Transform Tool (Ctrl+T) with the Warp mode to rotate and tweak the landscape as shown below.

Step 2
We’ll sharpen the ground by choosing the Filter > Sharpen > Unsharp Mask and fill in the following settings:

Step 3
After sharpening, go to Filter > Noise > Reduce Noise and choose the values below:

Step 4
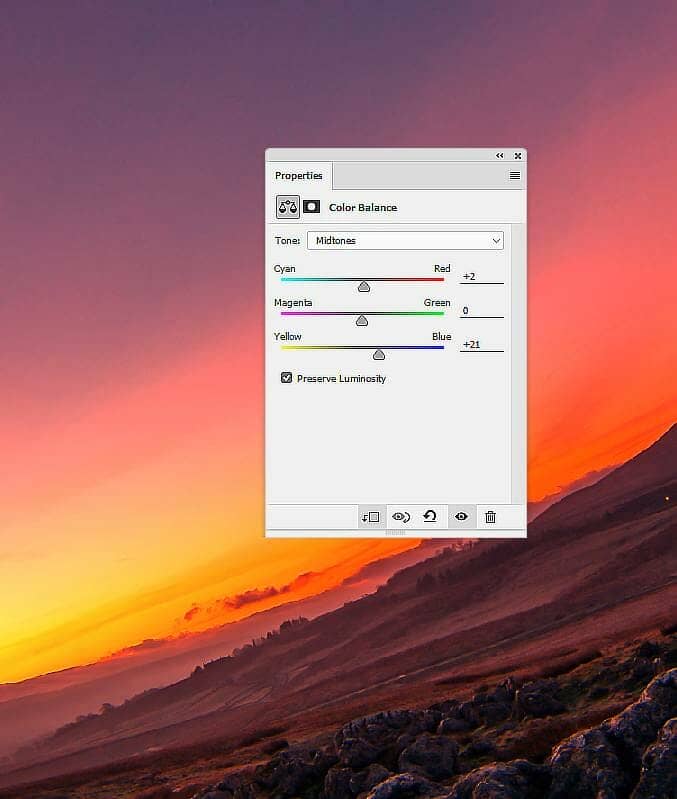
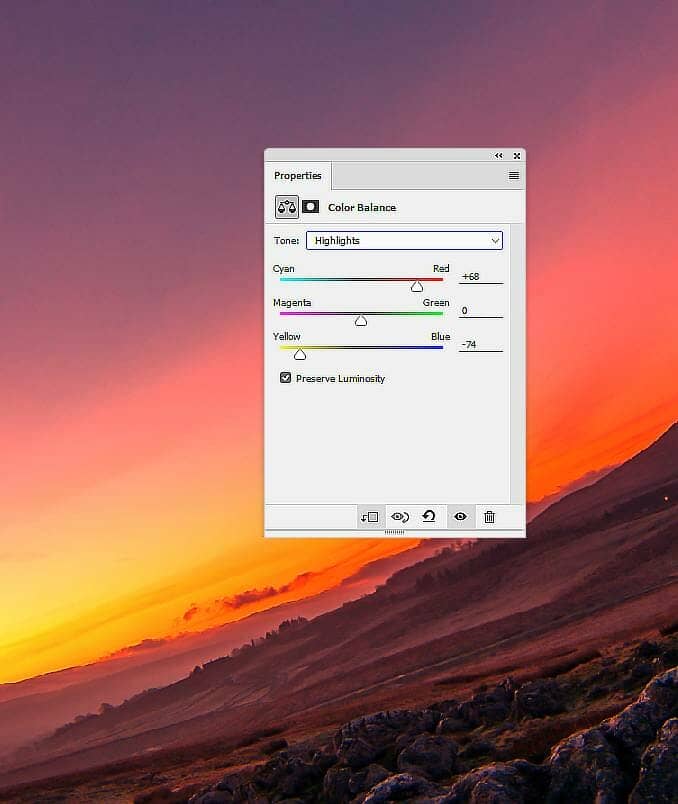
Go to Layer > New Adjustment Layer > Color Balance and set it as Clipping Mask. Change the Midtones and Highlights settings and on this layer mask, activate the Brush Tool (B) and select a soft round one with black color. Use this brush to reduce and remove the color effect on some areas as the screenshot below shows.
Step 5
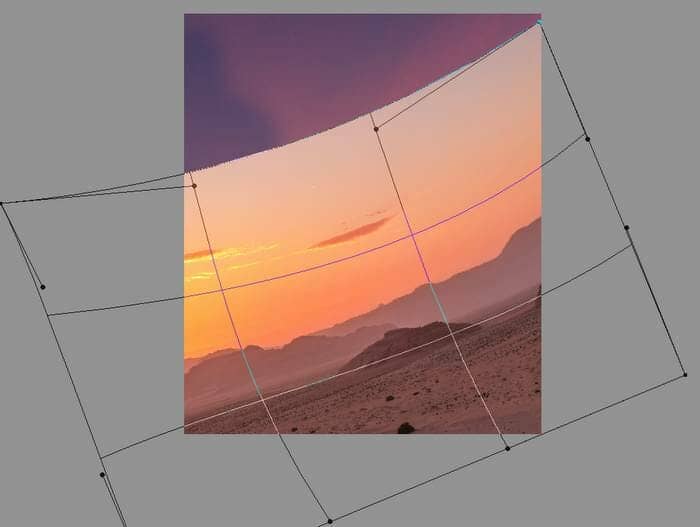
Open the ground 2 image and place it above the ground 1. Use Ctrl+T with the Warp mode to tweak the ground and sky as done with the ground 1. Click the second icon at the bottom of the Layers panel to add a mask to this layer. Use a soft black brush to remove the sky and the horizon to blend the ground 2 with the existing one.

Step 6
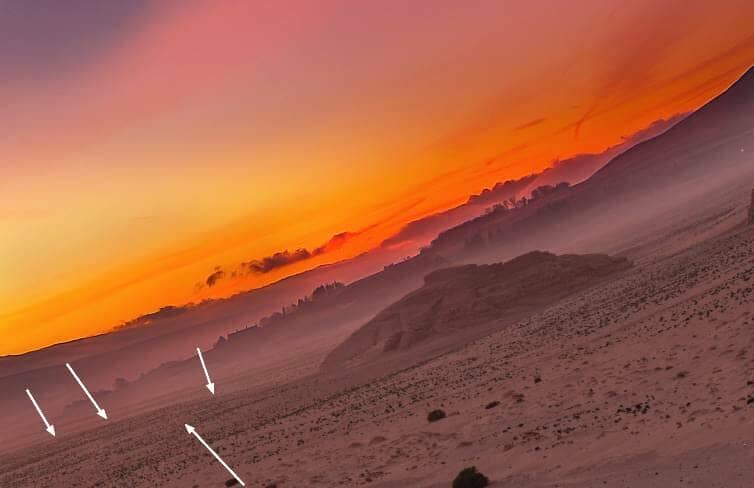
Create a new layer above the ground 2 one and set it as Clipping Mask. Activate the Clone Tool (S) to retouch a part on the left of the ground 2 to make its perspective fit the ground 1.

Step 7
Make a Curves adjustment layer (set as Clipping Mask) to darken the ground 2.

Step 8
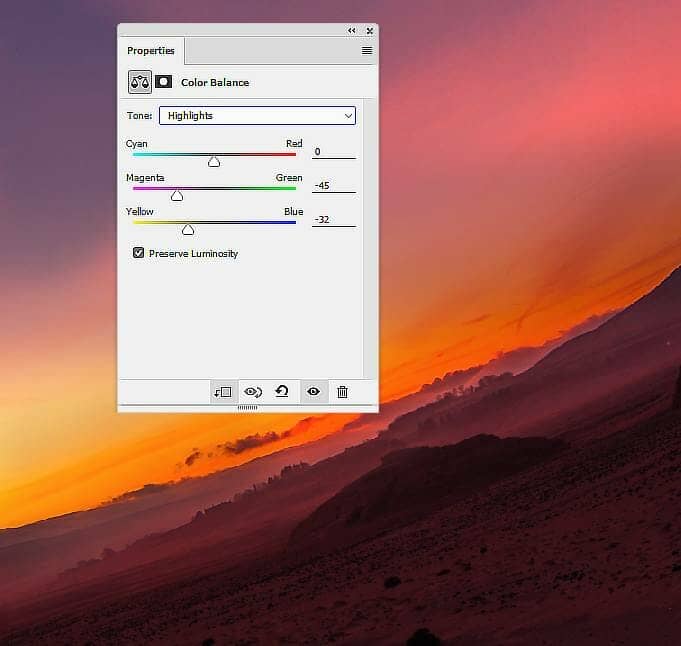
Add a Color Balance adjustment layer to give more warm color to the ground 2.

Step 9
Open the sky image and use the Rectangular Marquee Tool (M) to select the sky only to add to the top of the main canvas. Use Ctrl+T to rotate the sky as done with the ground 1 & 2.