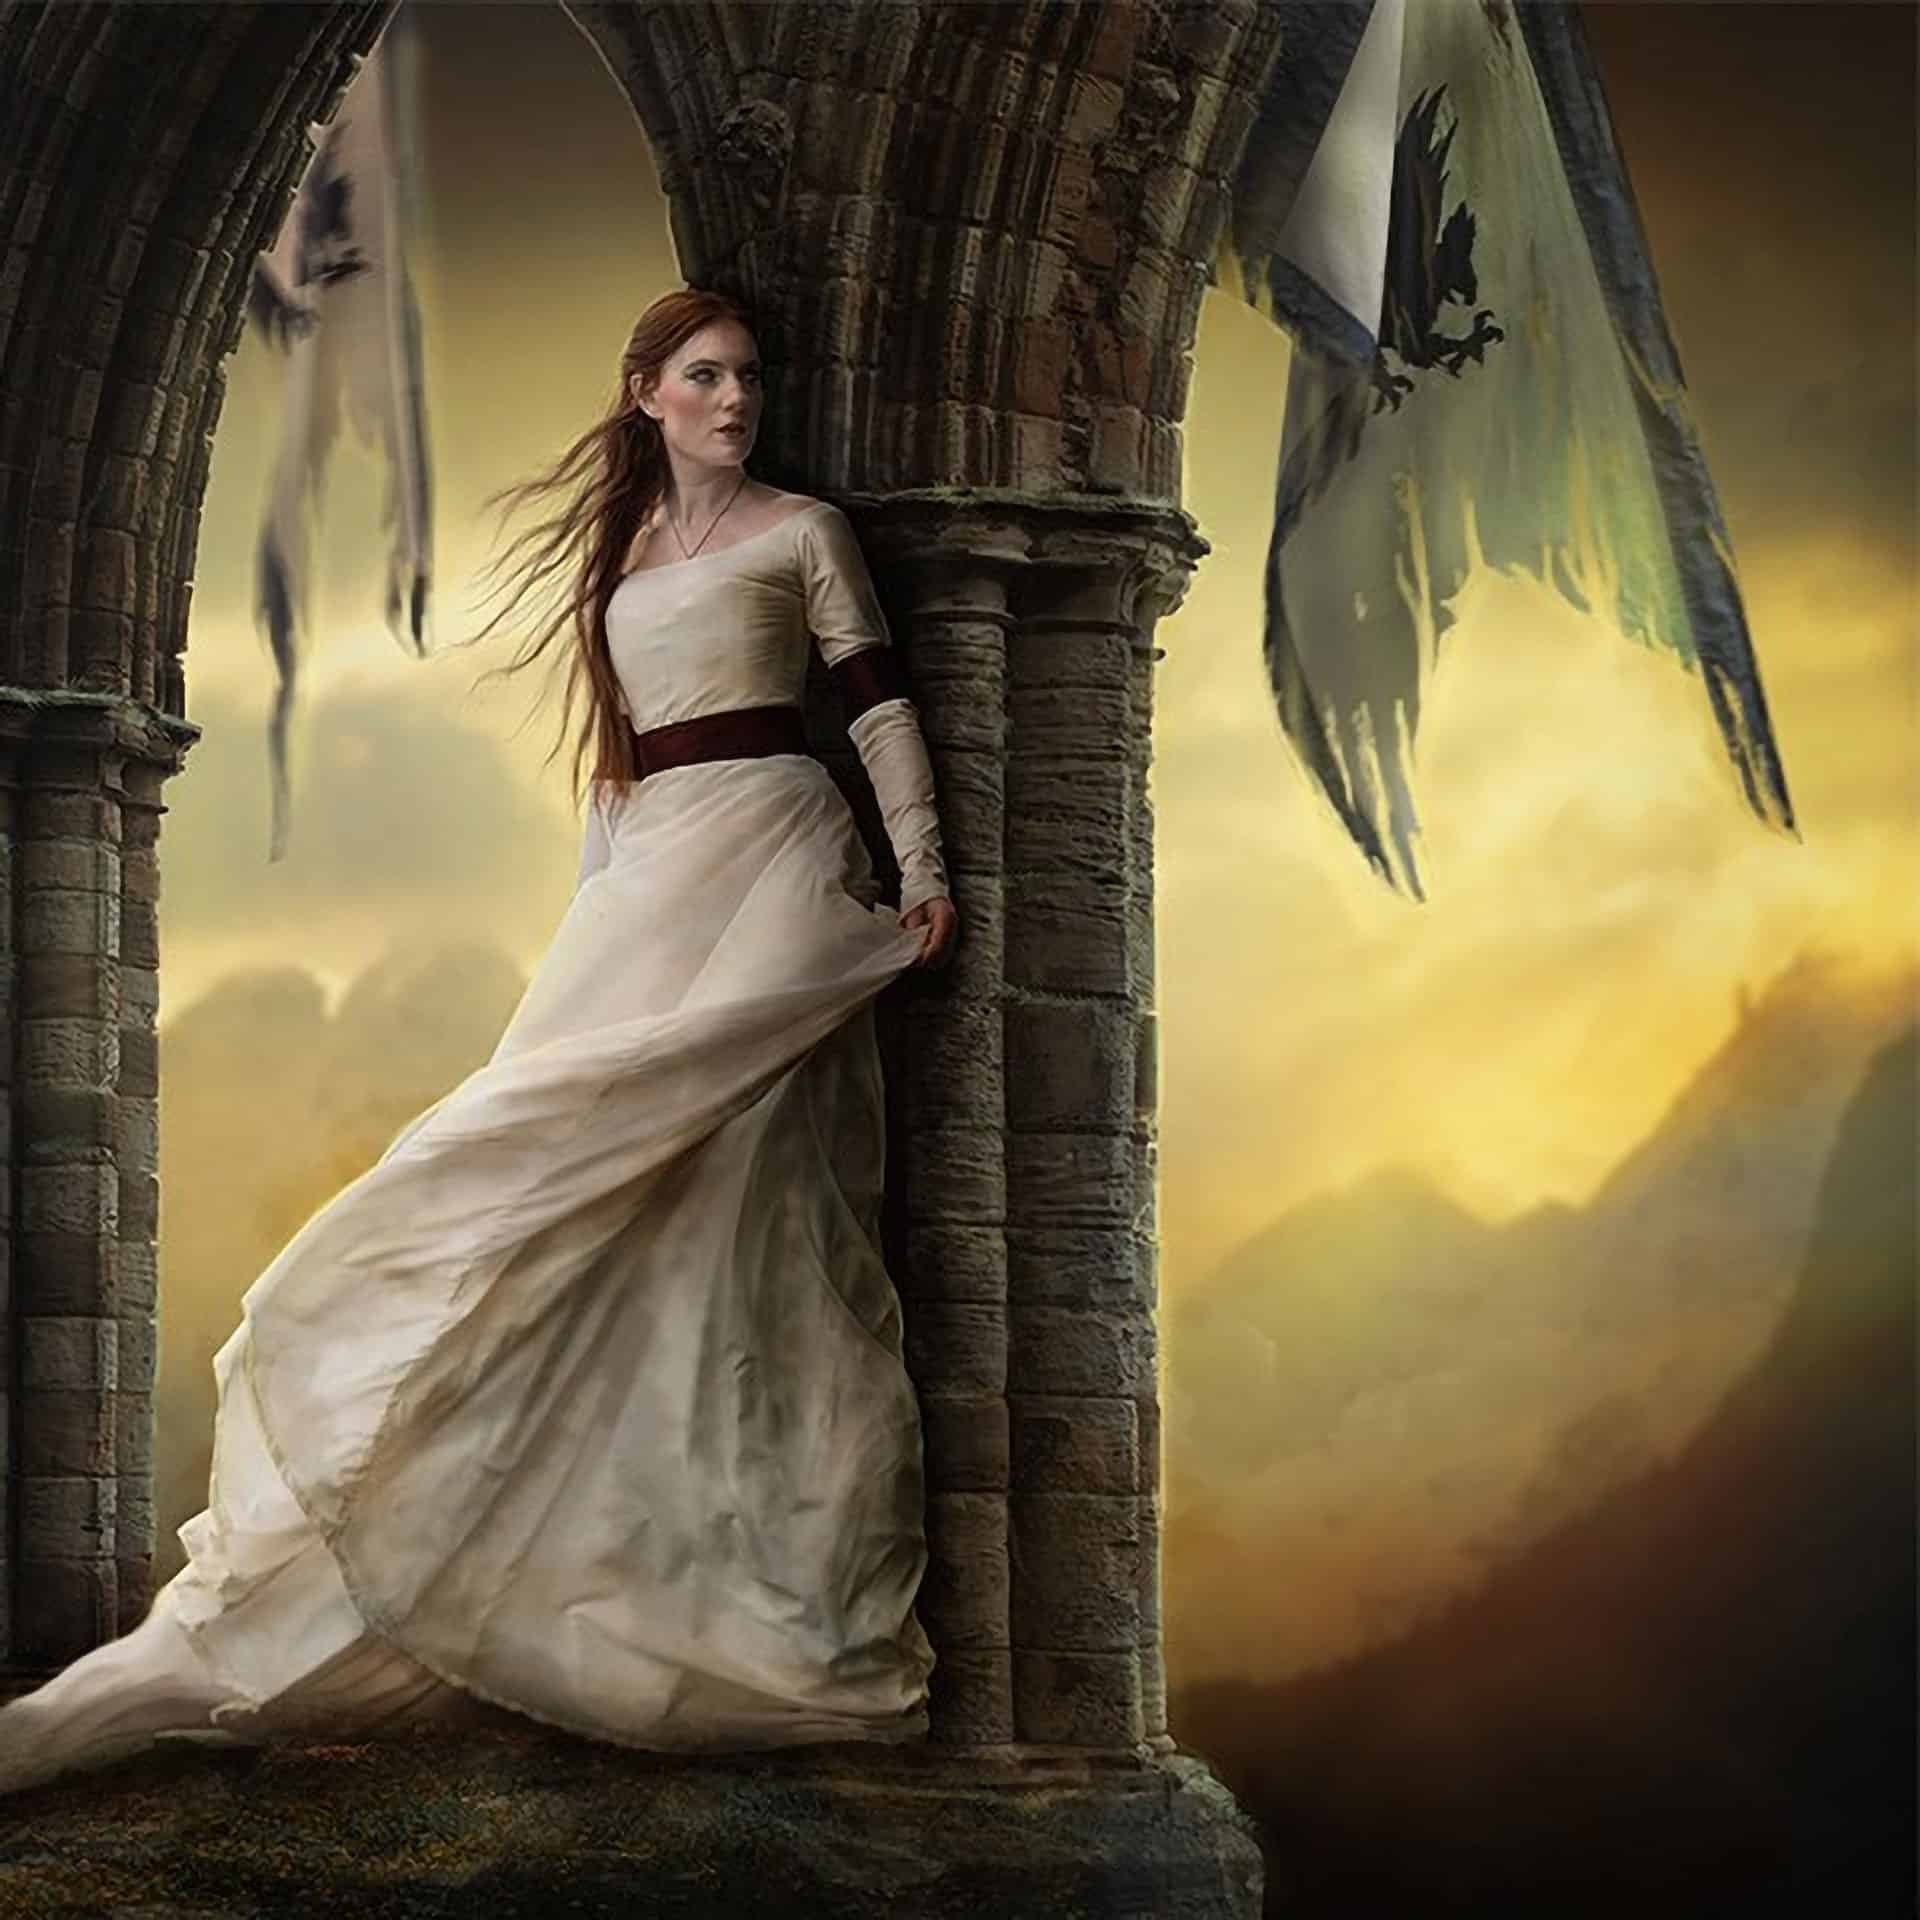
Learn how to create this windy photo manipulation of a woman leaning on columns with deteriorated flags. You’ll learn how to combine images, manipulate them to fir the windy scene, and work with lighting and shadows.
Preview of Final Results
Tutorial Resources
- Model – Elandria
- Columns – Elandria
- Flag1 Flag2 – Elandria
- Mountains – Burtn
- Sky – Salsolastock
- Sky – Kuschelirmel-stock
- Rock – the-strawberry-tree
- Brushes – Jonasdero
- Brushes – illustrum
Step 1 – File
Go File > New and create a new 2000x2000px document.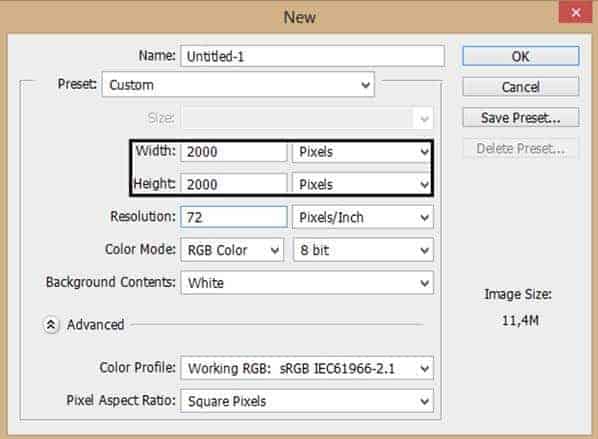
Step 2 – Neutral Base
You can use something like this to have a base for the image.
Step 3 – Model
Go to File > Place. This will show you a new window and you can choose the image of the model.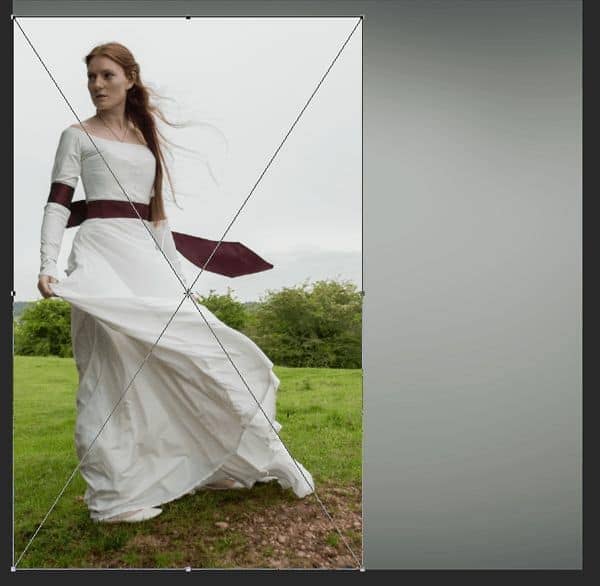
Step 4 – Select
To select the model, you can use the Pen tool or Lasso tool.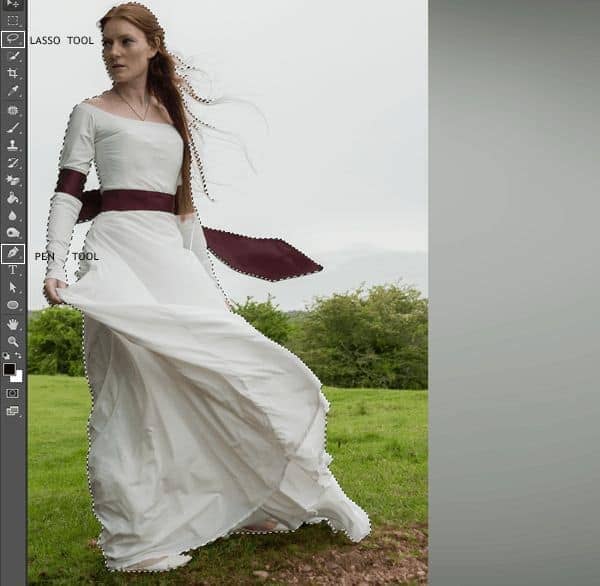
Step 5 – Add layer mask
Go the bottom of the layer’s menu and choose the option to add a layer mask.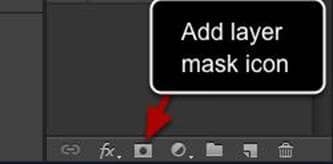
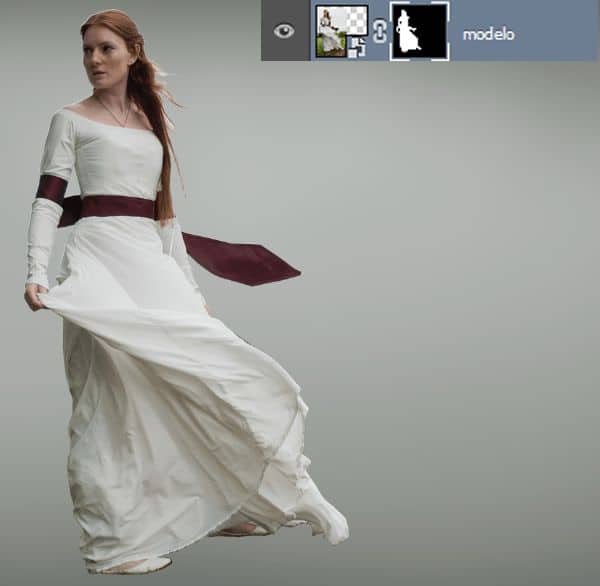
Step 6 – Sky
Place the image of the sky.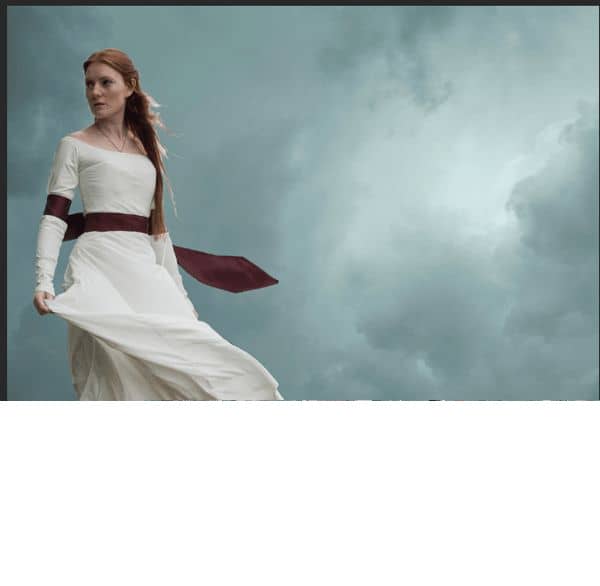
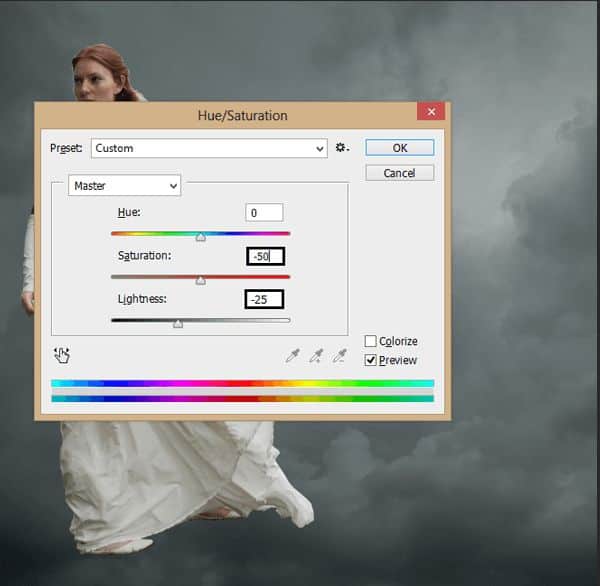
Step 7 –Layer Mode
Change the layer setting from normal to overlay and set the opacity to 60%.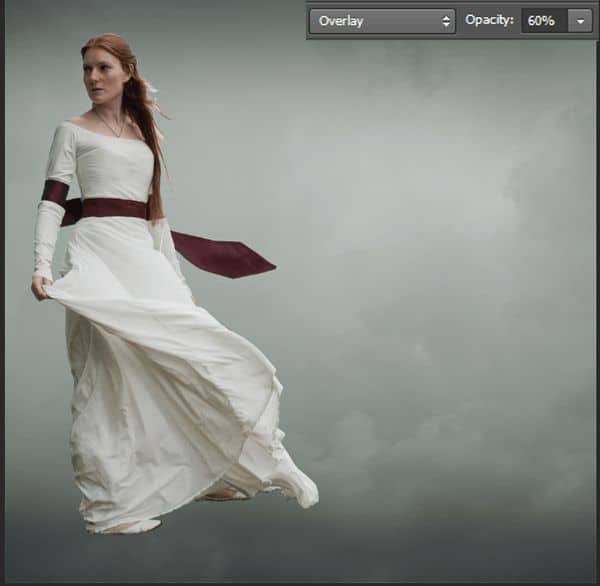
Step 8 – Mountain
Place the mountains.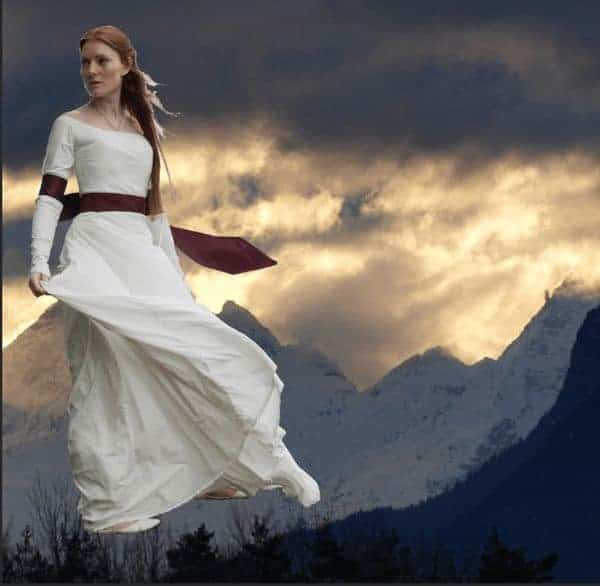
Step 9- Gaussian Blur
Go to the menu filter and choose the option Blur and then Gaussian Blur. Use 5px of radius.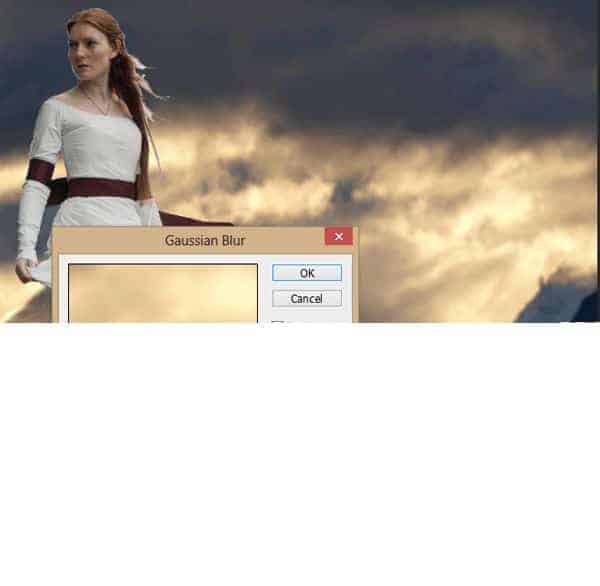
Step 10 – Layer mode
Set layer mode to overlay and use the opacity in 65%.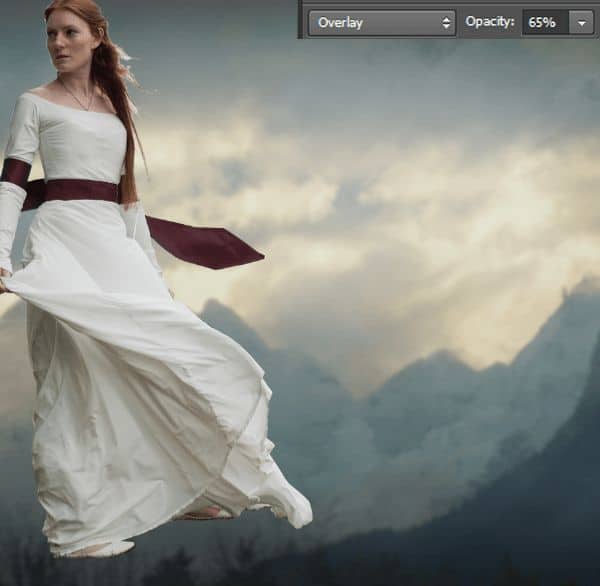
Step 11 – Orange
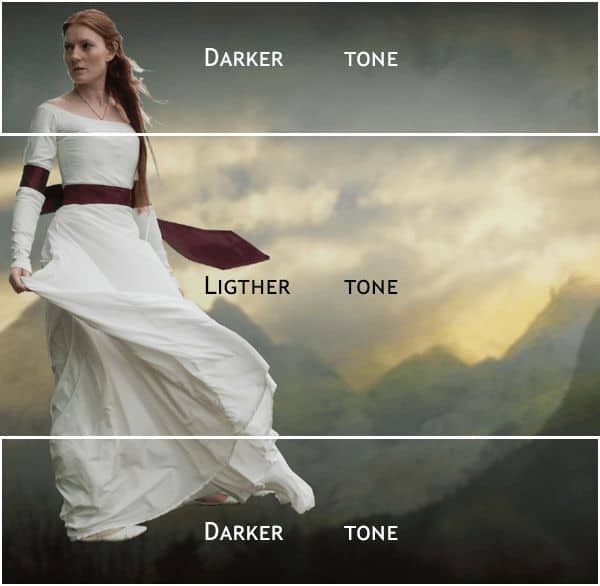
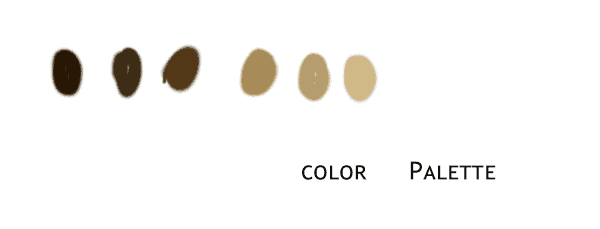
Create a new layer (Ctrl+Shift+N)and set it in soft light mode, then pick a soft round brush with warm tones, (brownish) and paint over the layer. Also remember to configure the brush to pen pressure. You have to paint with a lighter in the middle and then becoming darker in the borders. Remember where is the light coming from, the layer in the image above is set to normal.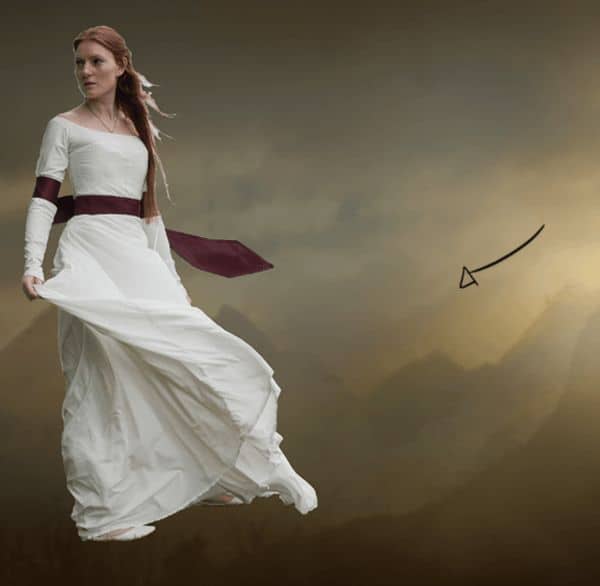
Step 12 – Rock
Place the image of the rock and resize it to fit the model.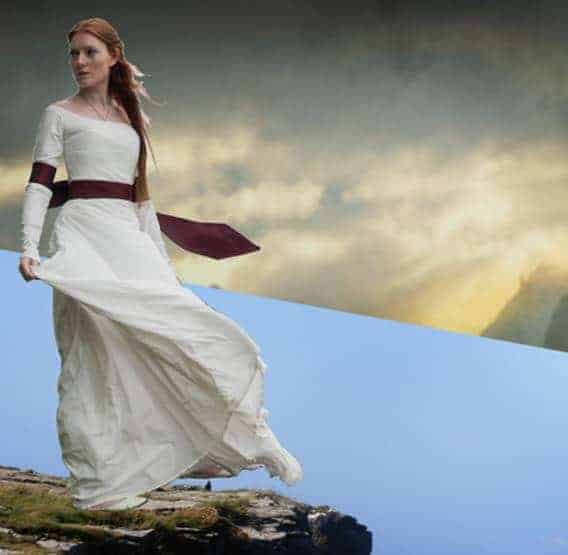
Step 13 – Selection
Like before select the rock with the lasso tool and add a layer mask to hide the undesired parts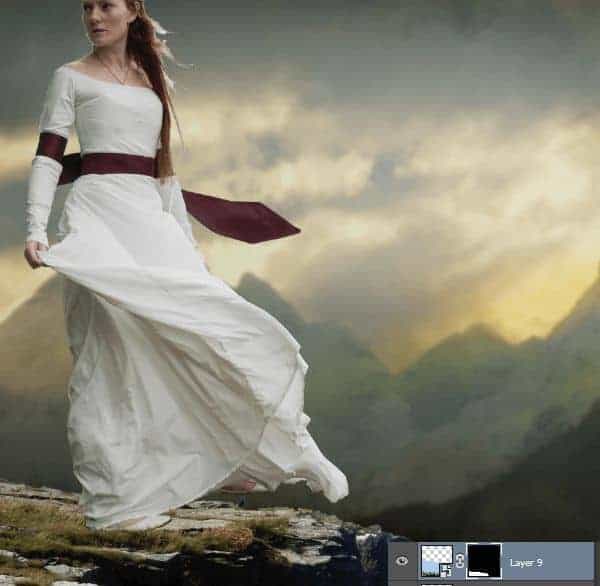
Step 14 – Color layer
Place a layer of a sky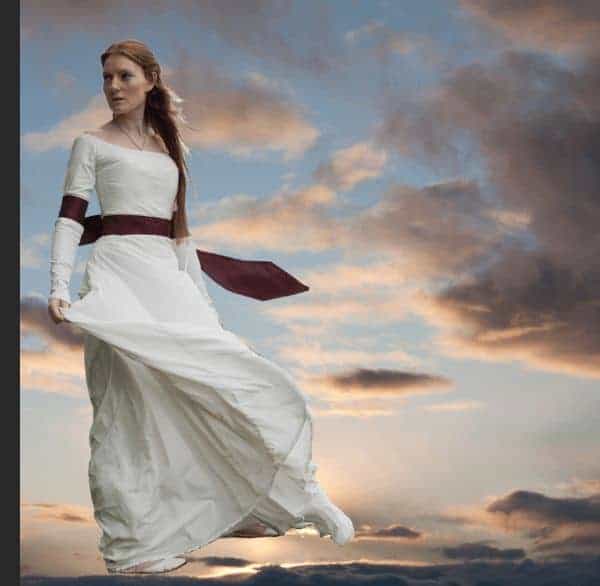
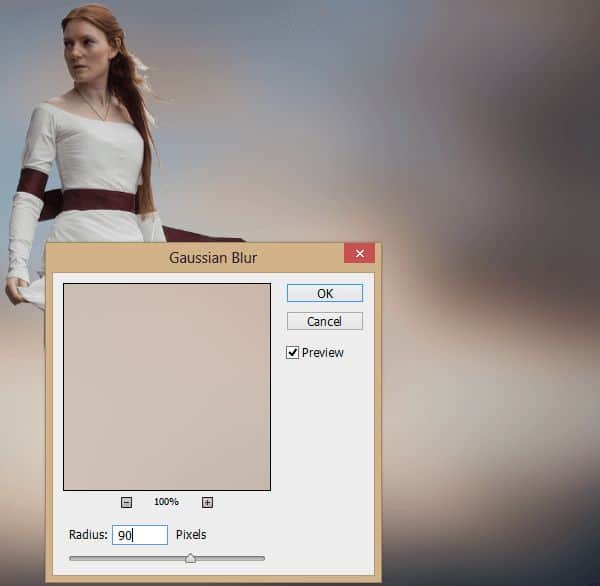
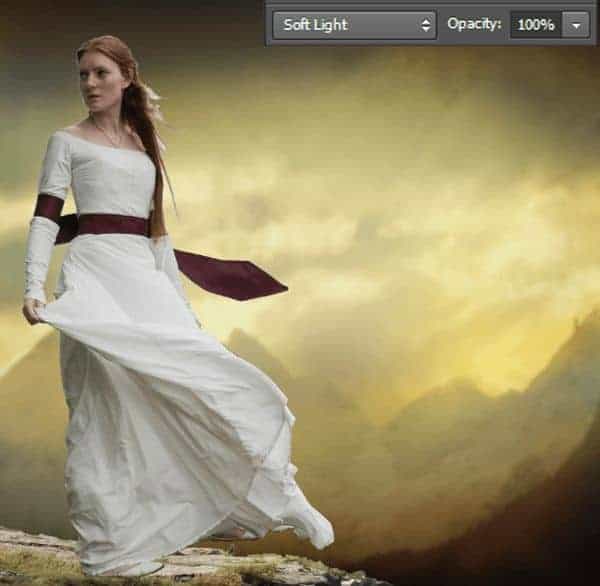
Step 15- Soft Light
Change layer mode to soft light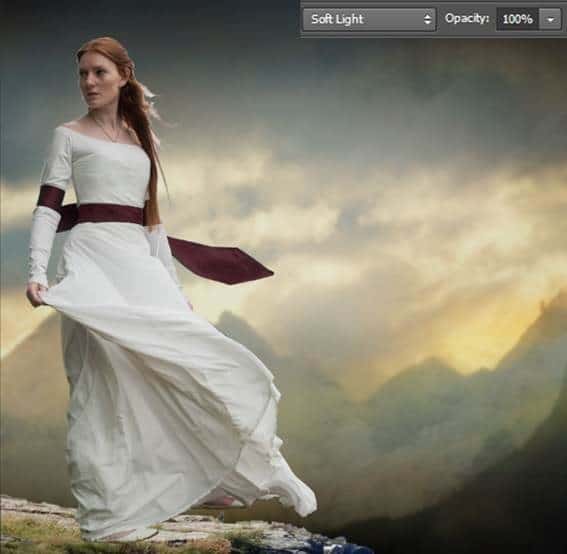
Step 16 – Orange
Now like before in a new layer paint with a soft round brush over the image, this time with orange and yellow tones. Layer in normal mode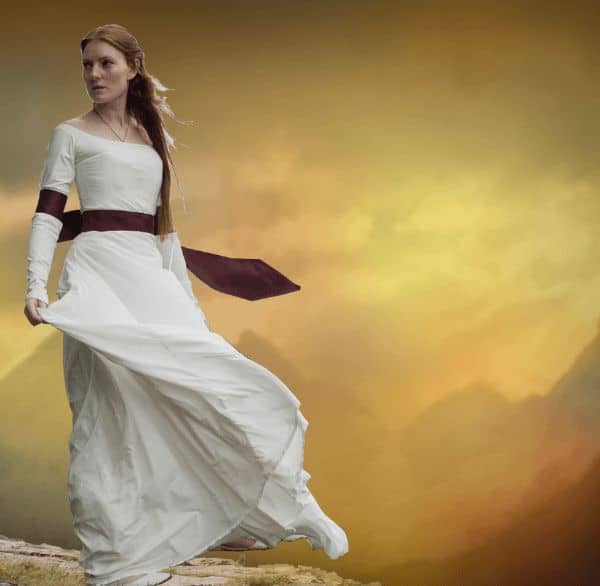
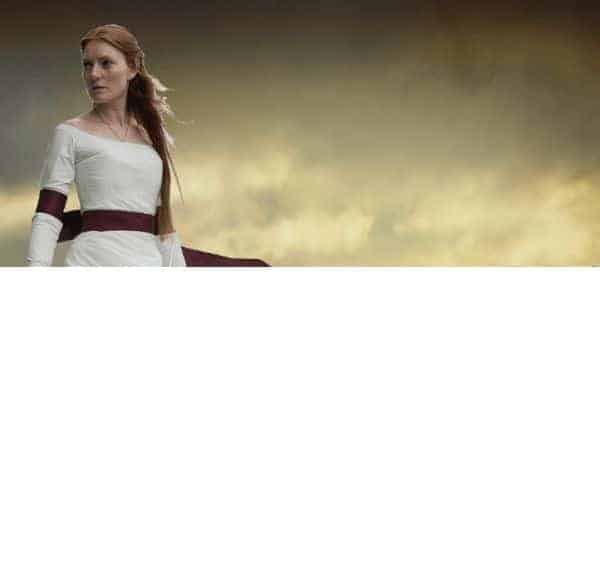

Step 17 – LIght
With some brushes, you can create the light coming from the sky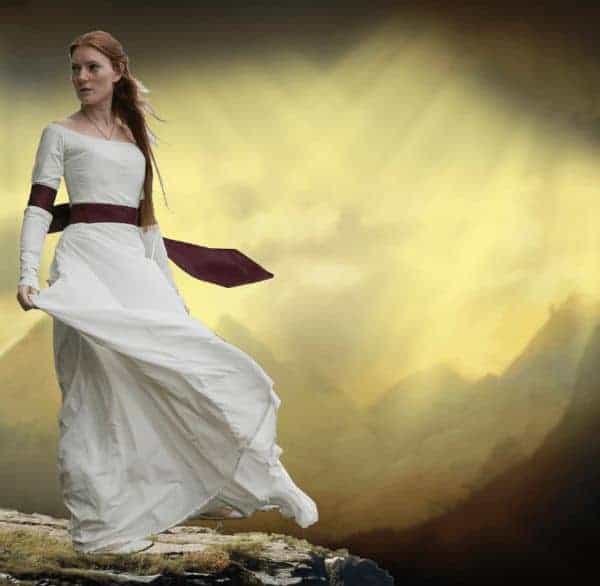
Step 18 – Ruins
Place the image of the ruins.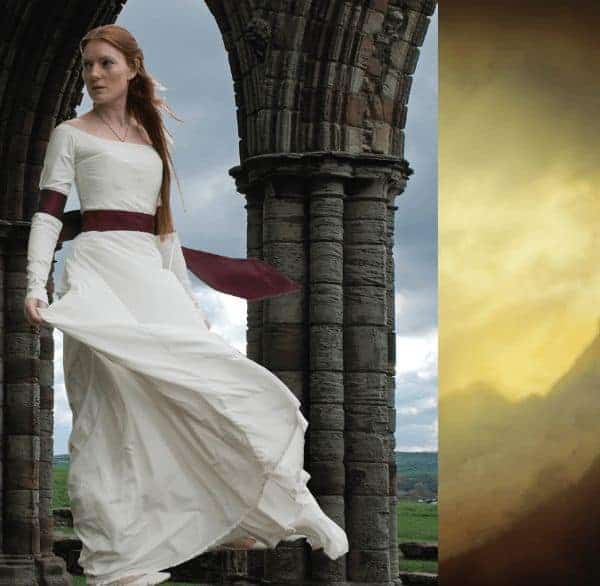
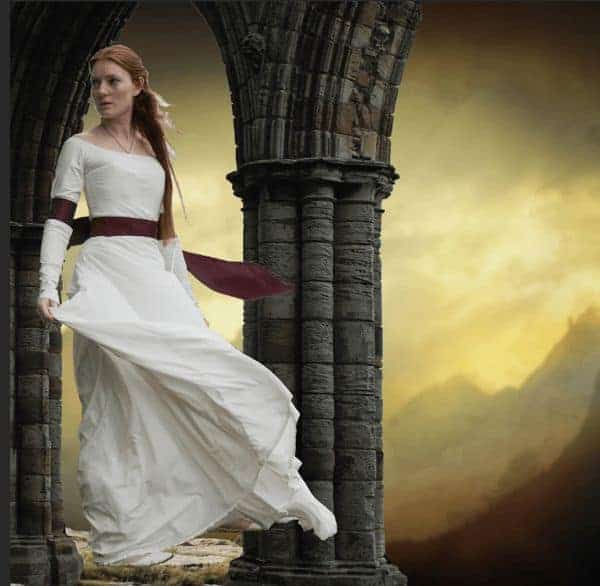
Step 19 – Model
Change the model position, to do this, press ctrl+T the free transform option to make the model smaller and make her fit with the image.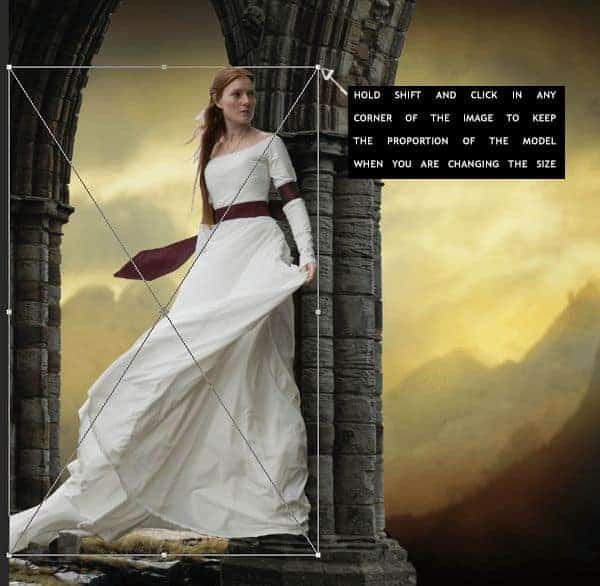
Step 20 – Details
Go to the layer mask from the model and erase some parts.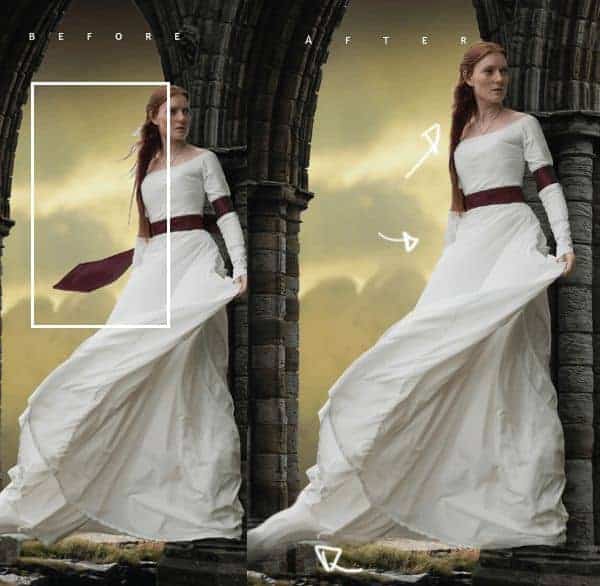
Step 21 – Skin
Select model’s skin with the lasso tool and duplicate the layer pressin ctrl+jSource link