Learn how to create this photo manipulation of a dark queen in a dark cemetery with Photoshop. In this tutorial, you’ll learn how to create spooky dark atmospheric. Throughout the tutorial, you’ll learn how to use dodge and burn tool to do basic and simple painting, smudging, masking, color adjustment, lightning and some more.
What you’ll be creating
In this tutorial we will create a dark dreamscape of a spooky figure using some image stocks. We will use some essential techniques in applying dodge and burn tool and smudging as well. We will use masking, brush tool, some filter, color adjustments all through the steps in this tutorial. Use Adobe Photoshop CS3 or higher. Get ready to have fun following this tutorial so why don’t you serve yourself a glass or more glasses of coffee and optionally a pack of cigarette for your companion;-) Let’s start….!
Tutorial Resources
Step 1 (Preparing stock)
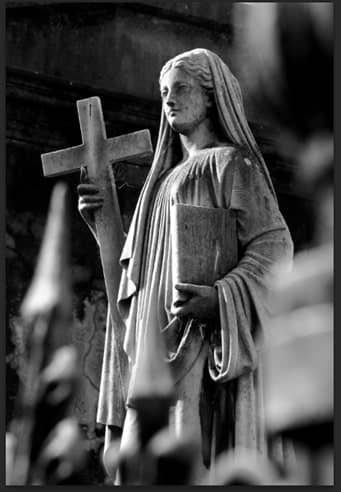
Before starting this tutorial, make sure that we have downloaded all the stock images provided. In early steps we will create a figure of a dark queen. Let’s start by opening the statue image from which we will create and manipulate the figure.

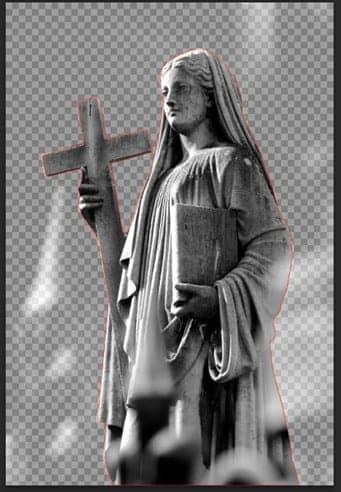
Now extract the statue form its background. We can use one of the extracting tools in Photoshop that is familiar with us. I myself used pen tool for this purpose. I assumed that we have familiar with this tool so I won’t explain about how to use it. Here is the extracted statue I created.

Step 2 (A new document for the figure)
Now we will start manipulating the statue into a dark queen figure. We will do this in a new document (canvas), so create a new document by hitting Ctrl+N to open the new document option box. Here is the size of the document:

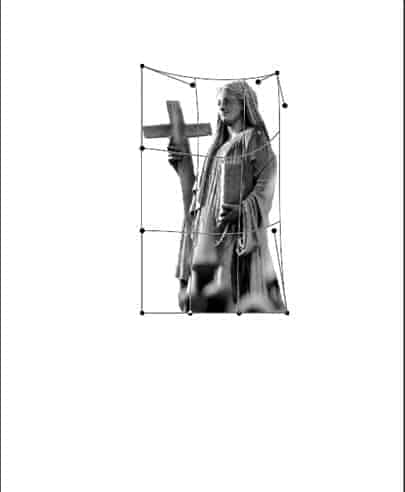
Next place the extracted statue in the new document. Hit Ctrl+T to activate free transform tool. Alter the shape of the statue by warping it a bit.

We will hide lower part of this statue. To do this, we will give this layer a layer mask. Make sure we are active on the statue layer, then click the layer mask icon located in the bottom of the layer panel to give this layer a layer mask. The layer mask is indicated by a white thumbnail next to the layer.