Pradip Chowdhury
This is another Color Lookup adjustment layer tutorial in Photoshop CS6. Since this is an adjustment layer, it has a mask. With a mask you can mask out certain areas just as you would while using an adjustment layer. The Color Lookup gives an advantage in that you can give a cross processed look in a jiffy. Here I have processed only the background. I have posted two other tutorials on Color Lookup Adjustments layer here and here
This is another Color Lookup adjustment layer tutorial in Photoshop CS6. Since this is an adjustment layer, it has a mask. With a mask you can mask out certain areas just as you would while using an adjustment layer. The Color Lookup gives an advantage in that you can give a cross processed look in a jiffy. Here I have processed only the background. I have posted two other tutorials on Color Lookup Adjustments layer here and here
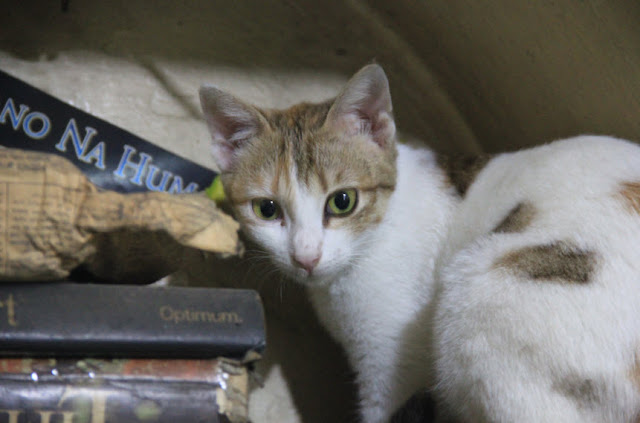
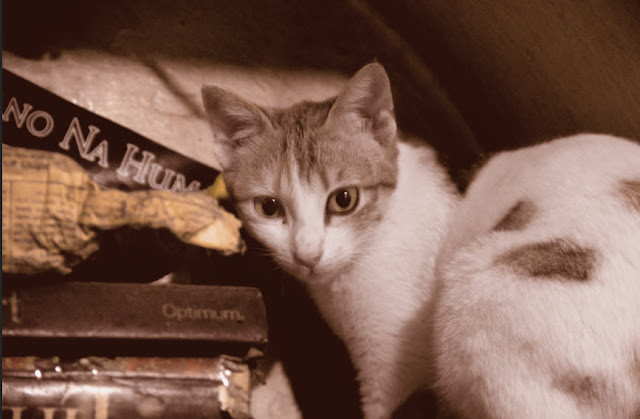
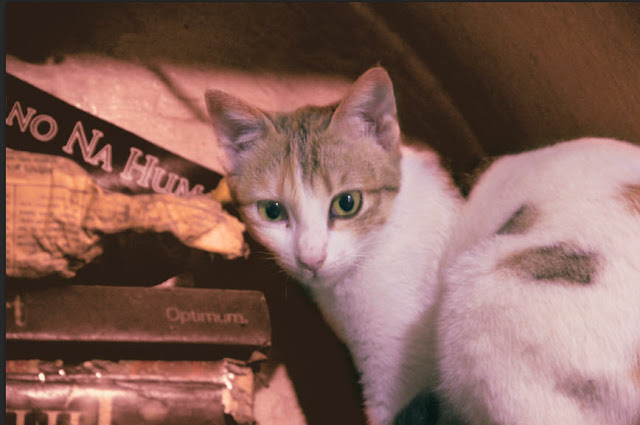
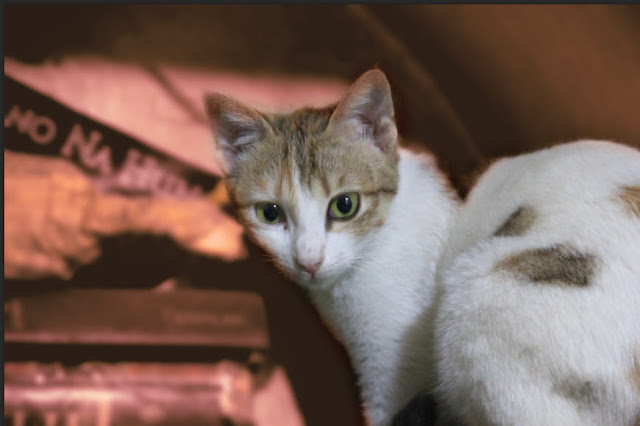
This is the processed image. The original is below.
I will be using this stock image. You will find it here
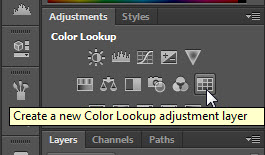
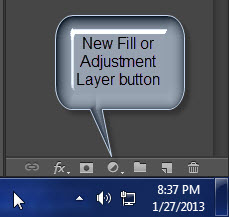
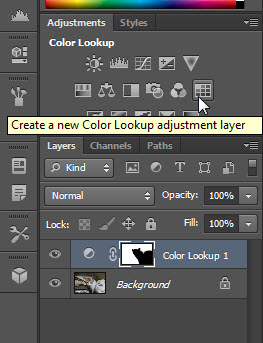
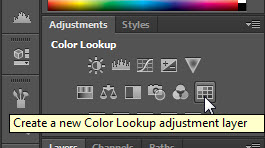
Step 1 : Click the Color Adjustment icon in the Adjustment panel or click the New Fill or Adjustment Layer button at the bottom of the layers palette.
The New Fill or Adjustment Layer button.
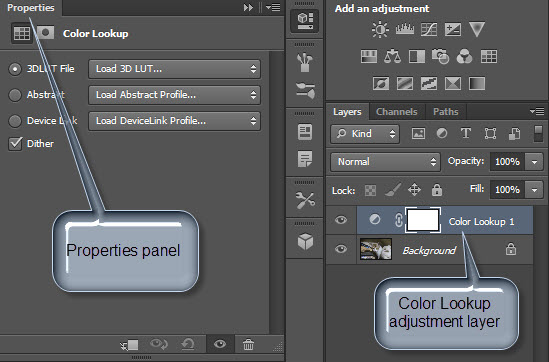
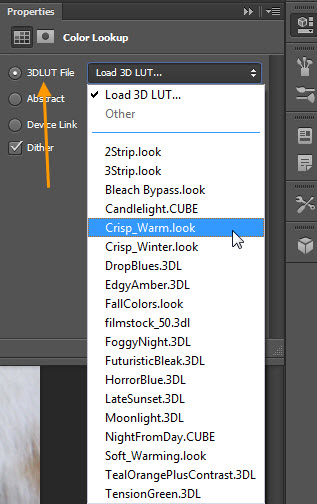
Step 2 : The Color Adjustment Layer forms. The Properties panel opens at left. You can see the three Color Lookup adjustments — 3DLUT, Abstract and Device Link.
Step 3 : I am clicking on 3DLUT File and from the drop down menu choosing Crisp Warm Look.
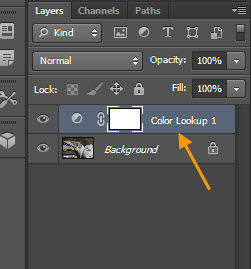
The first Color Lookup adjustment layer forms above the Background Layer. As it is an adjustment layer it has a mask.
The adjustment is applied to the entire image.
Step 4 : The Foreground Color should be set to the default Black.
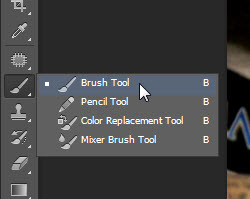
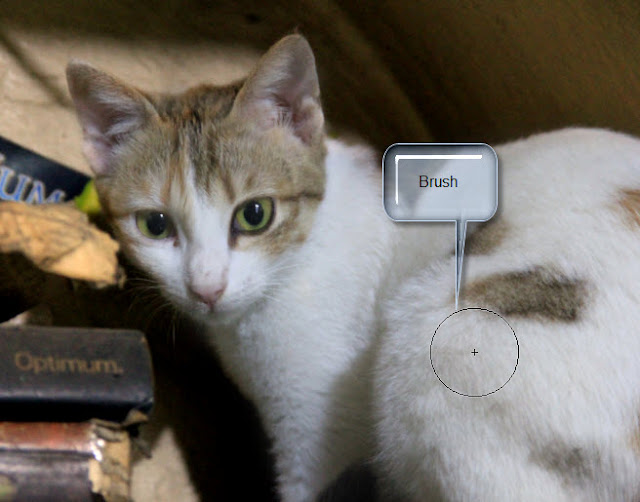
Step 5 : Click the Brush Tool or just press b on the keyboard.
Step 6 : Pick the first Brush. It is Soft Round. Set the Hardness to 0%. To increase the size of the brush press the ] (right square bracket) and to decrease it [ (left square bracket).
Step 7 : Let the Mode remain at the default Normal and Opacity at 100%.
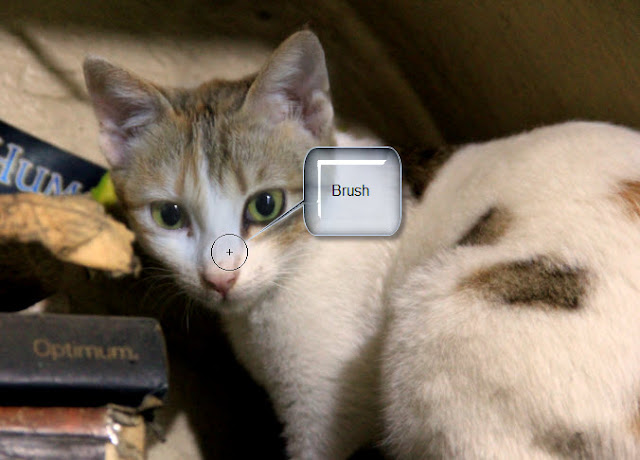
Step 8 : I am painting on the kitten. The adjustment layer on the kitten is being removed.
Step 9 : I have finished painting on the kitten.
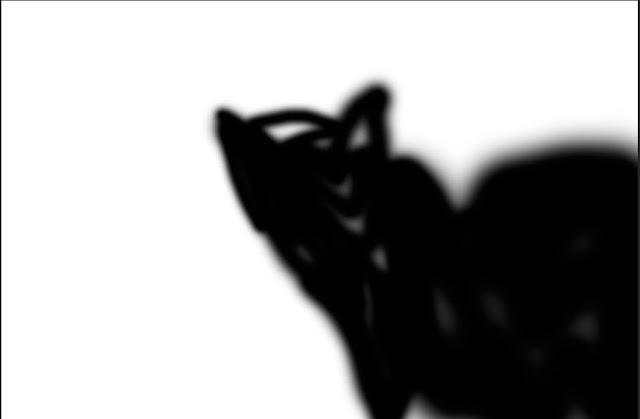
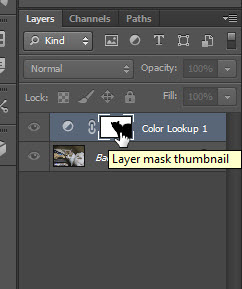
Step 10 : ALT+Click the Layer Mask thumbnail.
Step 11 : You can see that I have missed out with the Brush on many areas. We will fix it.
Step 12 : Use the Brush to paint in the Black. (The Foreground Color is set to Black).
Step 13 : After finishing touching up the Mask with Black ALT+CLICK the Mask again to make the image visible again.
Step 14 : Click the Color Lookup Adjustment icon again.
Step 15 : The second Color Lookup Adjustment layer forms. In the Properties panel click the drop down from Abstract and click on Gold-Crimson.
The image looks like this. The adjustment layer is applied to the entire image including the kitten.
Step 16 : ALT+CLICK gently on the Mask of Color Lookup 1 and drag up to the Mask of Color Lookup 2.
Step 17 : Photoshop asks if it will replace the Layer Mask on Color Lookup 2. Click Yes.
Step 18 : The mask of Color Lookup 2 has been replaced.
The image looks like this. The adjustment is applied to the background only and not to the kitten.
Step 19 : Click the Color Lookup icon again.
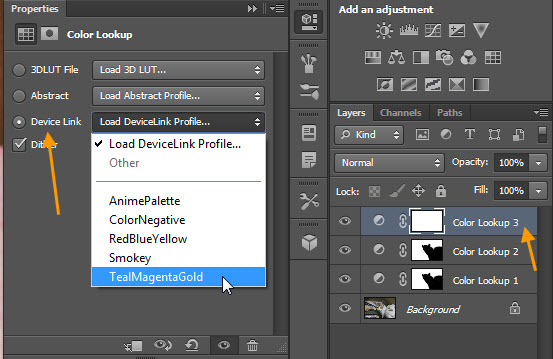
Step 20 : The third Color Lookup adjustment layer forms. Click the Device Link and click on TeaMagentaGold from the drop down menu.
The image look like this.
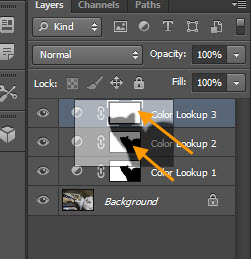
Step 21 : Press ALT+click and drag the Color Lookup Mask 2 to Color Lookup 3 layer.
Step 22 : Photoshop asks if the Mask is to be replaced. Click Yes.
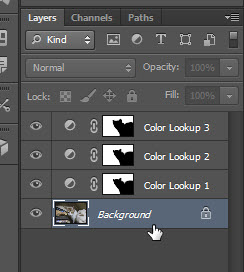
Step 23 : The image looks like this. All the three adjustments have been applied to the background and not on the kitten.
Step 24 : CTRL+CLICK the Layer Mask on Color Lookup Layer 3.
Step 25 : A marching ant selection forms on the Background.
Step 26 : Click on the Background Layer.
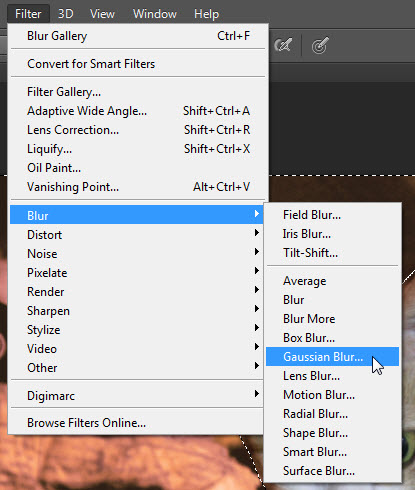
Step 27 : Go to Filter>Blur>Gaussian Blur.
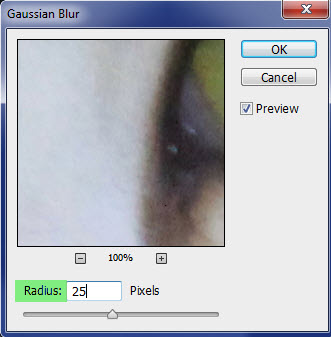
Step 28 : In the Gaussian Blur dialogue box I have set a Radius of 25 as this is a high resolution image. Click OK.
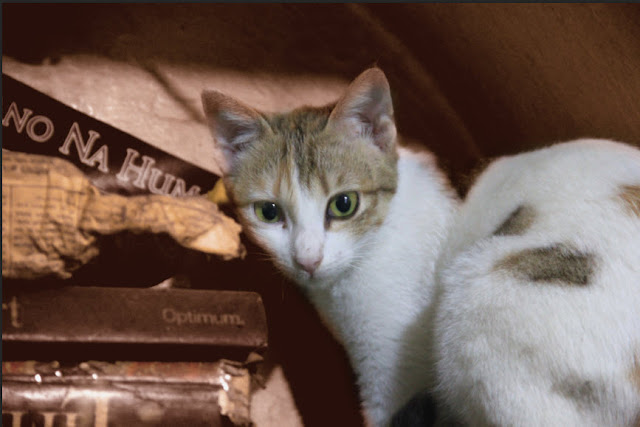
Step 29 : Press CTRL+D to deselect so that the marching ants go away. Th background is now blurred quite a bit. The final image looks like this.
Other photoshop tutorials are here
