In this tutorial, I’ll show you how to create a ruined landscape using standard photo manipulation techniques. You’ll learn how to combine different landscapes and blend them together using adjustment layers, masking, and brushes. You’ll also learn how to adjust color and contrast, enhance the mood, lighting, and more.
Preview of the Final Result
Tutorial Resources
Step 1
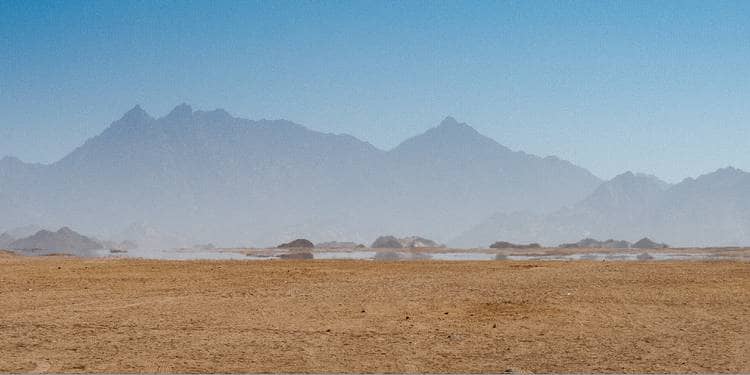
Create a new 3000×1500 pxdocument and fill it with white. Open the landscape 1 image and drag it into the white canvas using the Move Tool (V). Convert this layer to a Smart Object.
Step 2
Go to Filter > Noise > Dust & Scratchesand fill in the following settings.
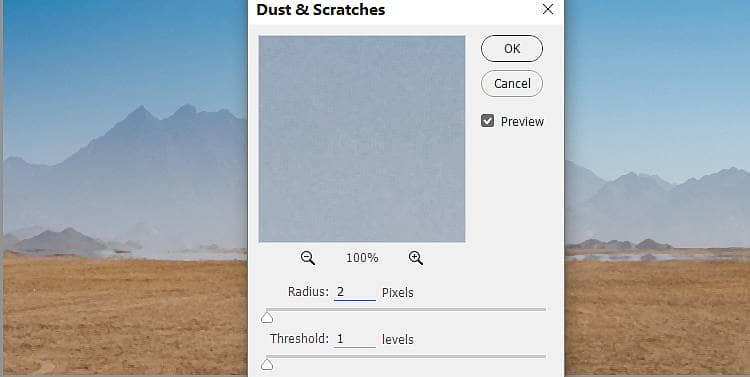
On this filter mask, activate the Brush Tool (B)and select a soft round one with black color. Use this brush to erase the foreground and midground.
Step 3
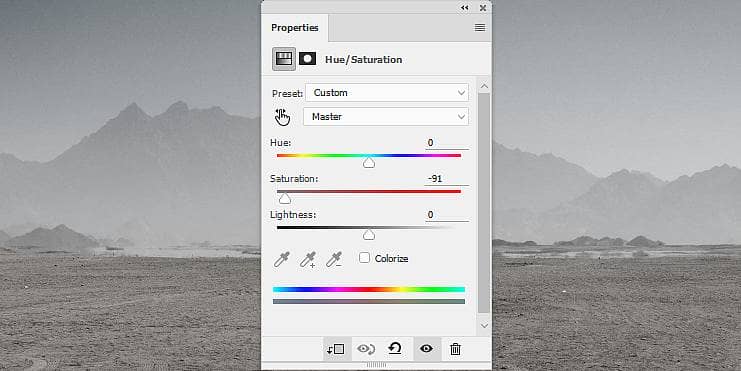
Go to Layer > New Adjustment Layer > Hue/Saturation and set it as Clipping Mask. Reduce the Saturationvalues to -91:
Step 4
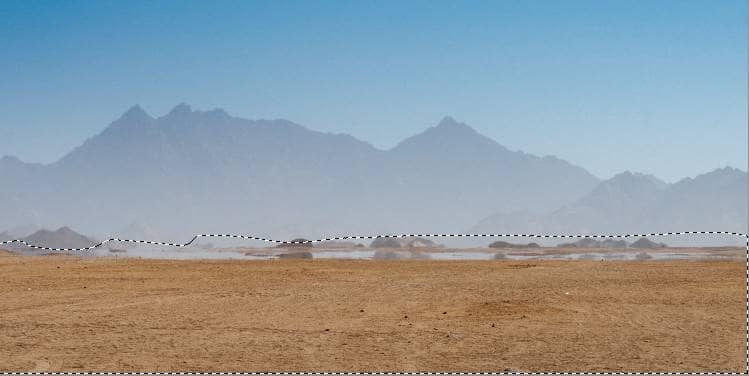
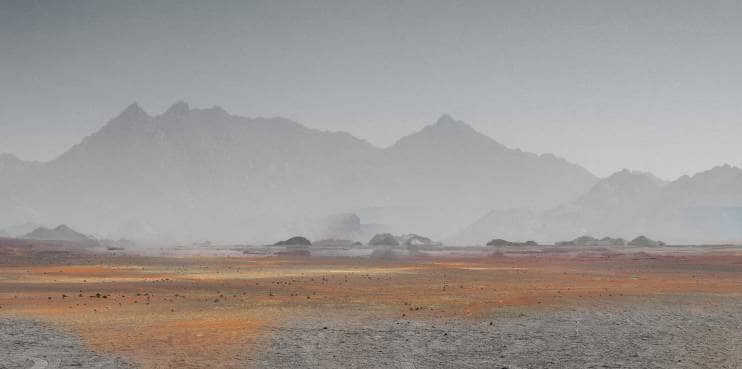
Open the landscape 3 image and use the Rectangular Marquee Tool (M)to select the lower part of the image to add to the ground of the working document.
Click the second icon at the bottom of the Layerspanel to add a mask to this layer. Use a soft black brush to remove the rock part and most of the foreground.
Step 5
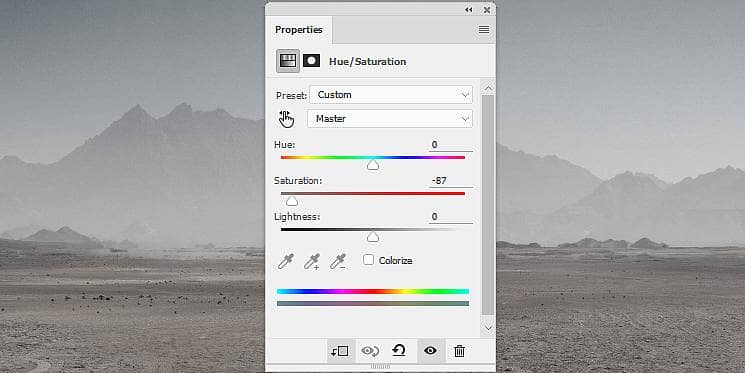
Make a Hue/Saturation adjustment layer and bring the Saturationsettings to -87to blend the new ground part with the existing one.
Step 6
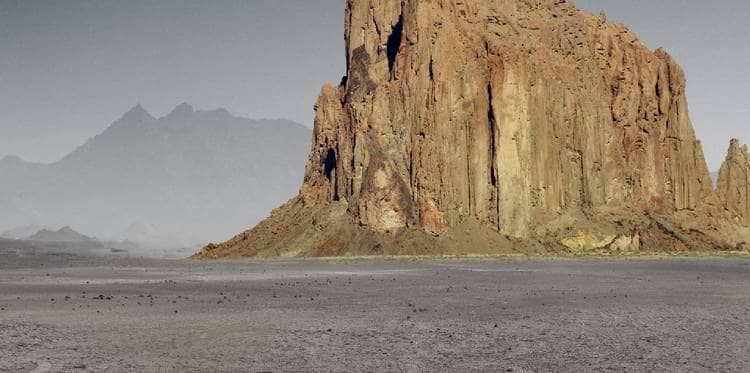
Open rock 2 image and isolate the rock and the ground from the background using your own method. Convert this layer to a Smart Objectand place the rock onto the right of the existing ground.
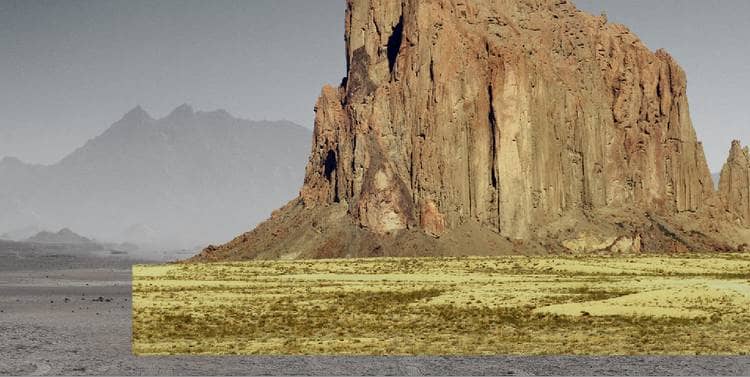
Add a mask to this layer and use a medium-hard black brush to remove the ground.
Step 7
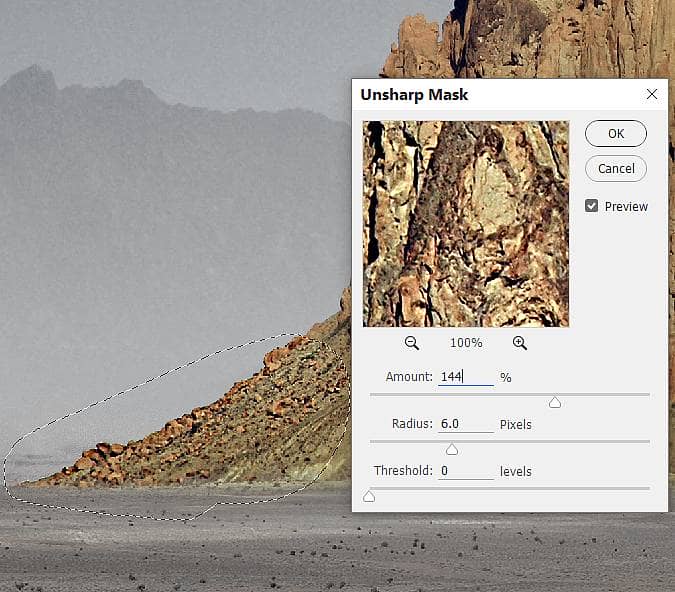
Activate the Lasso Tool (L)to select the lower part on the left of the rock and go to Filter > Sharpen > Unsharp Maskand fill in the following settings:
Step 8
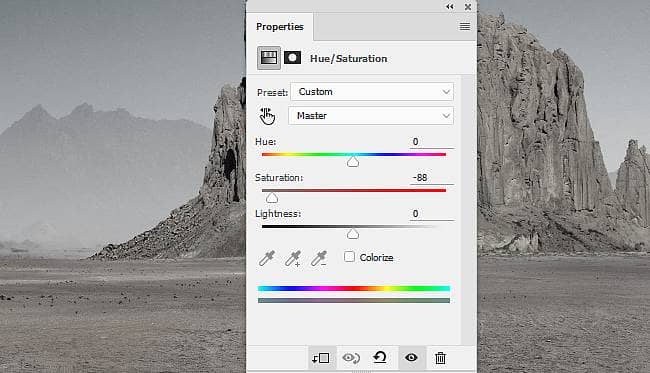
Create a Hue/Saturationadjustment layer (set as Clipping Mask) and bring the Saturationvalues to -88.
Step 9
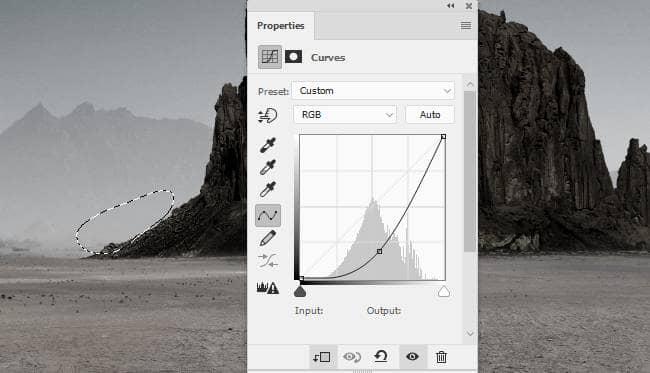
Make a Curvesadjustment layer to reducethe lightness. On this layer mask, use a soft black brush to erase the dark effect on the contour of the part sharpened in the step 7.
Step 10
Open the landscape 2 image and drag it into the main document using the Move Tool. Set this layer below the landscape 3 one.