The Tile Shift Blur is a new Blur in Photoshop CS6. The Tilt Shift Blur enables, just as the Iris Blur to keep an area in an image in sharp focus and blurs the rest of the image. There are some differences though which this tutorial will clear.
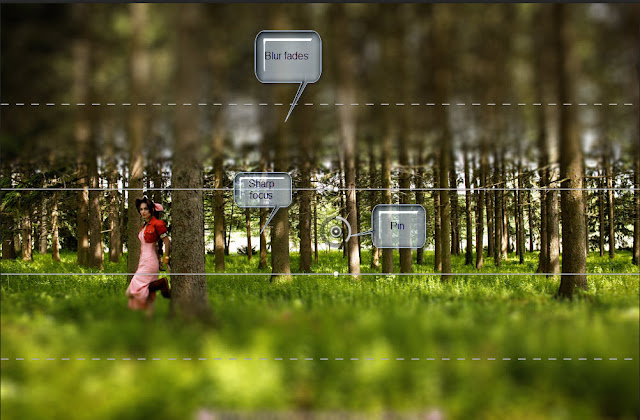
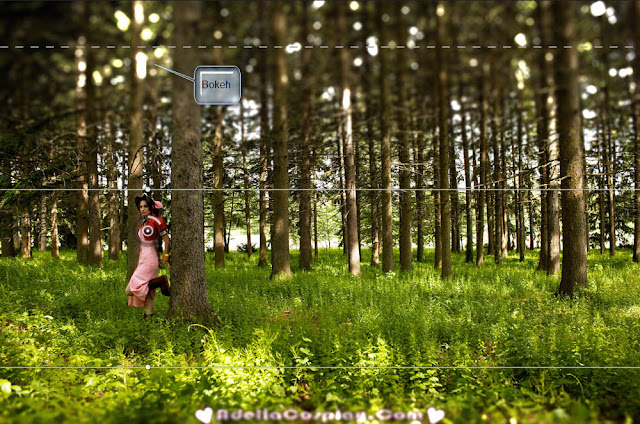
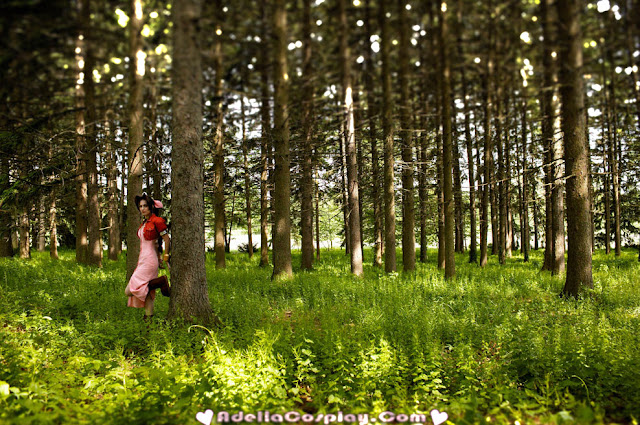
This is the effect. The top of the image has blurred and so has the bottom slightly. Some bokeh is visible among the trees. You can add bokeh if your image does not have it.
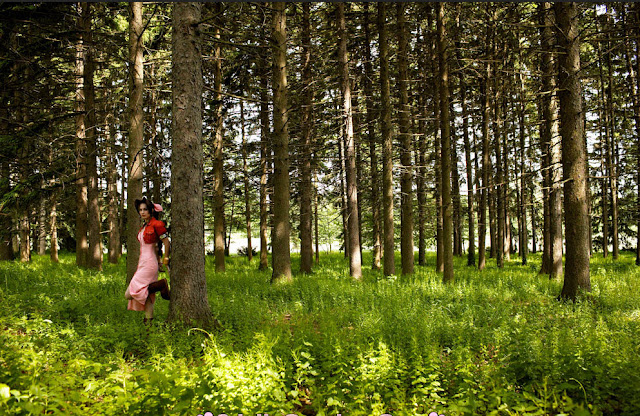
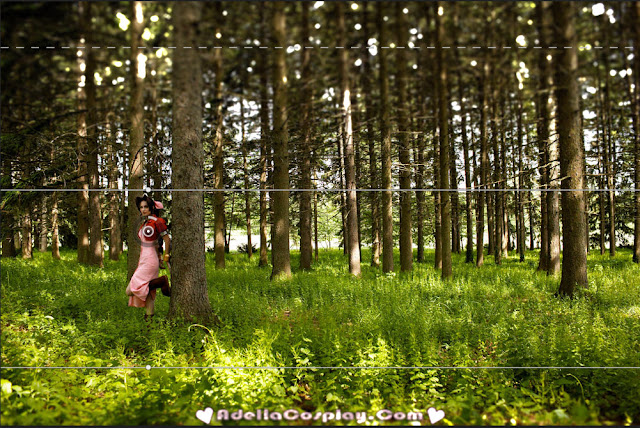
I will be using this stock image. This is the original image.
Step 1 : Go to Filter>Blur>Tilt Shift Blur.
Step 2 : The Tilt Shift Blur with the default settings open, There is a pin in the middle. You can increase or decrease the blur by dragging around the circle.
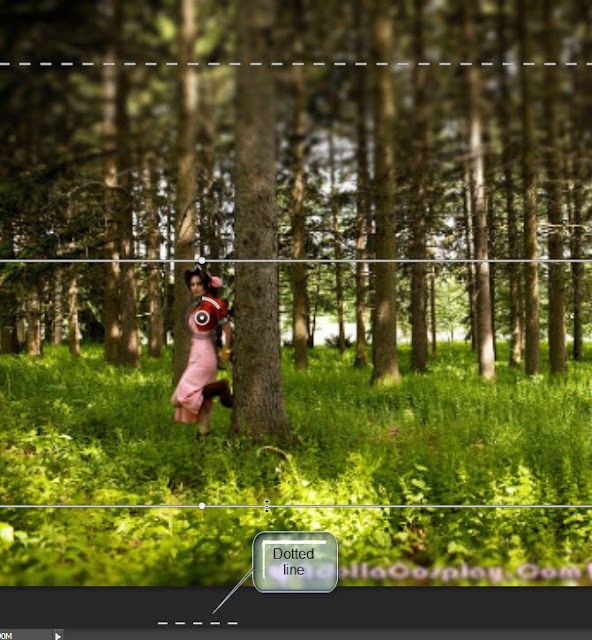
The gap between the upper line and the dotted line is where the blur fades naturally.
Step 3 : You can rotate the entire selection. Hover the cursor over the pin and you will be able to see a double headed arrow. Use it to rotate the blur.
Step 4 : I do not need to rotate the selection for this image. I will leave it horizontal.
Step 5 : I am moving the pin onto the girl. The pin can be moved anywhere.
Step 6 : Drag on the outer circle of the pin. You can increase or decrease the blur by dragging. I have increased the Blur to 15.
Step 7 : Alternatively you can drag the Blur slider to the right. The Blur has been increased to 15.
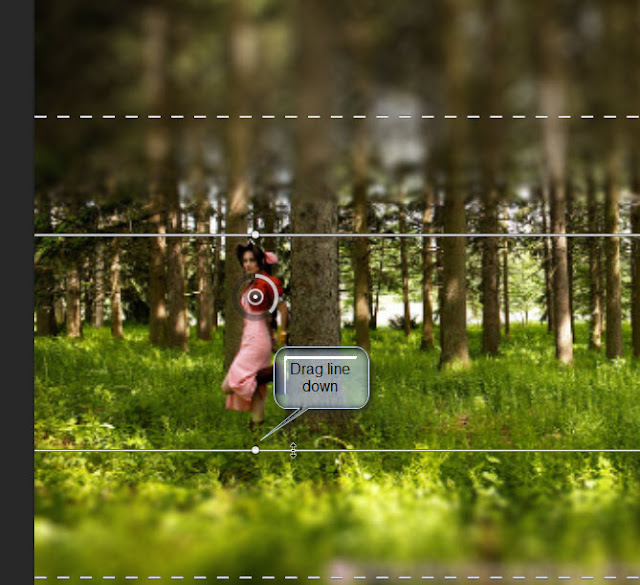
Step 8 : I am dragging the white line down so that the area between the two lines increase. This is the are which will stay in sharp focus.
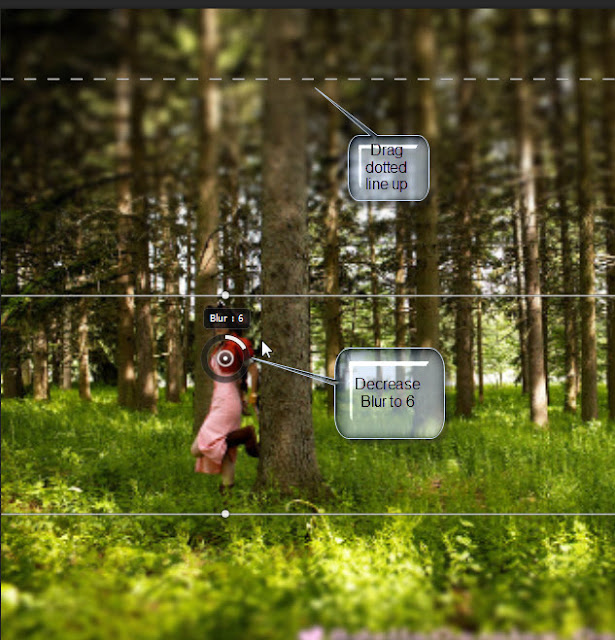
Step 9 : I am dragging the dotted line up. This increase the area where the blur fades. The area above the dotted line blurs. The area between the solid line and dotted lines fades into a blur. I am placing the cursor on the pin in the middle and decreasing the blur to 6. You can also do it from the panel at right by adjusting the blur slider.
Step 10 : I am dragging the dotted line at the bottom below the canvas which blurs the bottom slightly.
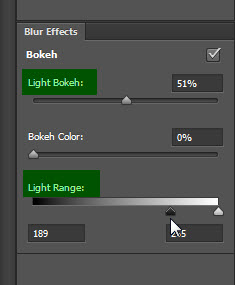
Step 11 : Look at the bottom of the Blur Tools at the panel at the right. There is Bokeh, Bokeh Color and Light Range.
Step 12 : Drag the Light Bokeh slider tot the right and keep watch on the image, then drag the Light Range slider to the right.
Step 13 : Look at the top of the image. The bokeh forms. But it does not work very satisfactorily at times. You have to work with the two sliders till you get it right.
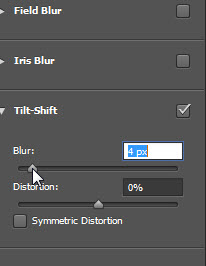
Step 14 : You can also try lessening the blur. I have decreased the blur to 4.
The bokeh looks a bit better.
Step 15 : Drag the Bokeh Color slider slowly. The bokeh picks up the color from the surroundings. But be careful with this as sometimes the results do not turn out well.
Step 16 : Lastly click the OK button in the top panel.
The completed image.
Other photoshop tutorials are here
