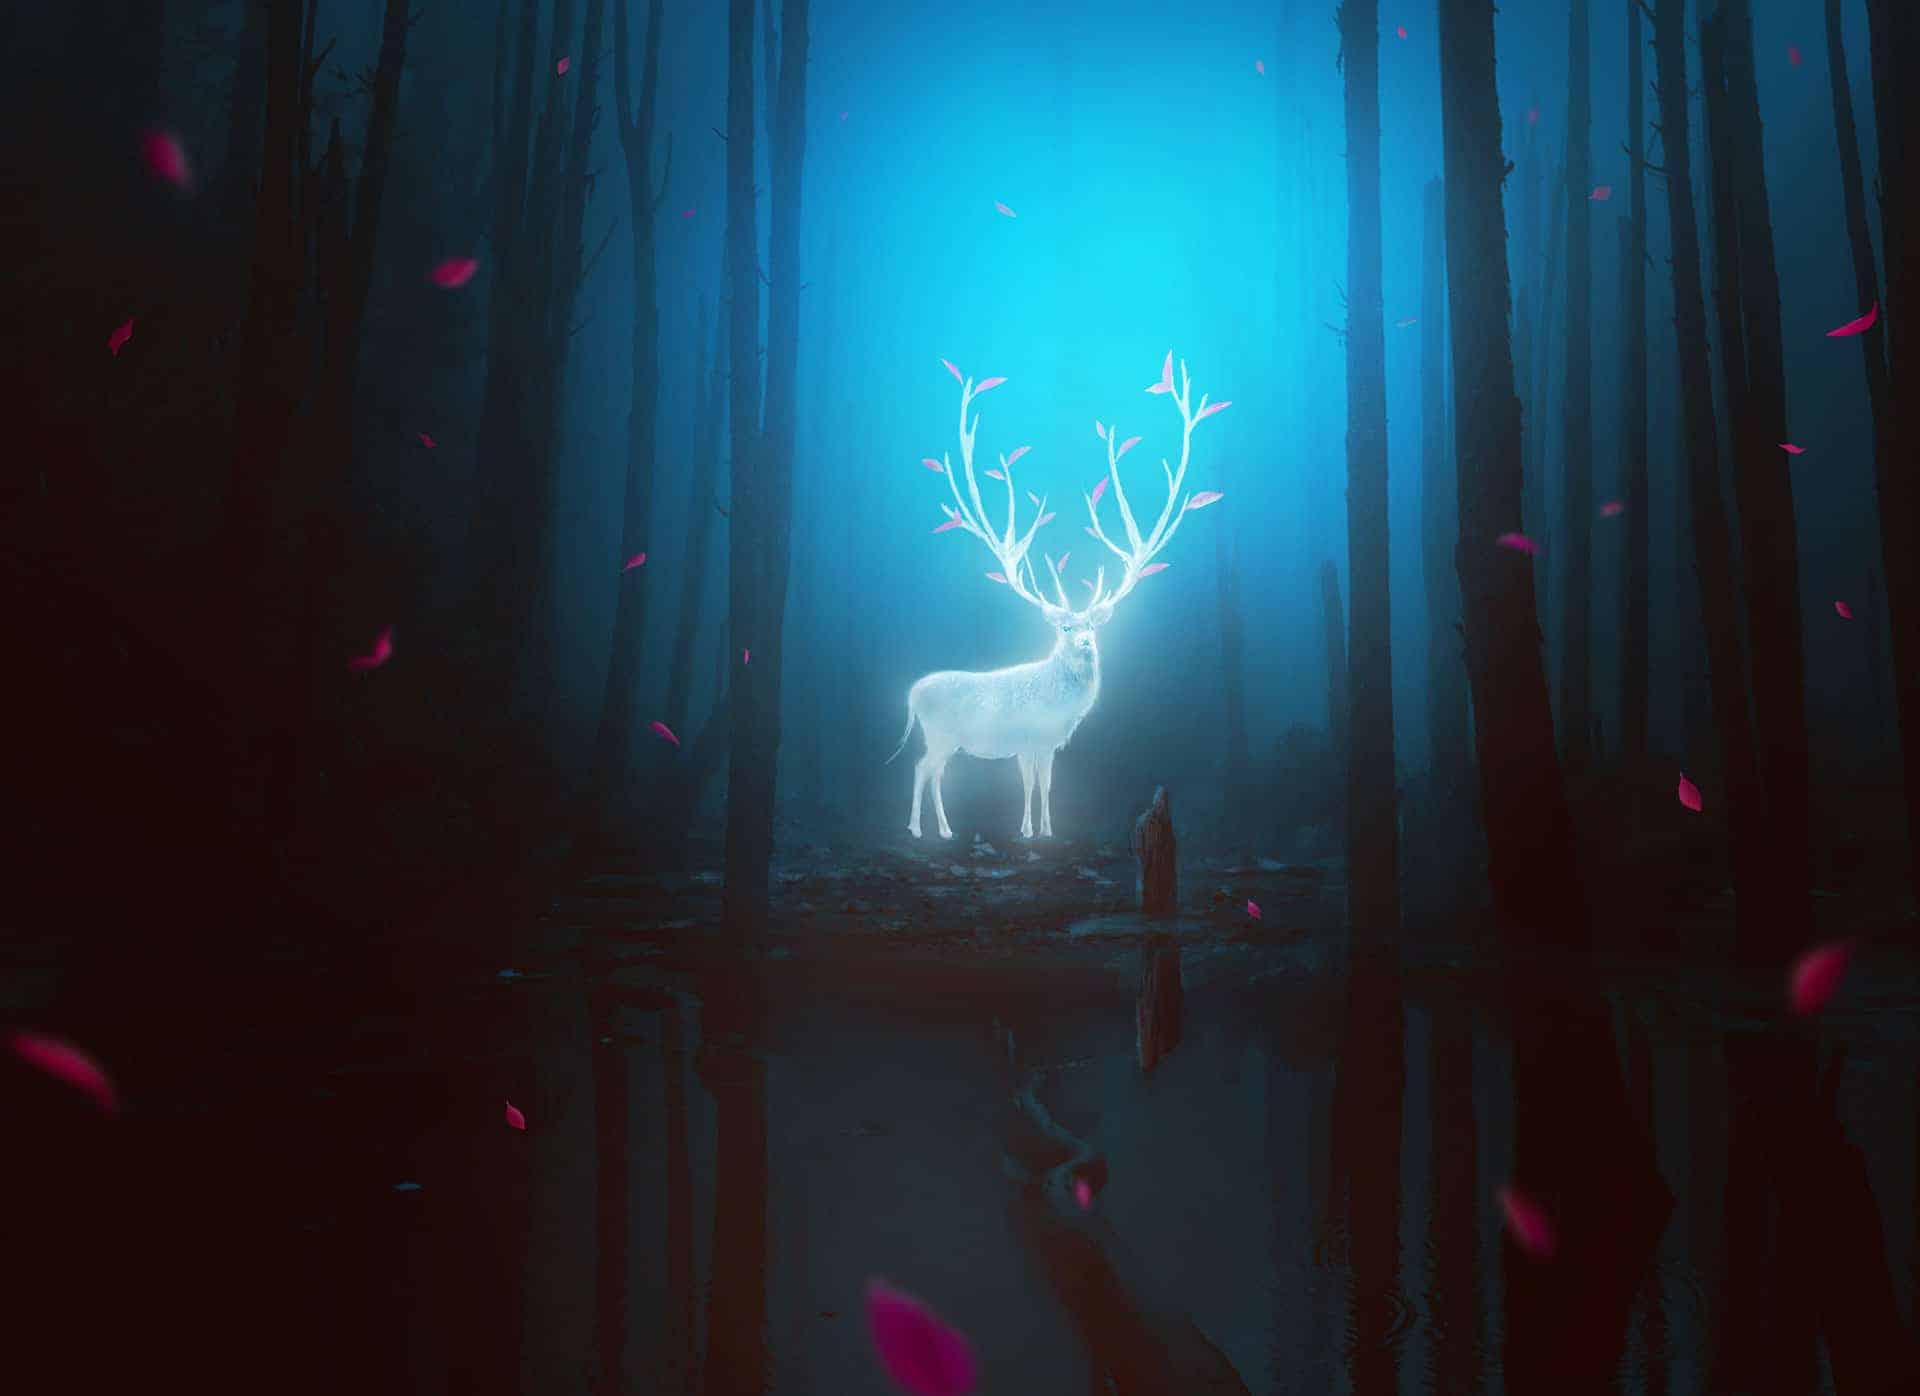
In this tutorial, I’ll show you how to create a forest scene featuring a fantasy deer with glowing light and purple/red leaves. First, we’ll add the forest and ground, retouch and blend them together using adjustment layers, masking cloning, and brushes. After that, we’ll add the deer and add some fantasy effect to him, also painting two big horns. Later, we’ll add the leaves and change their color and light. We’ll paint the light and use a Selective Color adjustment layer to enhance the final effect.
Preview of The Final Result
Tutorial Resources
Step 1
Create a new 2200×1600 px document in Photoshop and fill it with white. Open the forest image and drag it into the white canvas using the Move Tool (V).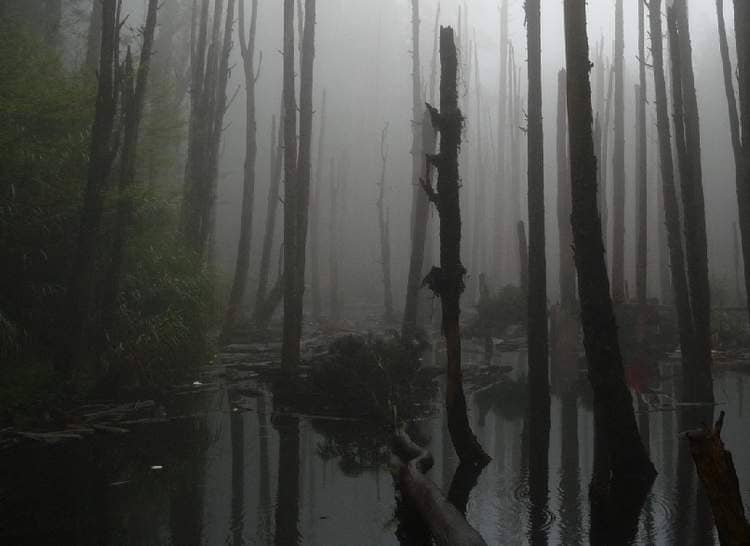
Step 2
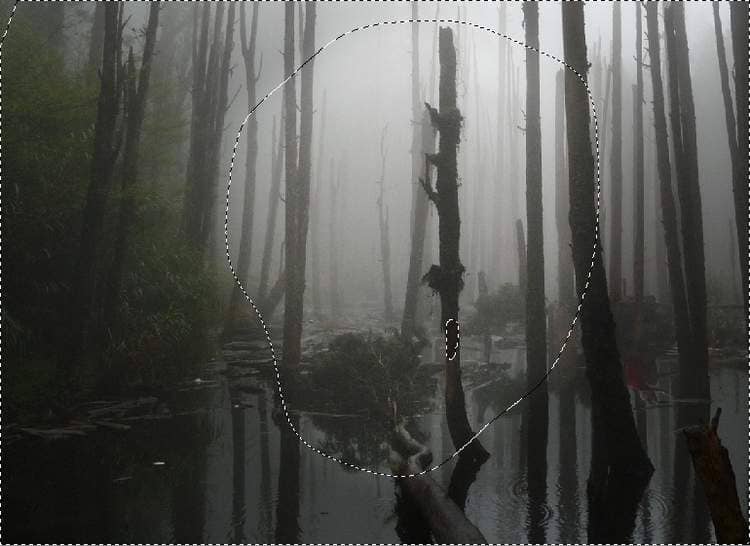
Go to Layer > New Adjustment Layer > Curves and increase the lightness. On this layer mask, activate the Brush Tool (B) and select a soft round one with black color. Use this brush to erase the middle of the background to reveal the lightness of this place as we aim to add the main light there.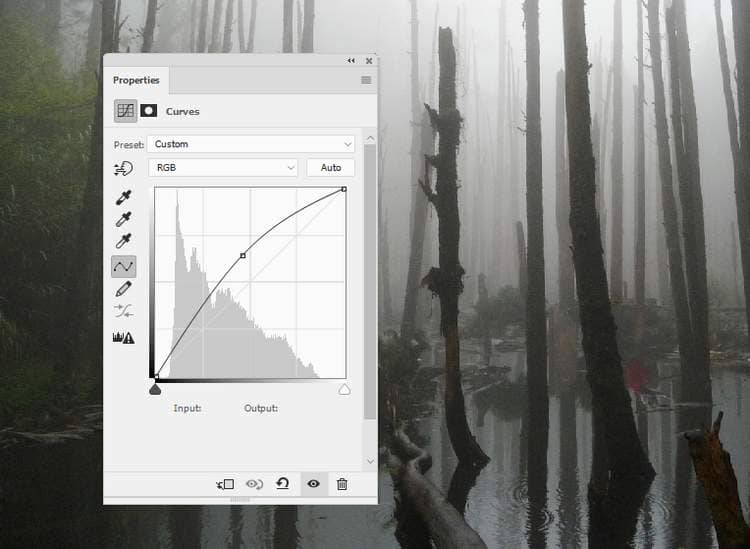
Step 3
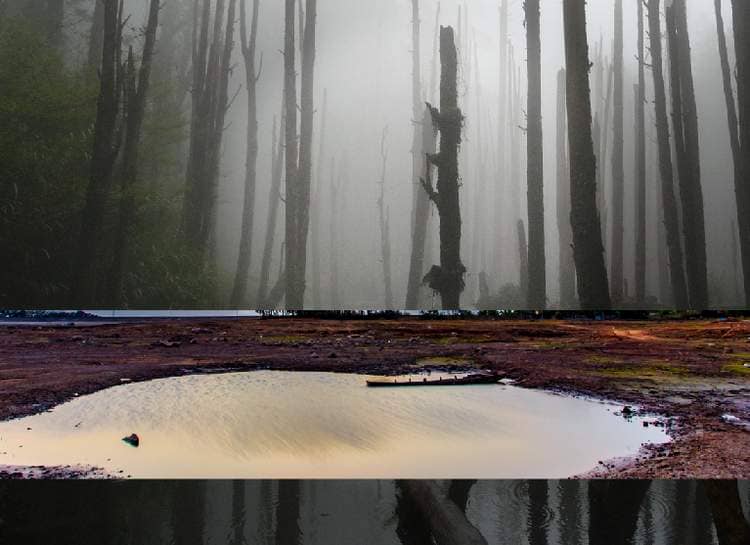
Open the ground image and use the Rectangular Marquee Tool (M) to grab a part of the ground and place it in the middle of the scene.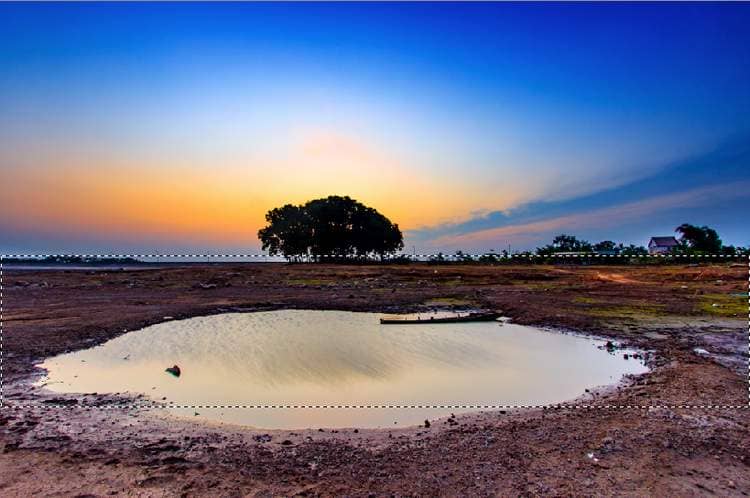
Step 4
Click the second icon at the bottom of the Layers panel to add a mask to this layer. Use a soft black brush to erase most of the both sides, leaving a ground part visible to cover the leaves of the collapsed tree.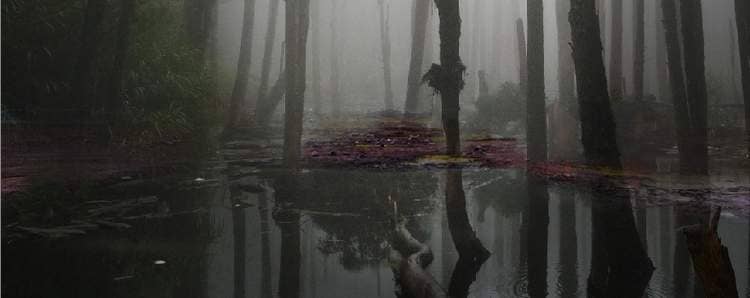
Step 5
Make a Curves adjustment layer above the ground one and set it as Clipping Mask. Reduce the contrast of the ground as the screenshot below shows: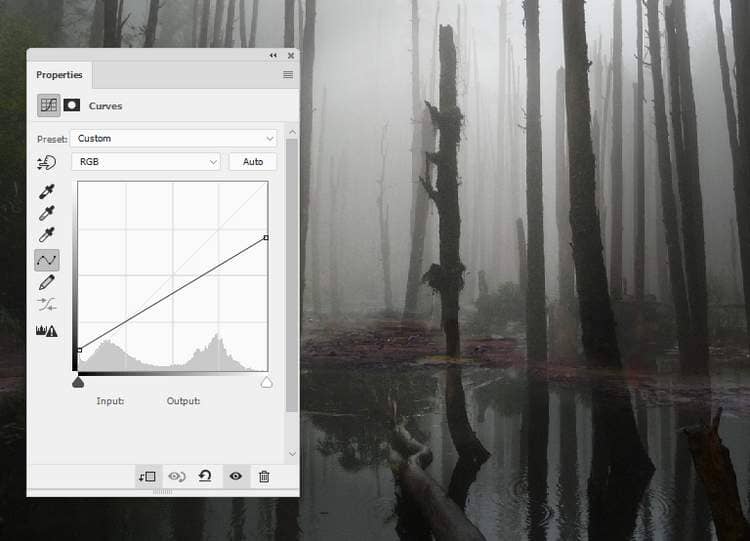
Step 6
We aim to hide the reflection of the collapsed tree and a part of a reflection of a tree below the water. Hit Ctrl+Shift+N to make a new layer and set this layer below the ground one. Use a soft brush with the color #404241 (picked from the water surface) to paint over the indicated details. Add a mask to this layer and use a soft black brush to paint to reveal the top of the tree trunk and some small details on the water.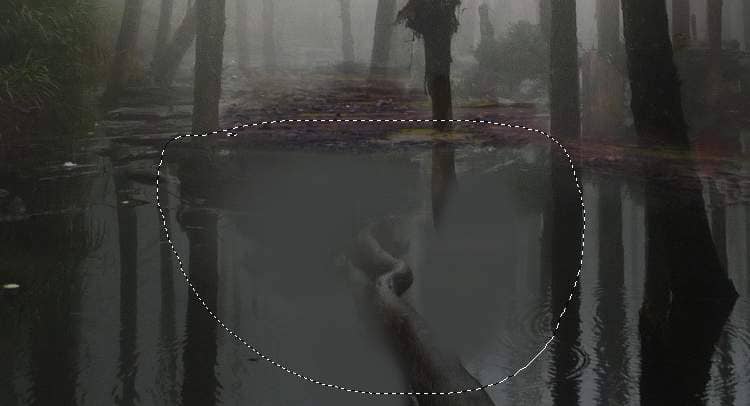
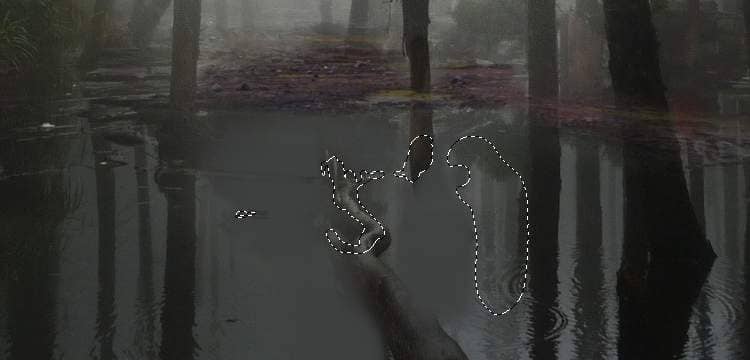
Step 7
Make a Curves adjustment above this layer (set as Clipping Mask) to darken the part below the ground. On this layer mask, paint on the rest so it won’t be darkened by this adjustment layer.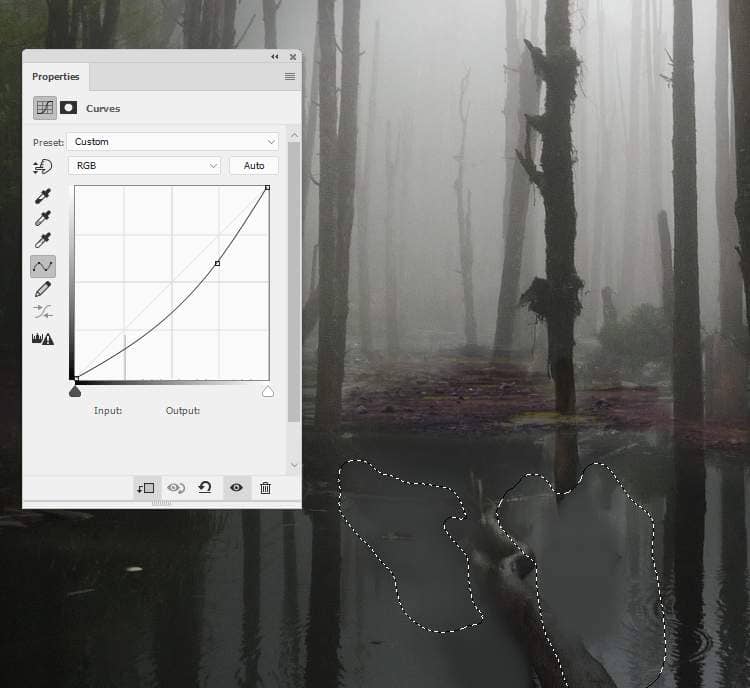
Step 8
Create another Curves adjustment layer to brighten the part near the foreground. On this layer mask, use a soft black brush to paint on the midground or any details you feel too bright.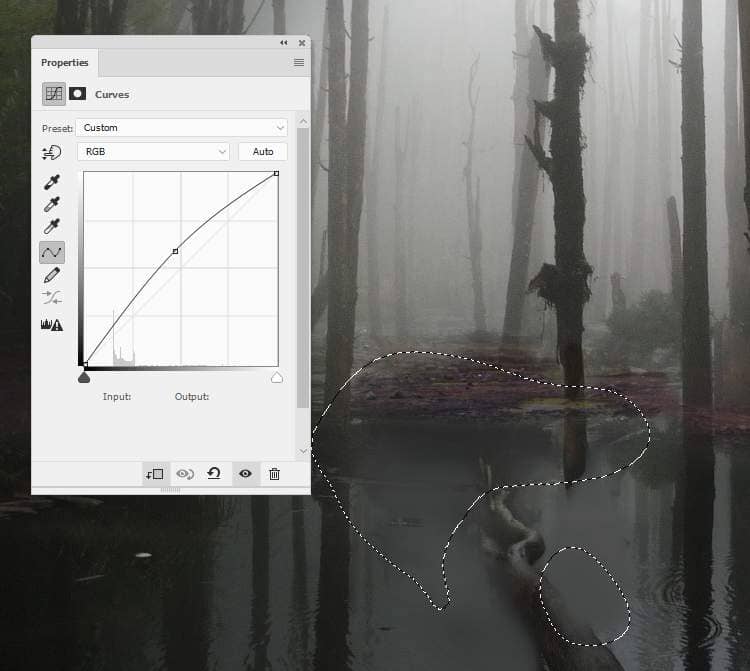
Step 9
Make a new layer and activate the Clone Tool (S). Use this tool to remove the trees on the middle, leaving a small part on the lower visible only.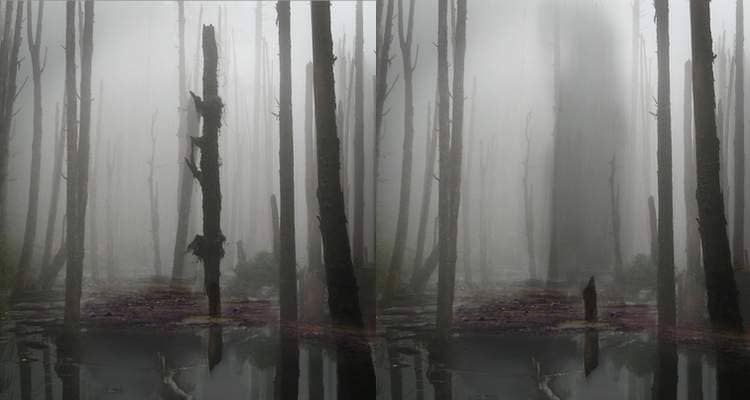
Step 10
Create a Gradient Map adjustment layer on top of the layers and pick the colors #0d0501 and #0a437b to turn the whole scene from day to night: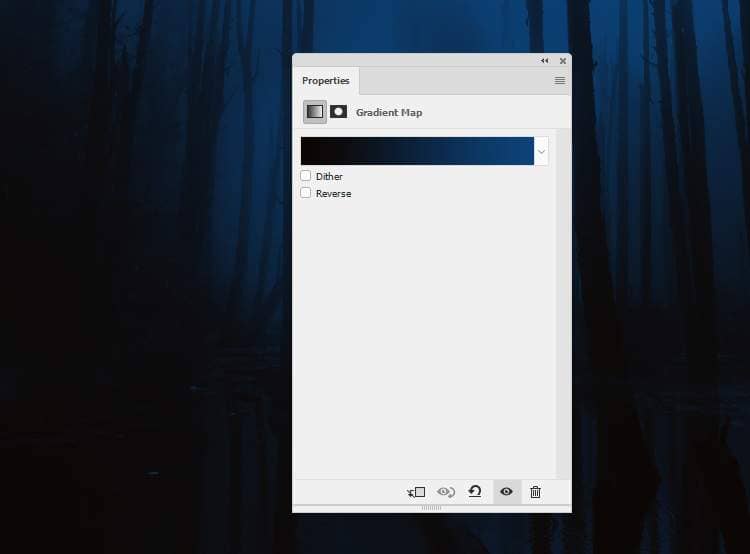
Step 11
Make a Color Balance adjustment layer to change the color of the scene a bit: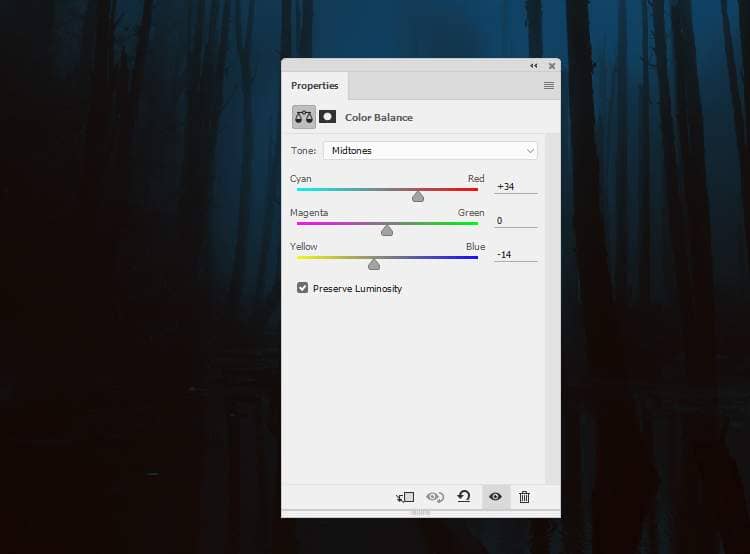
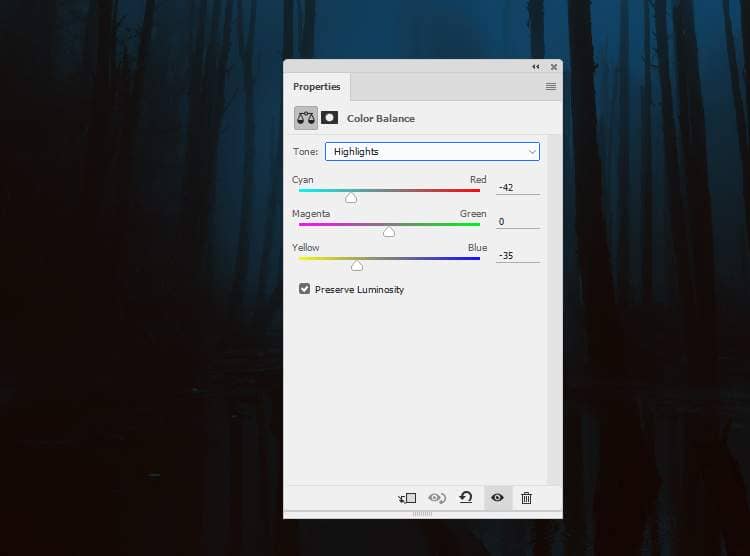
Step 12
Open the deer image and isolate him from the background using your own method. Place him onto the middle of the ground added in one of the previous steps.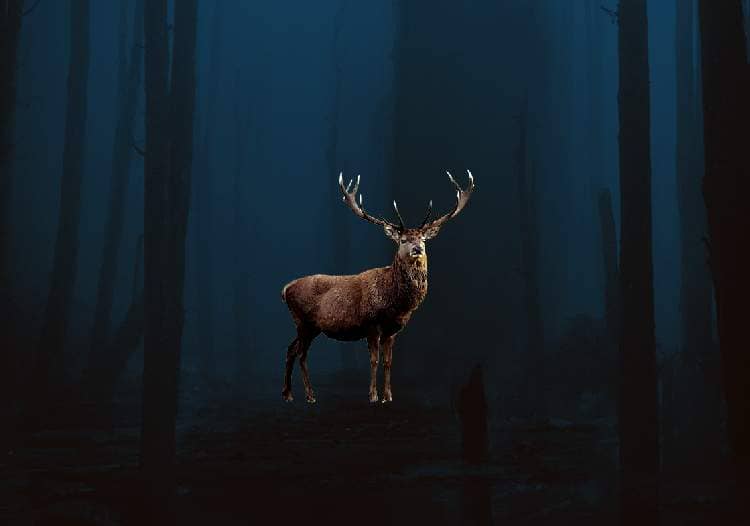
Step 13
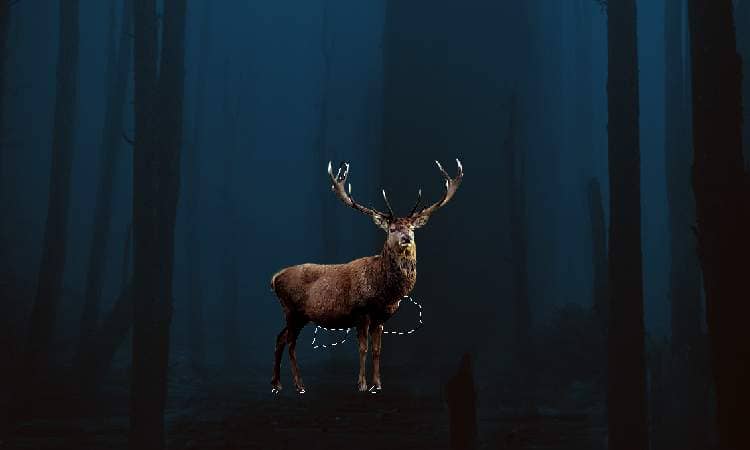
Go to Edit > Puppet Warp and use this tool to move the deer’s horns upward.Source link