In this tutorial, I’ll show you how to create a fantasy creature using a variety of photo manipulation techniques. First, we’ll build the background using sky and hill images. Later, we’ll add the giraffe, fish fins and legs. After that, we’ll make the hairy head and import the horns. We’ll add the leaves and grass blades and use several adjustment layers to enhance the final effect.
Preview of The Final Result

Tutorial Resources
Step 1
Create a new 1400×1333 px document and fill it with white. Go to Layer > New Fill Layer > Solid Color and pick the color #70dce3.

Step 2
Open the sky image and use the Rectangular Marquee Tool (M) to take the sky only to drag it into the main canvas using the Move Tool (V).

Click the second icon at the bottom of the Layers panel to add a mask to this layer. Activate the Brush Tool (B) and select a soft round one with black color. Use this brush with a low opacity (about 5-10%) to paint on the bottom and the top to reduce the visibility there.

Step 3
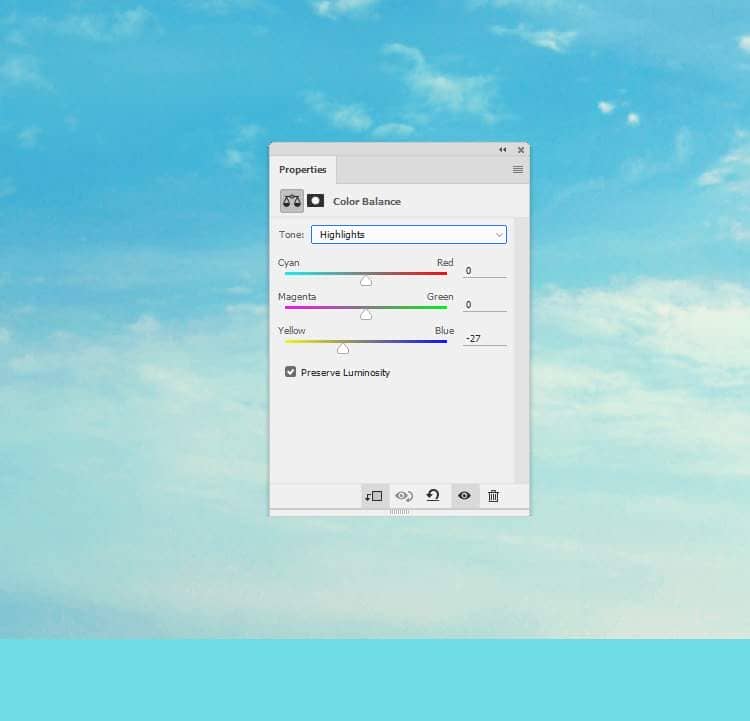
Go to Layer > New Adjustment Layer > Color Balance and set it as Clipping Mask. Change the Midtones, Shadows and Highlights settings:


Step 4
Make a Curves adjustment layer (set as Clipping Mask) and increase the lightness. On this layer mask, use a soft black brush with the opacity about 10-15% to reduce the light on the parts which are bright already.


Step 5
Open the hill image and isolate the hill using the Magic Wand Tool (W). Drag it into our working document and place it in the bottom of the canvas and convert this layer to a Smart Object.

Step 6
Go to Filter > Blur > Gaussian Blur and set the radius to 4 px.

Step 7
Move the hill from the original image and place it in the foreground and convert this layer to a Smart Object.

Apply a Gaussian Blur of 4 px and on the filter mask and use a soft black brush to paint on the midground, leaving the blur effect visible on the background and the foreground.

Step 8
Select the hill layers and hit Ctrl+G to make a group for them. Change the group’s mode to Normal 100% and make a Hue/Saturation adjustment layer within this group. Change the Hue values to -5: