Changing Color is easy with the Hue Saturation Adjustment Layer in Photoshop CS6. You do not have to make a selection either.
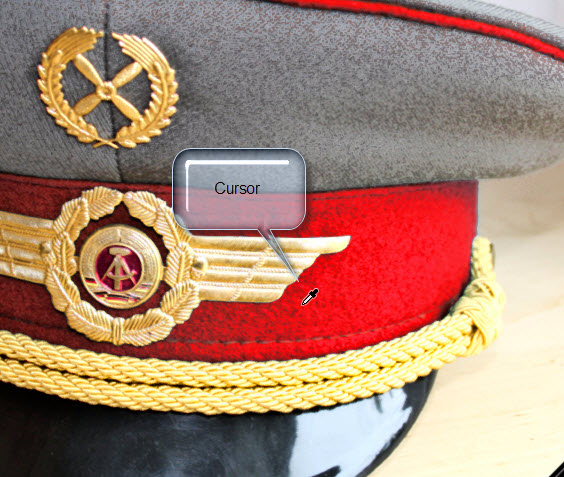
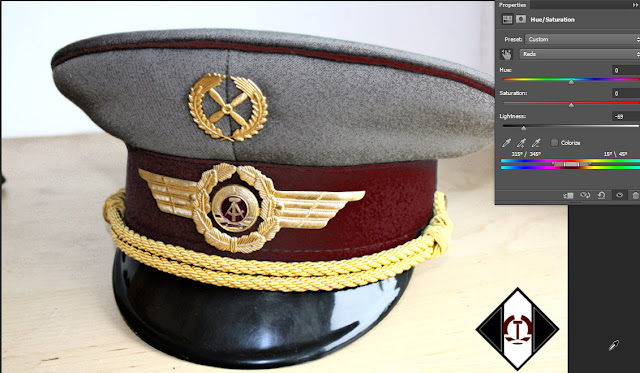
I will be using this stock image. You will find it here
It belongs to Polomatse
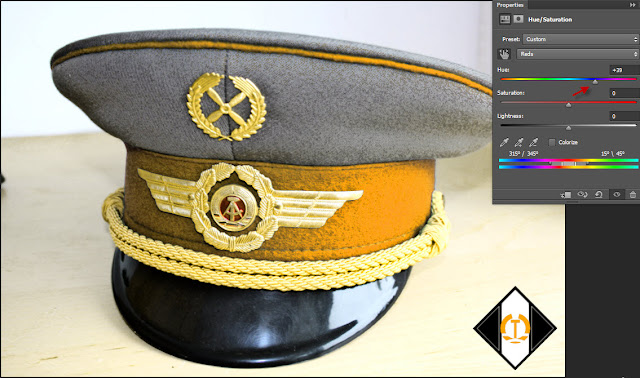
The hat has red which will be changed.
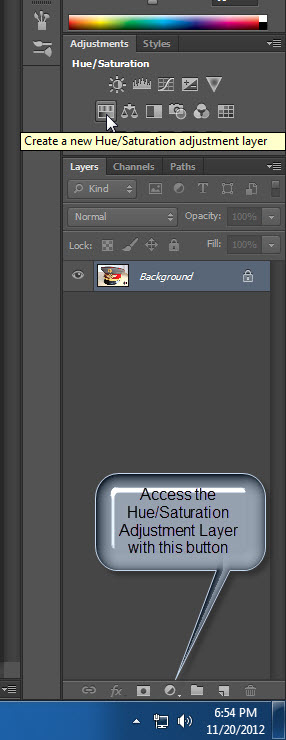
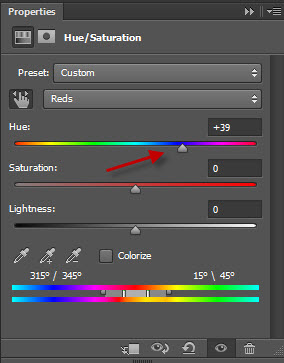
Step 1 : You can access the Hue/Saturation Adjustment Layer at the bottom of the Layers panel or from the top where the arrow points.
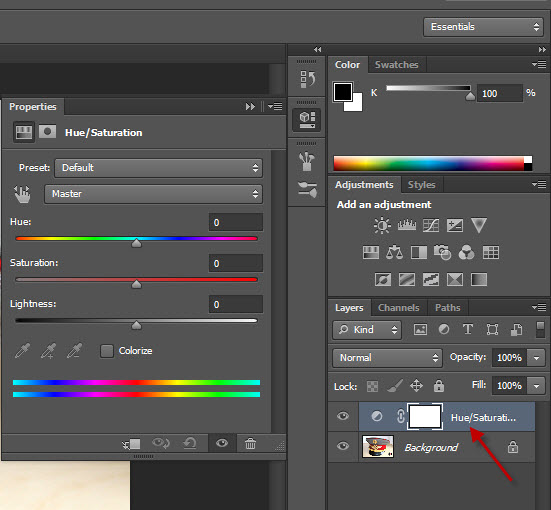
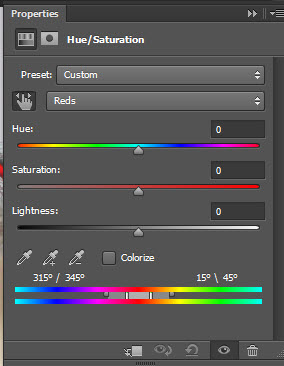
Step 2 : The Hue/Saturation Adjustment Layer forms and the Hue/Saturation panel opens at left.
Step 3 : In Photoshop CS6 click the small arrow and from the pop up click on ‘Auto-Select Targeted Adjustment Tool.
Step 4 : When you hover the cursor over the image it turns into a cursor.
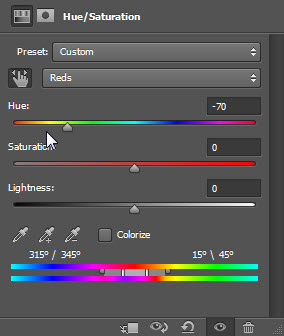
Step 5 : In the bottom the space between the two bars is the affected area and the grey area outside is the fade area. The color therefore changes and also fades so that there is no abrupt change.
Step 6 : Click with the cursor turned into an eyedropper on the red. This selects the red.
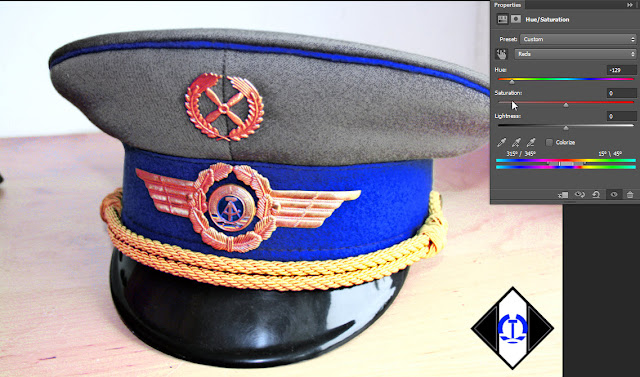
Step 7 : Begin dragging the Hue slider to the left.
Step 8 : The Red changes while the other colors are unaffected.
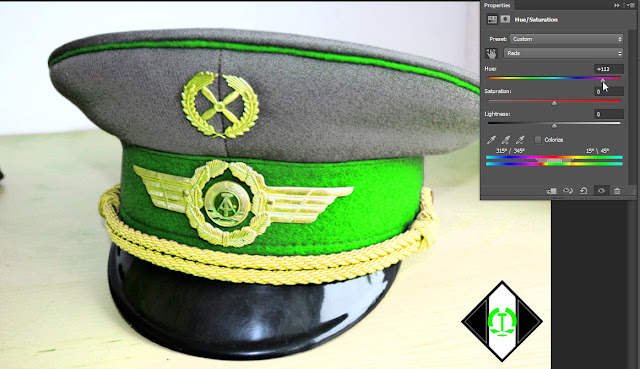
Step 9 : Drag the Hue slider to the right.
Step 10 : The color changes again.
And again.
And again. You can see how simple it is to change a particular color with Hue/Saturation.
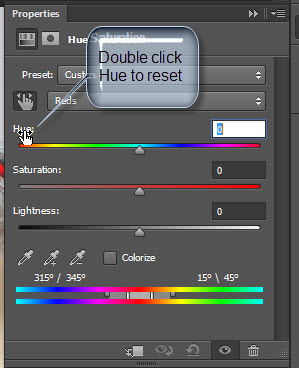
Step 11 : If you want to reset the Hue slider double click on Hue.
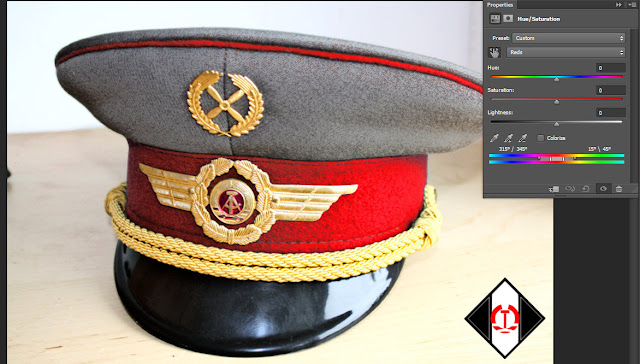
The cap returns to the original color.
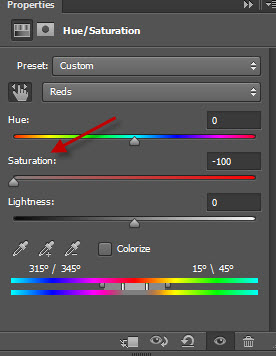
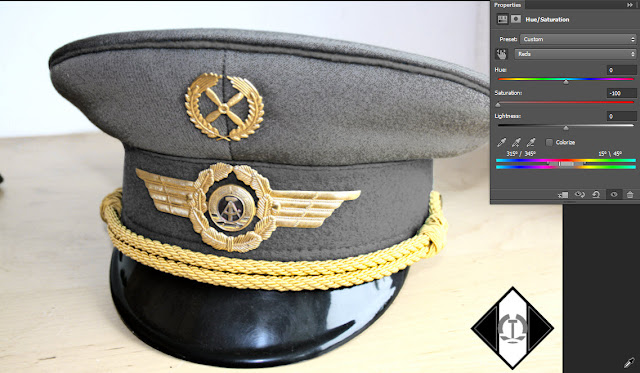
Step 12 : Drag the Saturation slider to 0.
All the color from the targeted area goes away.
Step 13 : Double click Saturation to reset it to 0.
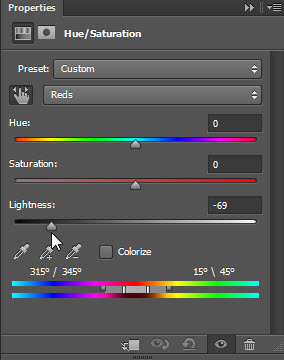
Step 14 : If you drag the Lightness slider to the left or right, the color deepens or lightens.
The red deepens if I drag to the left. It will lighten if I drag to the right.
I will change the color of the cap to this color.
Other photoshop tutorials are here:
