Do you like fishing? I do but I would not want to be the fisherman in the scene we will create in this tutorial! Get ready for some quick introductions to some of the most important topics in Photoshop (Layer Masks, clipping layers, smart objects, etc)! I will also guide you step by step through this tutorial and hopefully, you will achieve Photoshop enlightenment by the end of this tutorial!
Preview of Final Results
In this tutorial, we will create a fantasy underwater scene in Photoshop. You will need Photoshop CS3 or newer in order to follow this tutorial.
Tutorial Resources
- Underwater1 – monika-es-stock
- Nebula1 – Pixabay
- Birds Brush – midnightstouch
- Moon – Wikipedia
- Underwater2 – EvilHateYouAllStock
- Fish1 – Free-Stock-By-Wayne
- Fish2 – FreeImages.com
- Island – nuaHs
- Shark – Roys-Art
- Squid – Roys-Art
- Blood Brushes – Falln-Brushes
- Water Splash Brushes – XResch
- Boat – JinxMim
- Fisherman – FreeImages.com
- Cloud Brushes – JavierZhX
Step 1
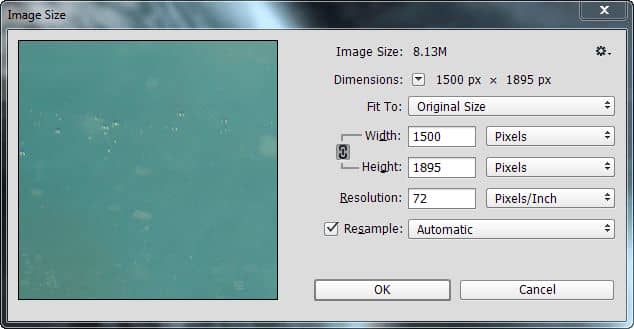
Create a new file 1500 x 1895 pixels.
Step 2
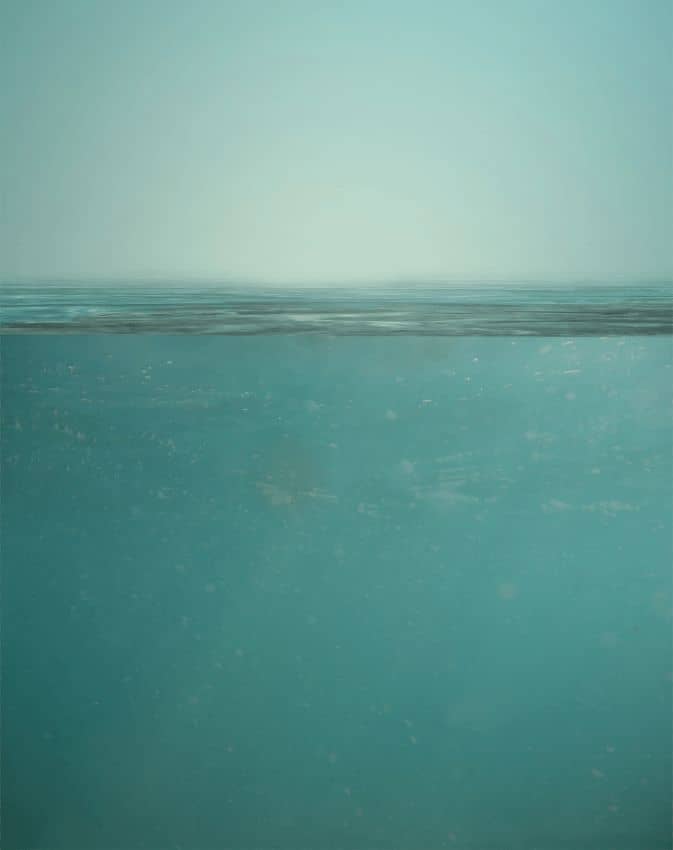
In this step, we will open another image file and we will do a copy paste to our document. In order to copy you either make a selection with a selection tool (Marquee tool, Pen Tool, etc. ) or you copy all (Ctrl + A). Pasting is done by pressing Ctrl + V. Once you have pasted the selection into our document you should convert it to a Smart Object (right-click the layer you want to convert and choose “Convert To Smart Object”) so you won’t lose any pixel data when you do resizes or apply filters. Next, you will probably need to resize and move the pasted layer. You can do that by pressing Ctrl + T to enter Free Transform and holding shift while resizing. You should follow these guidelines for every copy paste you will do in this tutorial (and for your own projects too because it is good practice). Alright, now open the image “Underwater”, copy all, paste in our document and resize as shown below (and don’t forget to convert this layer and all future pasted layers to a Smart Object).
Step 3
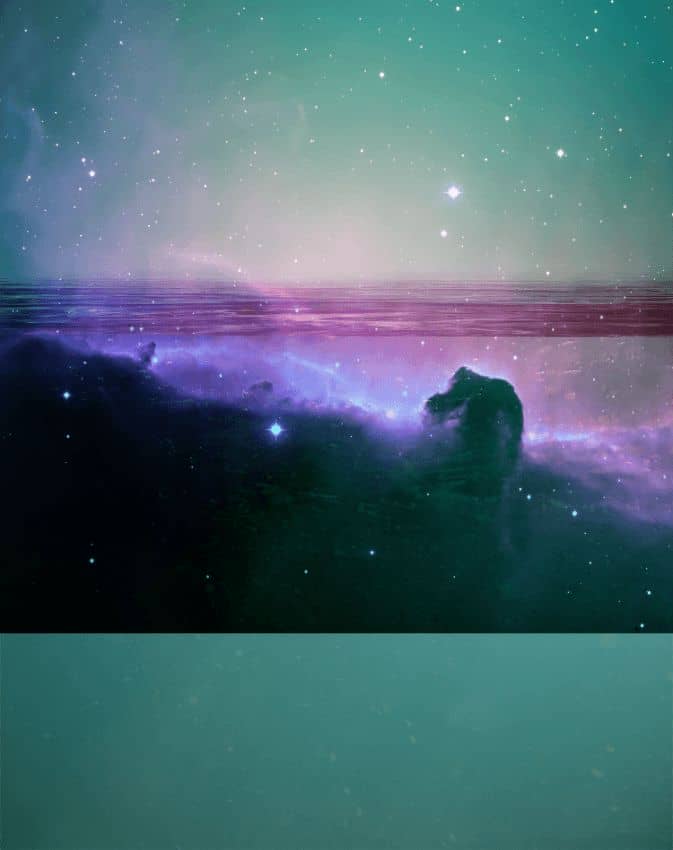
Open the image “Nebula”, select all and copy/paste into our document. Resize like shown below and change the blending mode to Overlay.
Step 4
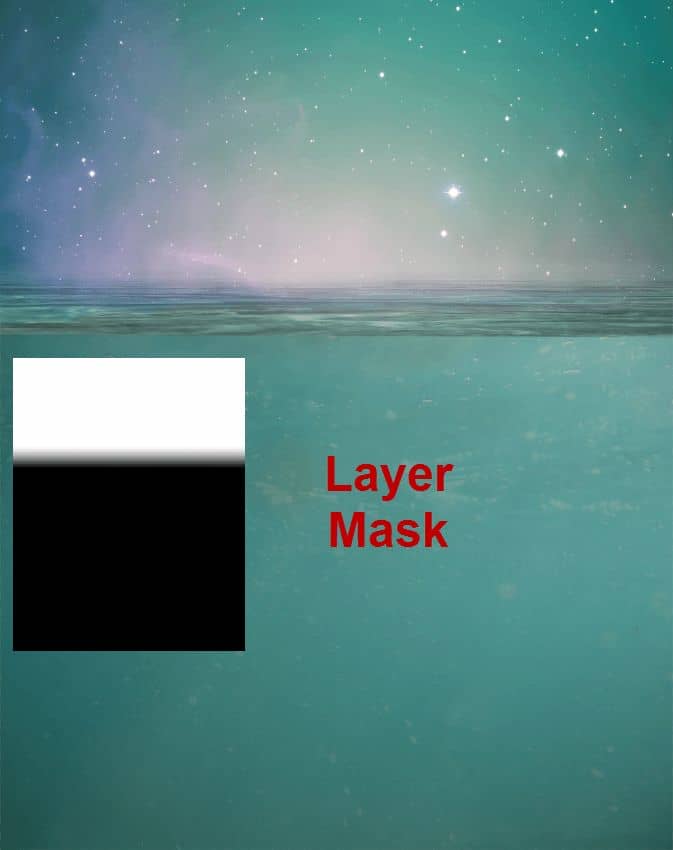
A quick word about layer masks because we will be using them extensively in this tutorial. If you paint with black in a layer mask you will hide that portion of the layer. If you paint with white you will reveal it. You can also use gradients in a layer mask. In order to add a layer mask to a layer you can either click on the Layer Mask button (a square with a circle in the middle, third one from the left)on the bottom of the Layer panel (press F7 to open the layer panel) or you can do this from the menu (Layer > Layer Mask > Reveal All). So from now on when I’ll say to hide something in the layer mask this means that you should first create a layer mask if it’s not there already and then with paint with black over the indicated area. If you paint with 50% Opacity you will partially hide/reveal the layer (it will show through). Give it a spin and get accustomed to the layer mask because you will need them for this tutorial and your personal projects. Hide the lower part of the nebula in the layer mask so that only that stars are visible (you can use the Gradient Tool – G key).
Step 5
You can import brushes by either double-clicking on them in the Explorer or go to Edit > Preset Manager and press the Load Button.Source link