Learn how to create a see-through water horse in Photoshop! The techniques we will use are fairly simple but I do my best to explain them in detail so you can use them on your future projects.
Preview of Final Results
Tutorial Resources
- Water Splash 1
- Water Splash 2
- Water Splash 3
- Water Splash 4
- Water Splash 5
- Water Splash 6
- Water Splash 7
- Horse
Step 1
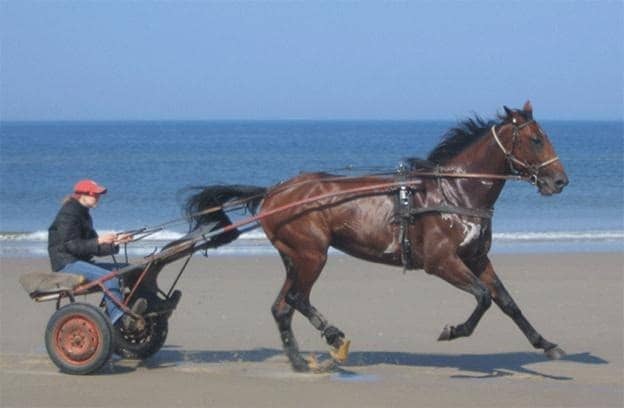
So, how do we transform a normal horse into a water horse? Well, first let’s open the image “Horse”. It is a very nice photo, full of dynamism and movement, almost begging for a cool photo manipulation. If you followed my previous tutorials on photoshoptutorials.ws you probably know how to make a fire horse and an ice horse so this should give yet another horse transformation solution.
Step 2
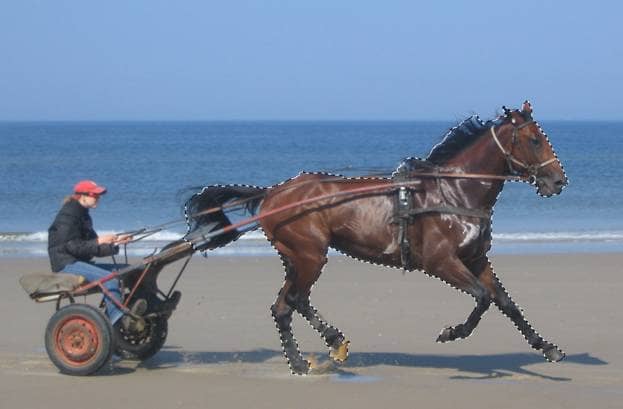
The first thing we should do it is to get rid of the horse and replace him with the background. Use the Lasso Tool (L) or the Quick Selection Tool to make a rough selection of the horse.
Step 3
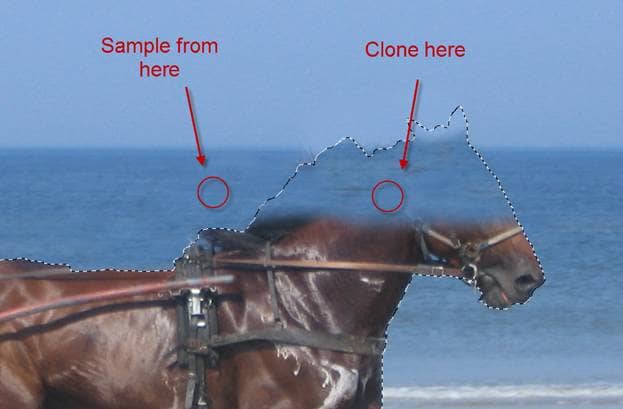
Now that we have a selection let’s select the Clone Stamp tool and start cloning from outside the selection and painting inside. Try to keep the sampling and cloning on the same line (don’t sample from the sky and clone way down where the sea should be). You can see in the image below that I replaced the head of the horse with the sea and the sky. To sample with the Clone Stamp tool Alt-click on the desired location.
Step 4
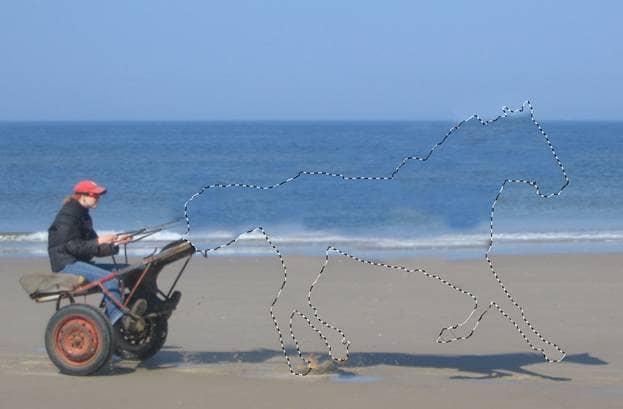
In the image below notice how I finished cloning and sampling the horse. The results are not perfect but I decided not to invest too much time because this area will be partially visible anyway. Now it is a good time to save the selection of the horse because we will make good use of it in a next step. To save a selection choose Select > Save Selection and write a name.
Step 5
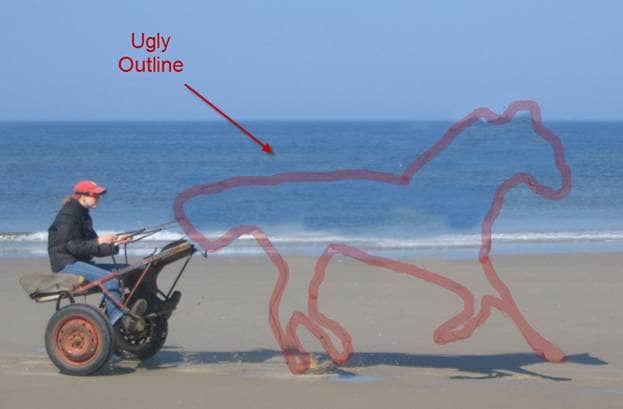
Press Ctrl + D to deselect. Notice that we have a dark, ugly line contouring the horse. Get rid of it by selecting the Clone Stamp tool again and carefully sample and clone. Take it slow, don’t hurry and if you made a mistake it is better to go a step back (Ctrl + Z or Ctrl + Alt + Z for multiple steps) then try and work over it.
Step 6
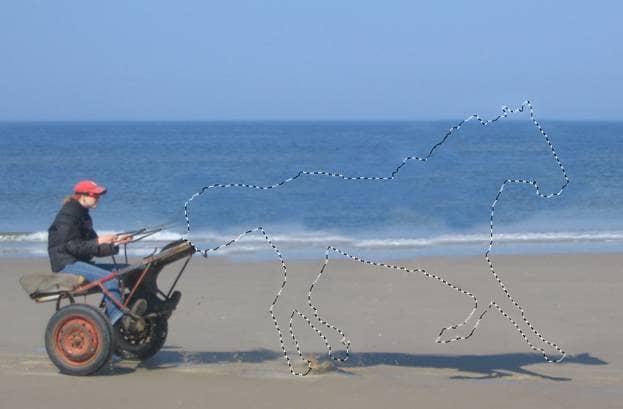
Remember that I told you to save the selection of the horse in step 4? Now it’s time to use it. Load the selection by choosing Select > Load Selection and from the drop down menu select the name you used to save it in step 4.
Step 7
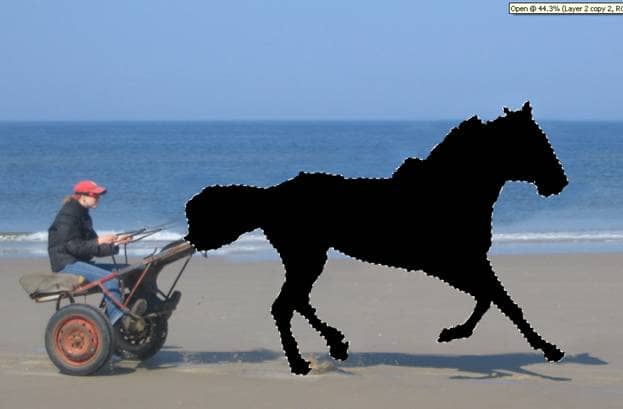
Create a new layer by pressing Ctrl + Shift + Alt + N and press Alt + Backspace to fill the selection with the foreground color. It doesn’t really matter what color it is.
Step 8.
Name the layer you created on the previous step “Horse Glue” (sounds strange but this will be the layer that will glue together all the splashes of water and make it feel like a real horse and not just some random drops of water) or any other name and double click on it to enter the Advanced Blending Options screen. Here I want you to drop the Fill to 0% and the Opacity to 75%. In case you didn’t know Fill controls the opacity of the layer itself while Opacity controls the opacity of the layer and of the layer effects together. So if you lower the Fill to 0% the color that you used to fill the horse selection with and that represents the pixels of the layer will be rendered invisible but the future layer effects will be fully visible. Cool, huh?