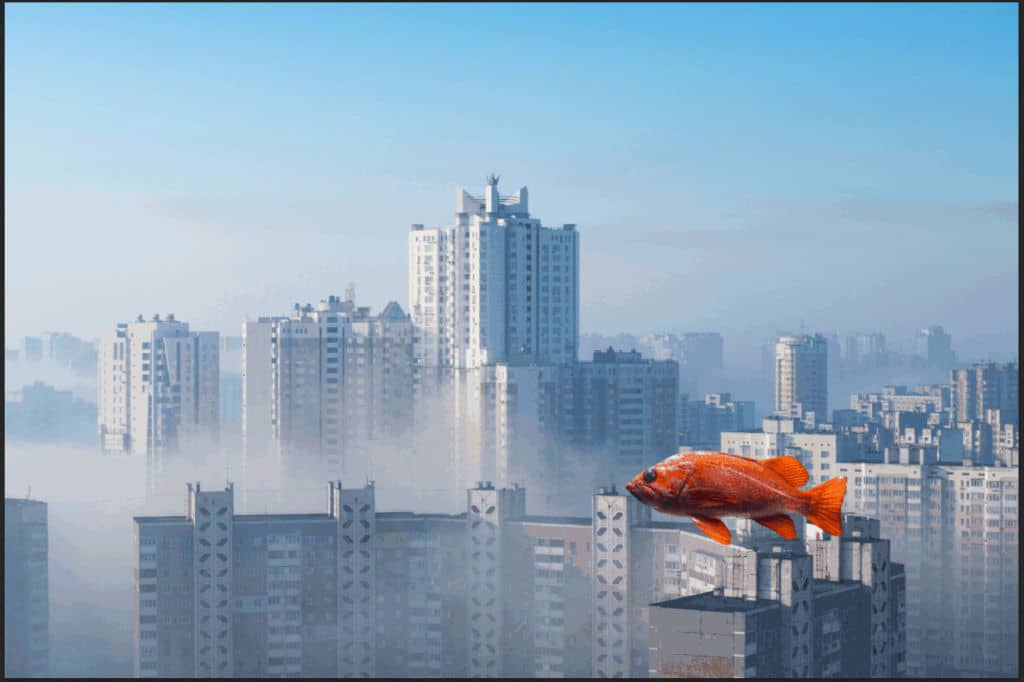
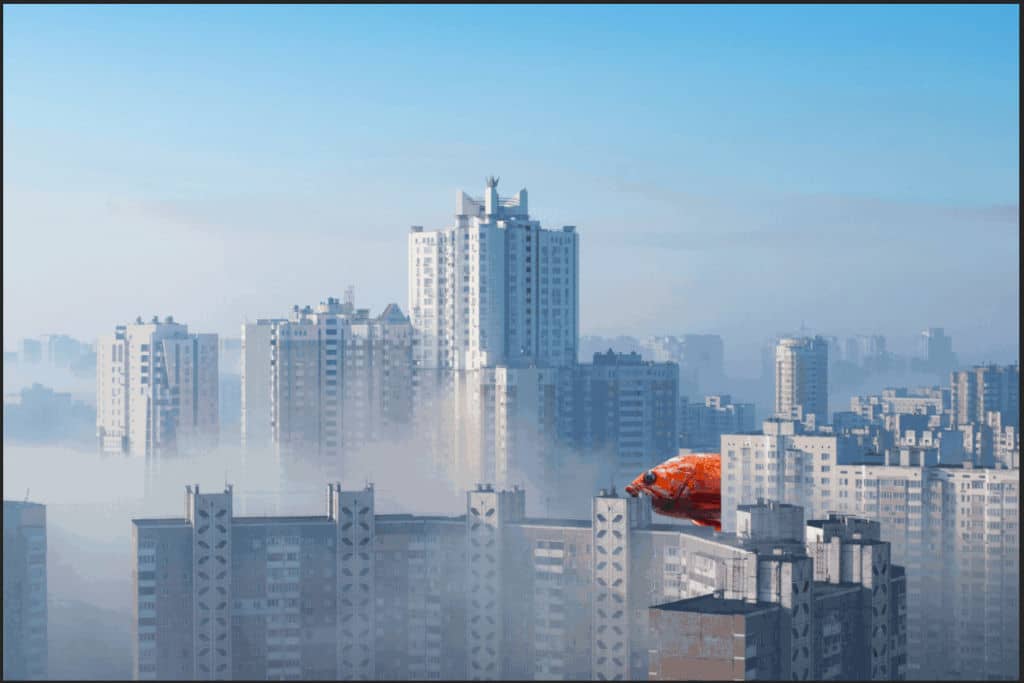
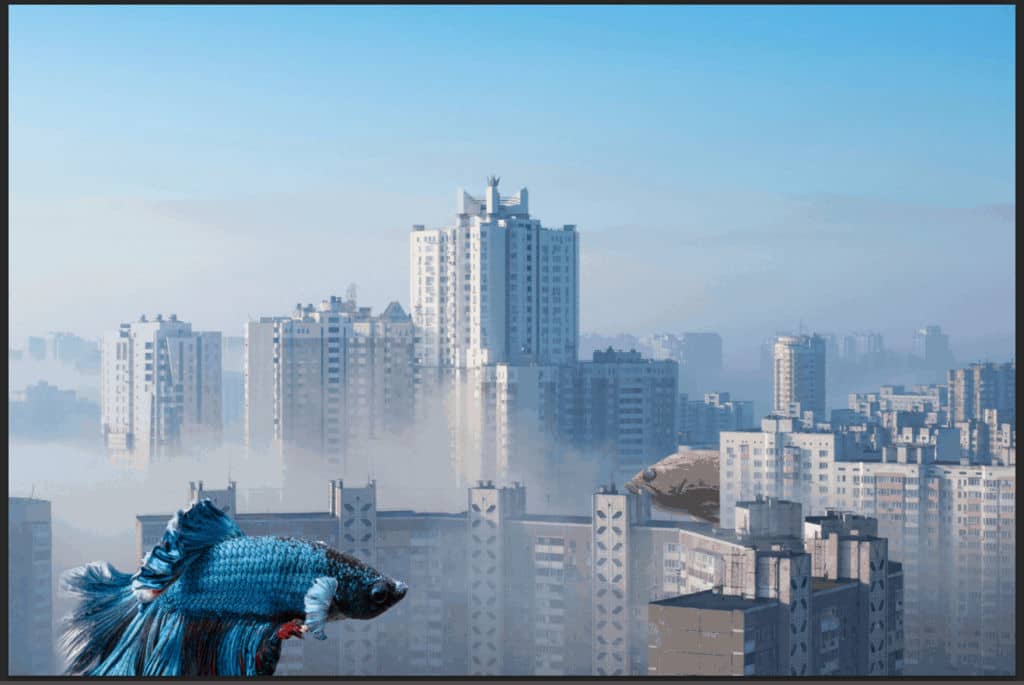
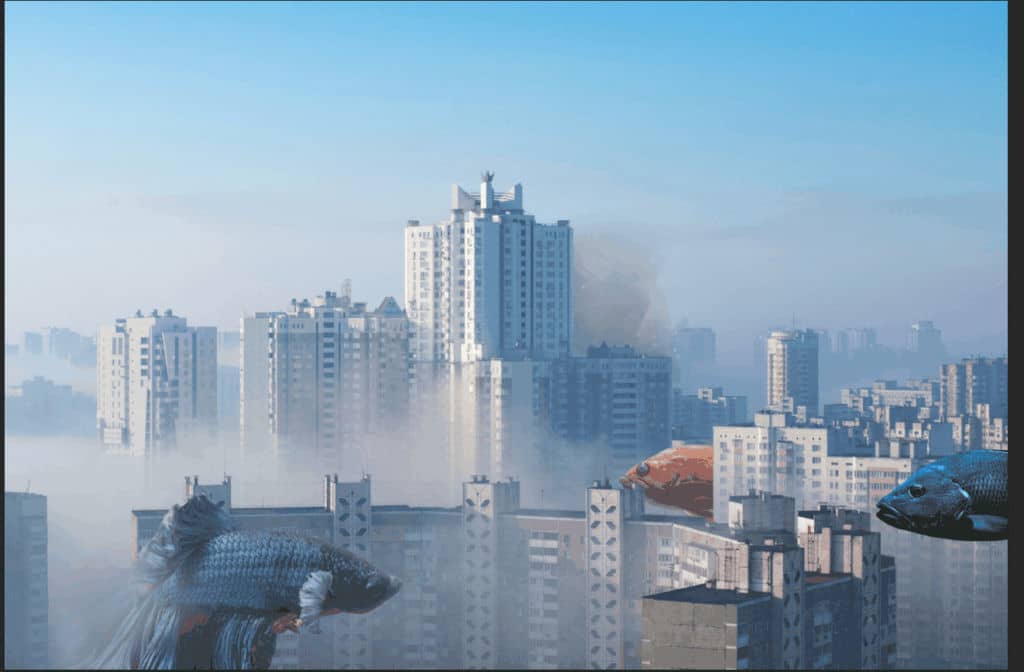
What is a fish without a river? What is a bird without a tree to nest in? What is an Endangered Species Act without any enforcement mechanism to ensure their habitat is protected? It is nothing. In this Photoshop tutorial, we will learn how to create a Surreal City of Fishes. First, we open a Background photo then start adding fishes and retouching fishes with Brush Tool and Adjustment Layers. Then add Underwater photo and finally use the Camera Raw Filter.
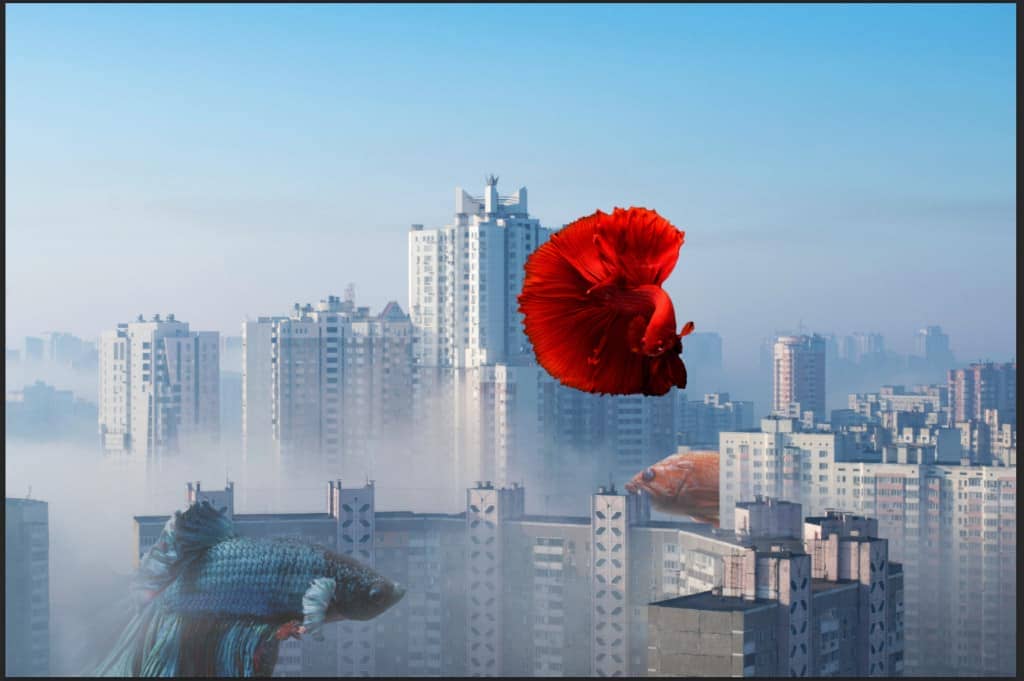
Preview of Final Image

Tutorial Resources
Step 1
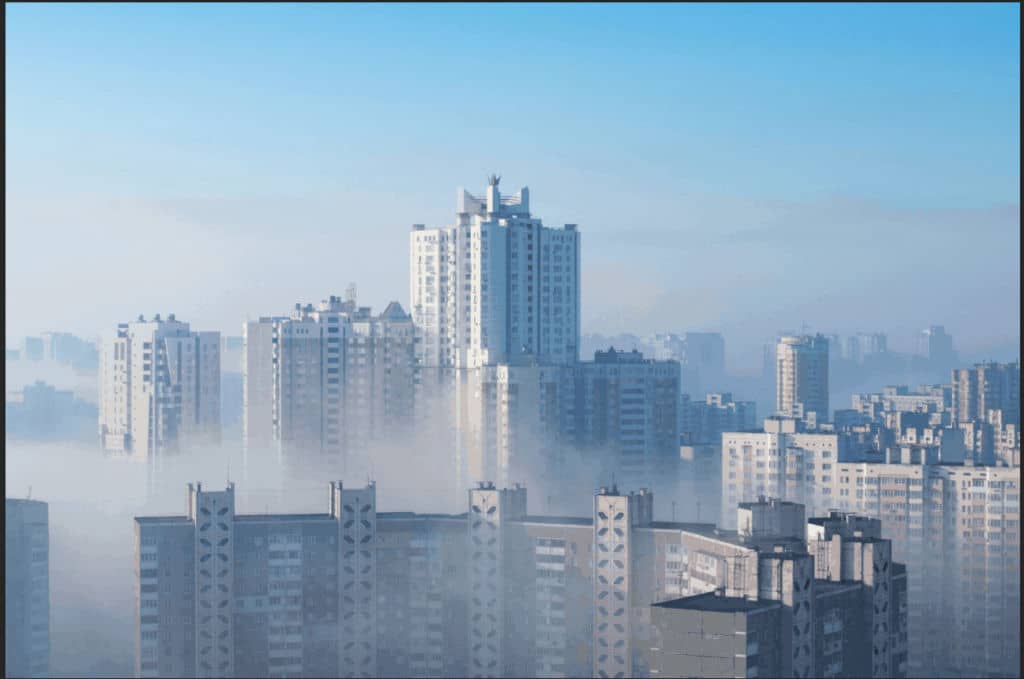
In this step we will open a Background photo, go to File > Open and select City. Duplicate it press Ctrl/Cmd + J.
Step 2
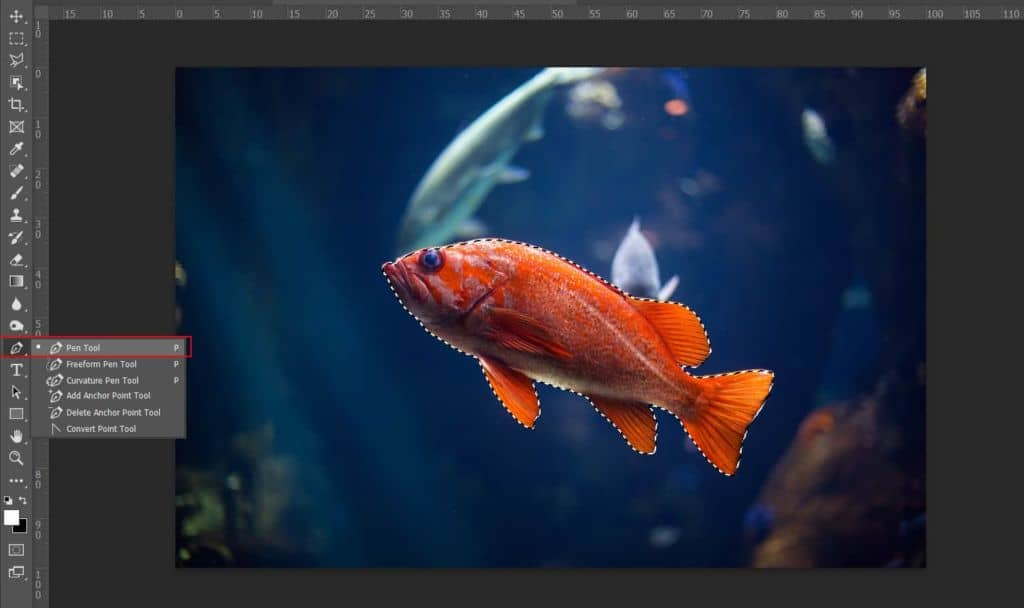
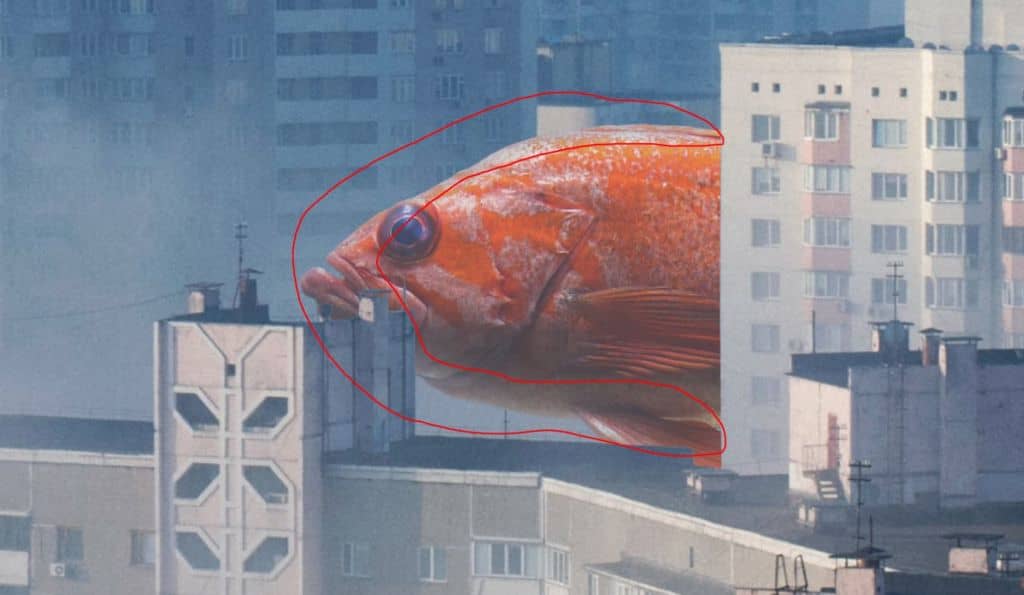
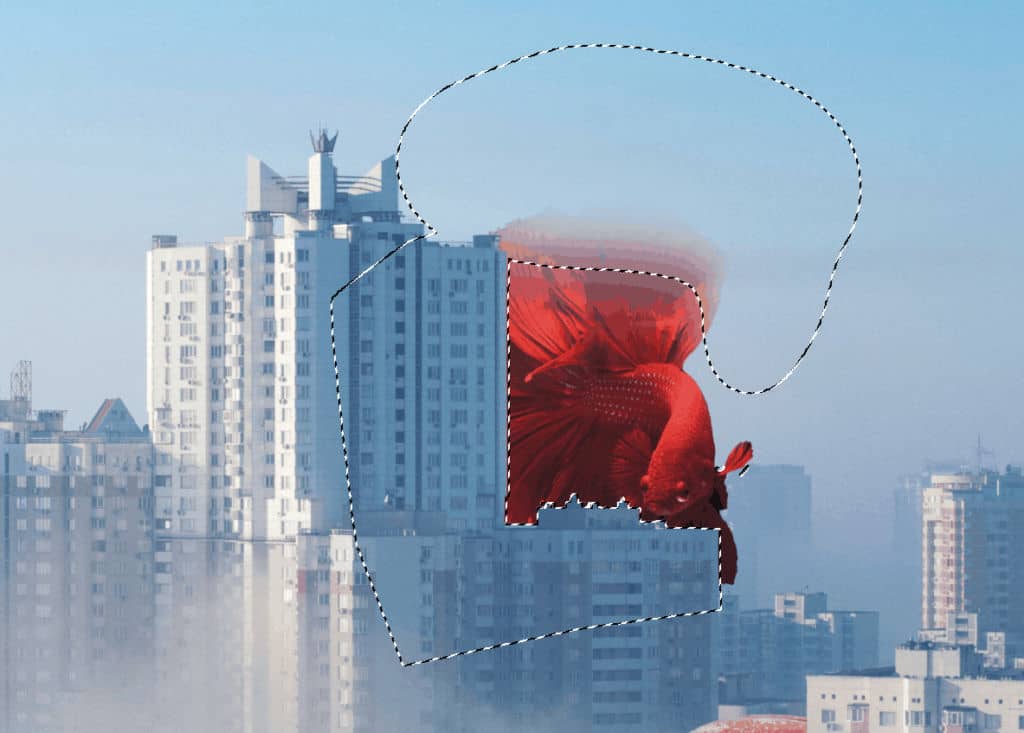
Now, go to File > Open and select Fish 1. Then use a Pen Tool(P) and start selecting. When we finish the selection press right click on mouse and “Make Selection”.The simplest path you can draw with the standard Pen tool is a straight line, made by clicking the Pen tool to create two anchor points. By continuing to click, you create a path made of straight line segments connected by corner points.
- Select the Pen tool.
- Position the Pen tool where you want the straight segment to begin, and click to define the first anchor point (do not drag).
- Click again where you want the segment to end
- Continue clicking to set anchor points for additional straight segments.
- The last anchor point you add always appears as a solid square, indicating that it is selected. Previously defined anchor points become hollow, and deselected, as you add more anchor points
- Complete the path by doing one of the following:
- To close the path, position the Pen tool over the first (hollow) anchor point. A small circle appears next to the Pen tool pointer
 when it is positioned correctly. Click or drag to close the path.
 - To leave the path open, Ctrl-click (Windows) or Command-click (Mac OS) anywhere away from all objects. To leave the path open, you can also select a different tool.

Feather Radius set to 0px and check Anti-alliased. After the selection area has been created, simply copy (Ctrl / Cmd + C) and Paste (Ctrl / Cmd + V) it to our work canvas. Then position the image with the transform tool (Ctrl / Cmd + T). Hold Alt + Shift and resterize like image below. In Photoshop CC only hold Alt to resterize al sides together.
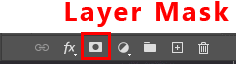
Then create a layer mask and use Brush Tool(B) Soft Round with foreground color black and paint to delete some parts.
Step 3
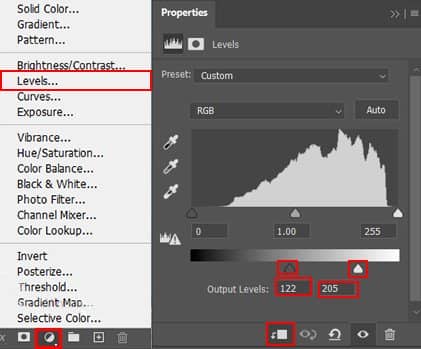
Add Adjustment Layer “Levels”

Step 4
Now create a new layer and use Brush Tool(B) Soft Round with foreground color #8d9aad and paint edges of fish, only flow of brush set to 10%.

Next open Blending Options and on Underlying Layer hold Alt and move slider to right.

Step 5
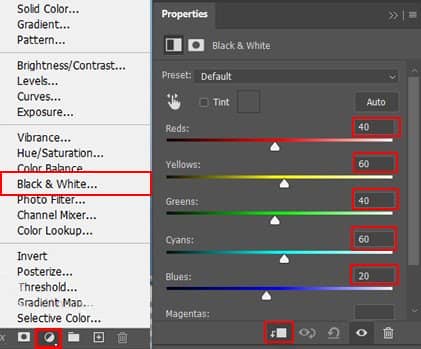
Add Adjustment Layer “Black and White” Opacity set to 30%.

Step 6
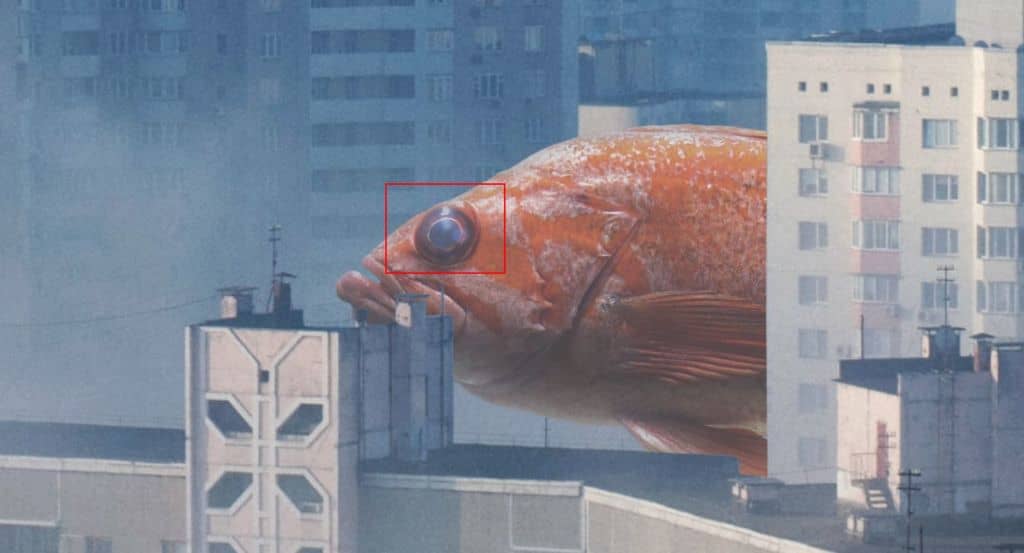
Next add some color to eye, create a new layer and blend mode set to Color Dodge with opacity 26%. Use Brush Tool(B) Soft Round with foreground color Gray #808080 and paint.
Step 7
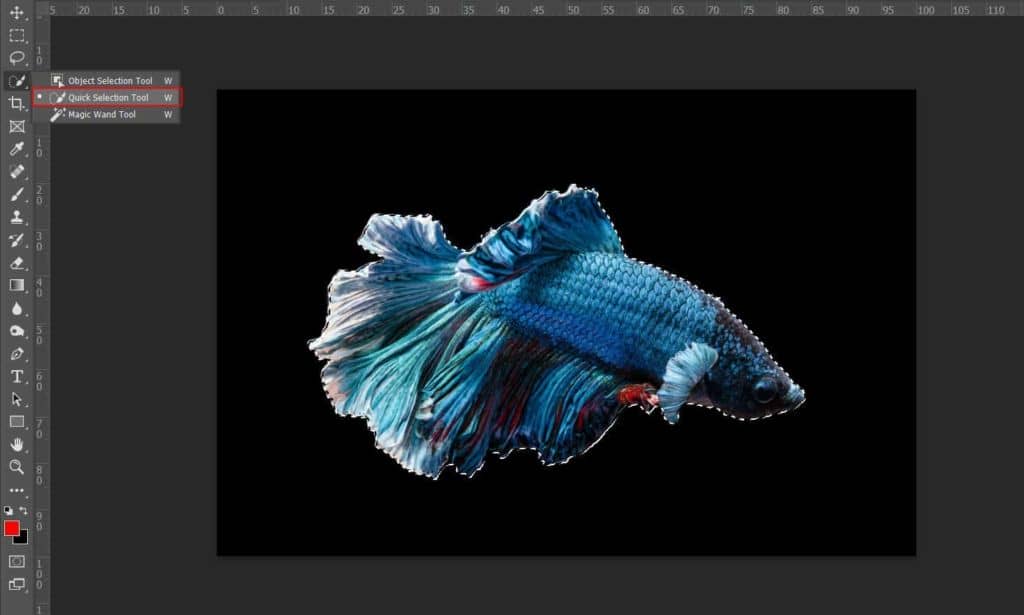
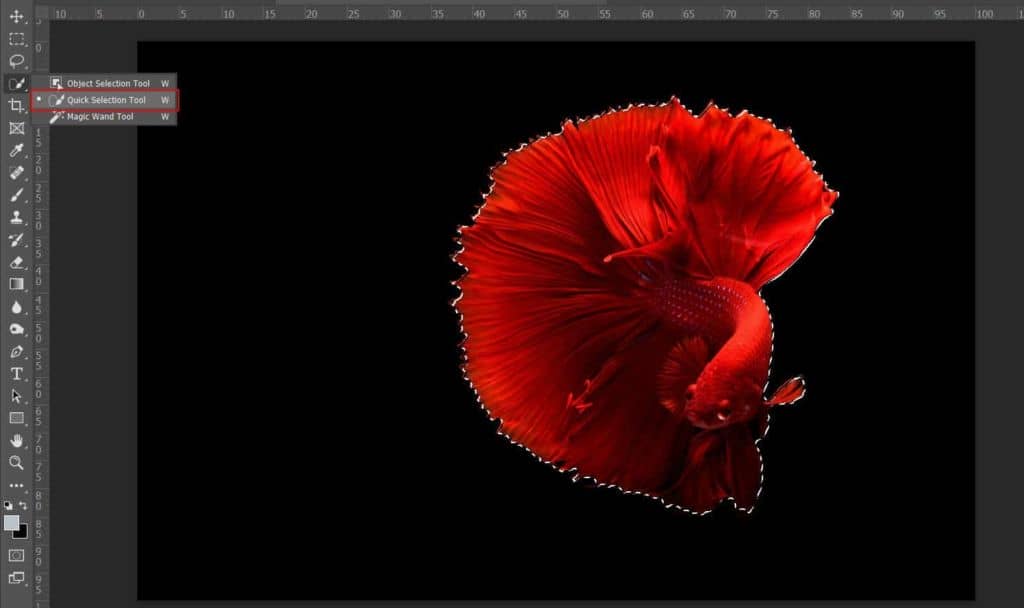
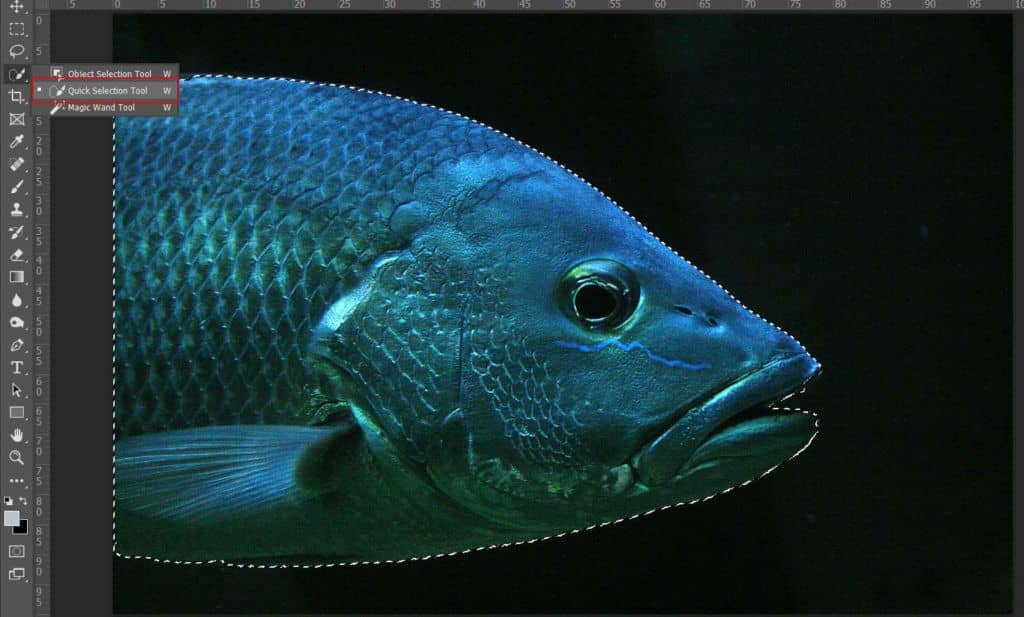
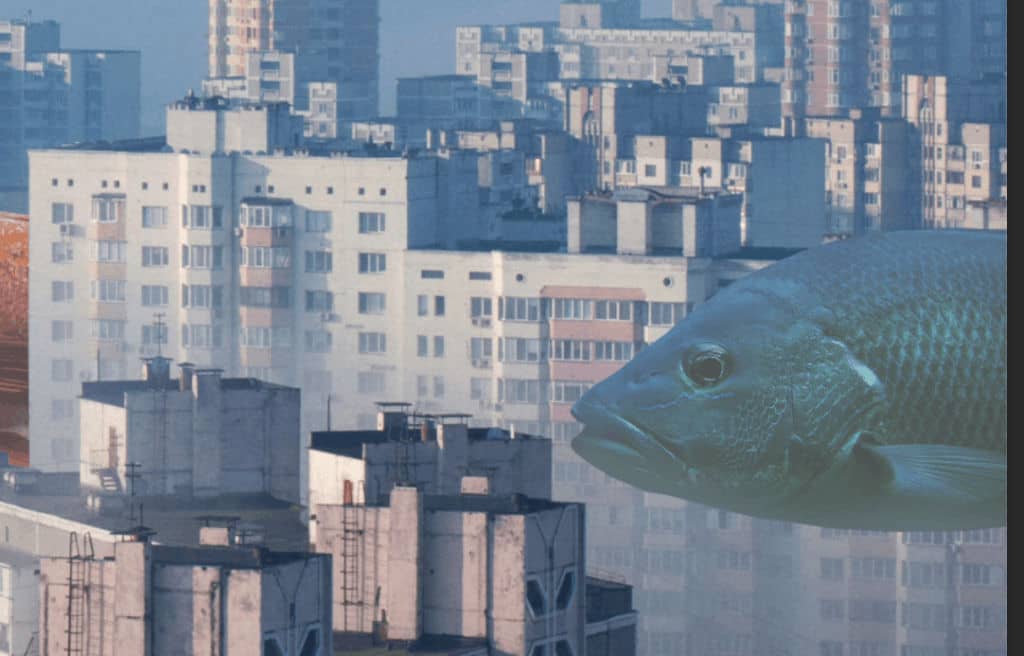
Next we will open Fish 2. After you open the image, use Quick Selection Tool(W) and start selecting the Fish. After the selection area has been created, simply copy (Ctrl / Cmd + C) and Paste (Ctrl / Cmd + V) it to our work canvas. Then position the image with the transform tool (Ctrl / Cmd + T). Hold Alt + Shift and resterize like image below. In Photoshop CC only hold Alt to resterize al sides together.
Make a selection with the Quick Selection tool
Select the Quick Selection tool in the Tools panel.
Add a checkmark to the Auto-Enhance option in the Options bar.
Click and drag over an area you want to select. The tool automatically selects similar tones and stops when it finds image edges.
Add to the selection
To add to the initial selection, just click and drag over another area. The Quick Selection tool automatically changes to the Add to selection option.
Subtract from the selection
To subtract from the initial selection, press the Option key (MacOS) or Alt key (Windows) as you select an area you want to remove from the selection. When you release the Option or Alt key, the Quick Selection tool switches back to its Add to selection option.
Step 8
Add Adjustment Layer “Levels”

Step 9
Add Adjustment Layer “Black and White” Opacity set to 13%.
Step 10
Next, create a new layer and make it clipping mask. After that use Brush Tool(B) Soft Round with foreground color #b9c2cb and paint. Brush Flow set to 10%, look at picture below.

Step 11
Next we will open Fish 3. After you open the image, use Quick Selection Tool(W) and start selecting the Fish. After the selection area has been created, simply copy (Ctrl / Cmd + C) and Paste (Ctrl / Cmd + V) it to our work canvas. Then position the image with the transform tool (Ctrl / Cmd + T). Hold Alt + Shift and resterize like image below. In Photoshop CC only hold Alt to resterize al sides together.
Make a selection with the Quick Selection tool
Select the Quick Selection tool in the Tools panel.
Add a checkmark to the Auto-Enhance option in the Options bar.
Click and drag over an area you want to select. The tool automatically selects similar tones and stops when it finds image edges.
Add to the selection
To add to the initial selection, just click and drag over another area. The Quick Selection tool automatically changes to the Add to selection option.
Subtract from the selection
To subtract from the initial selection, press the Option key (MacOS) or Alt key (Windows) as you select an area you want to remove from the selection. When you release the Option or Alt key, the Quick Selection tool switches back to its Add to selection option.
Then create a layer mask and use Brush Tool(B) Soft Round with foreground color black and paint to delete some parts.

Step 12
Add Adjustment Layer “Levels”
Step 13
Add Adjustment Layer “Black and White” Opacity set to 45%.

Step 14
Next create a new layer and use Brush Tool(B) Soft Round with foreground color#a5c4d8 and start painting on Fish. Brush Flow set to 10%. Right click on layer and set Clipping mask.


Step 15
Add Adjustment Layer “Hue/Saturation” Opacity set to 36%.

Step 16
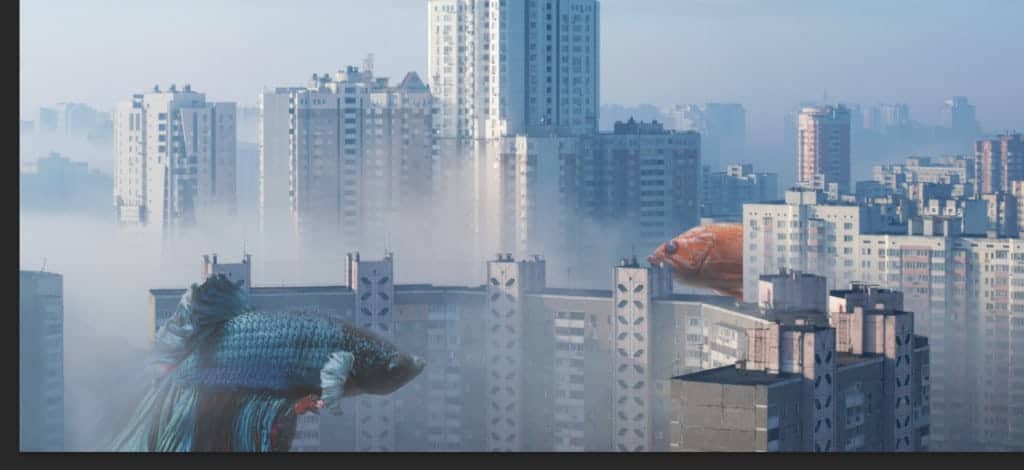
Next we will open the last Fish. After you open the image, use Quick Selection Tool(W) and start selecting the Fish. After the selection area has been created, simply copy (Ctrl / Cmd + C) and Paste (Ctrl / Cmd + V) it to our work canvas. Then position the image with the transform tool (Ctrl / Cmd + T). Hold Alt + Shift and resterize like image below. In Photoshop CC only hold Alt to resterize al sides together.
Step 17
Add Adjustment Layer “Levels”

Step 18
Create a new layer amd make it Clipping mask. After that use Brush Tool(B) Soft Round with foreground color #758293 and paint around fish.

Step 19
Add Adjustment Layer “Black and White” Opacity set to 25%.

Step 20
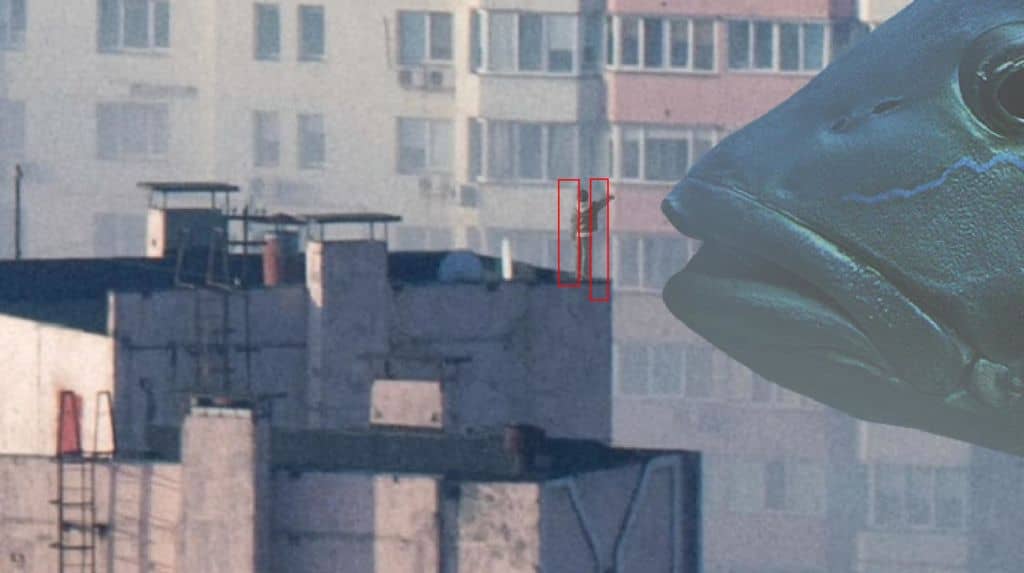
Now, go to File > Open and select Boy. Then use a Pen Tool(P) and start selecting. When we finish the selection press right click on mouse and “Make Selection” then create layer mask..The simplest path you can draw with the standard Pen tool is a straight line, made by clicking the Pen tool to create two anchor points. By continuing to click, you create a path made of straight line segments connected by corner points.
- Select the Pen tool.
- Position the Pen tool where you want the straight segment to begin, and click to define the first anchor point (do not drag).
- Click again where you want the segment to end
- Continue clicking to set anchor points for additional straight segments.
- The last anchor point you add always appears as a solid square, indicating that it is selected. Previously defined anchor points become hollow, and deselected, as you add more anchor points
- Complete the path by doing one of the following:
- To close the path, position the Pen tool over the first (hollow) anchor point. A small circle appears next to the Pen tool pointer when it is positioned correctly. Click or drag to close the path.
- To leave the path open, Ctrl-click (Windows) or Command-click (Mac OS) anywhere away from all objects. To leave the path open, you can also select a different tool.
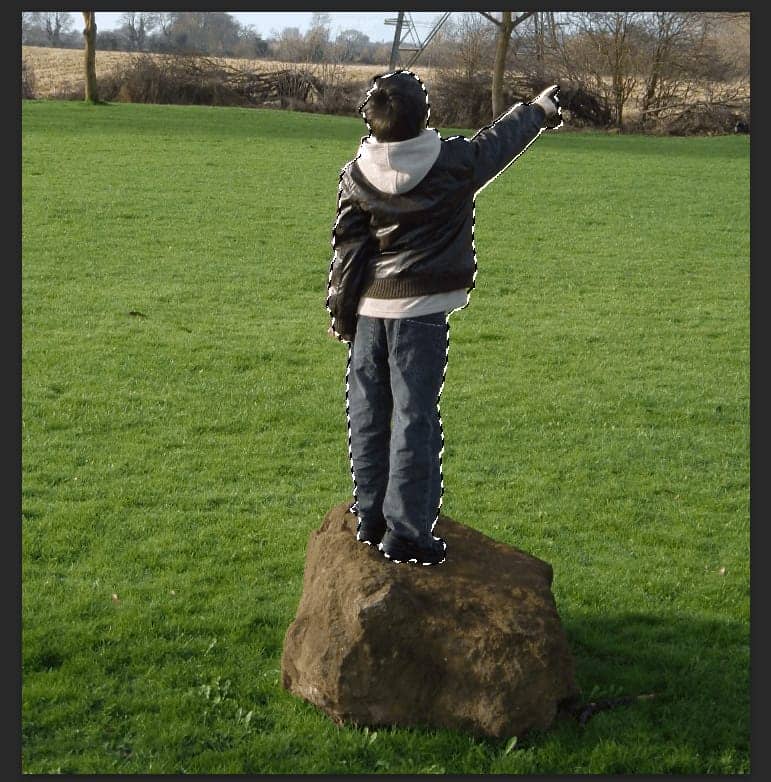

Feather Radius set to 0px and check Anti-alliased. After the selection area has been created, simply copy (Ctrl / Cmd + C) and Paste (Ctrl / Cmd + V) it to our work canvas. Then position the image with the transform tool (Ctrl / Cmd + T). Hold Alt + Shift and resterize like image below. In Photoshop CC only hold Alt to resterize al sides together.

Step 21
Add Adjustment Layer “Levels”

Step 22
Create a new layer and make Clipping Mask. Use Brush Tool(B) Soft Round with foreground color #b0b0b2 and flow 10%. Then start painting, look at picture below.


Step 23
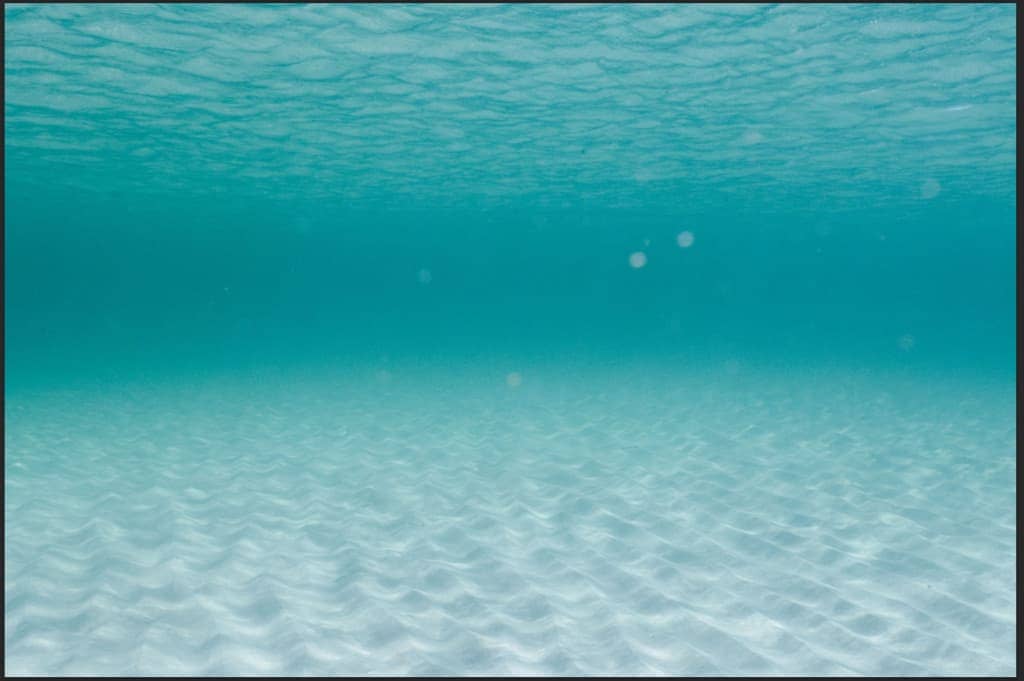
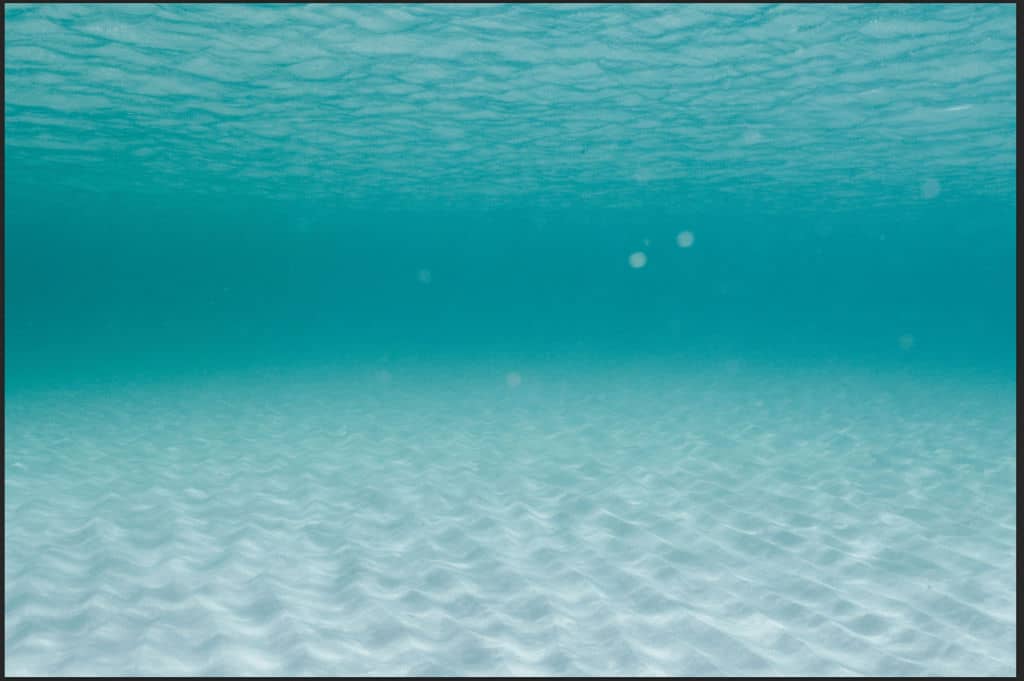
Next, Open Underwater photo stock and use Rectangular Marquee Tool(M). With the Rectangular Marquee tool, drag over the area you want to select. Hold down Shift as you drag to constrain the marquee to(release the mouse button before you release Shift to keep the selection shape constrained). After the selection area has been created, simply copy (Ctrl / Cmd + C) and Paste (Ctrl / Cmd + V) it to our work canvas. Then position the image with the transform tool (Ctrl / Cmd + T). Hold Alt + Shift and resterize like image below. In Photoshop CC only hold Alt to resterize al sides together.
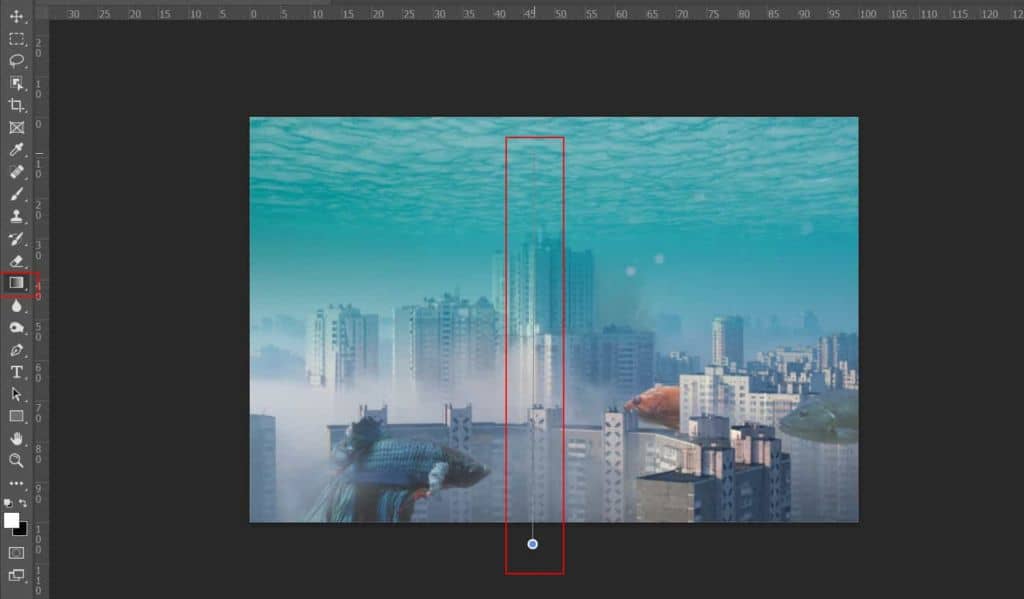
Now create a layer mask then Use Gradient Tool(G) with foreground color black/white and drag from the bottom of the image to the top as in the example you see.

Step 24
Add Adjustment Layer “Gradient Map” and change blend mode to Hue with Opacity 60%.

Step 25
Add Adjustment Layer “Selective Color”

Step 26
Add Adjustment Layer “Color Balance”

Step 27
When we finished all this, now merge all layers to one. Slecet the last layer and hold CTRL/CMD + SHIFT + ALT + E. Now we have a final layer, right click on mouse and select Convert to Smart Object. Then go to Filter > Camera RAW Filter. At its most basic, the Photoshop Camera Raw filter allows you to use the functions of the ACR interface at any time within Photoshop. This allows you to make any adjustments within ACR at any time during your workflow instead of just limiting its usage to the raw processing stage.While it would be possible to import your working file into Lightroom to make the same sets of adjustments, doing this in Photoshop saves you from that cumbersome step. It allows you the use of these tools without any extra effort. Opacity set to 40%.

Step 28
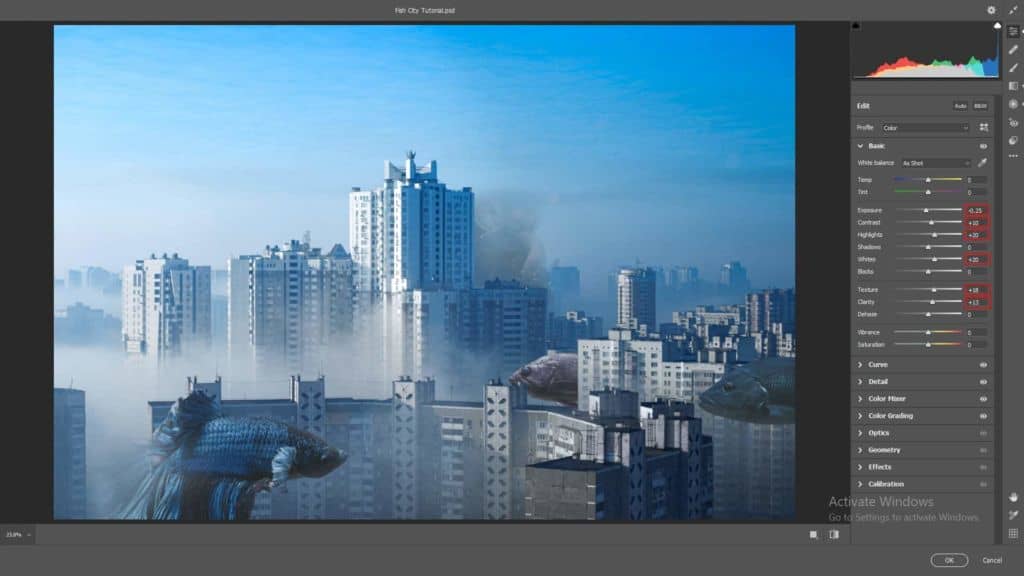
Now in Camera Raw Filter, set the Value: Basic
- Exposure: -0.25
- Contrast: +10
- Highlights: +20
- Whites: +20
- Texture: +18
- Clarity: +13
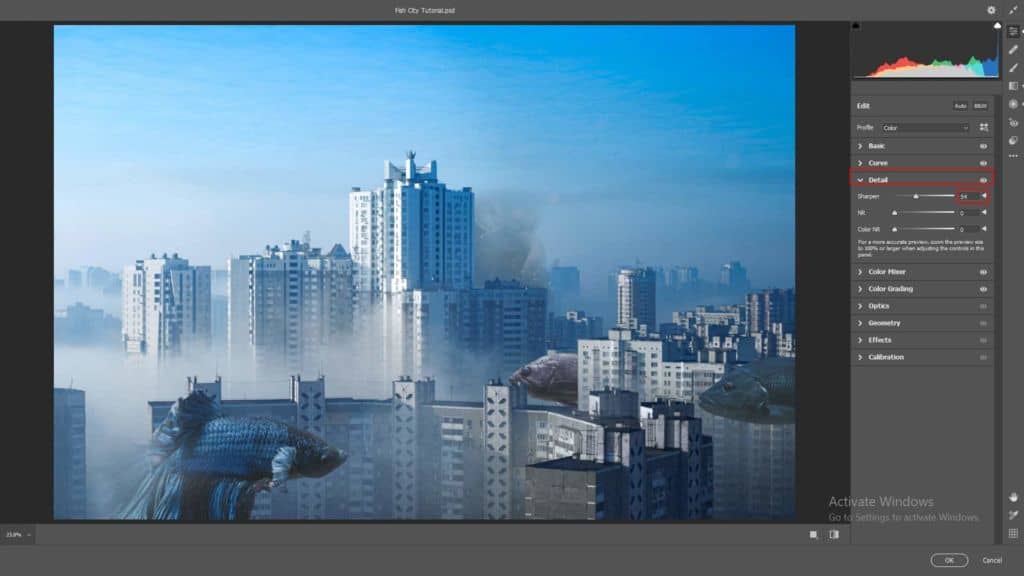
Detail
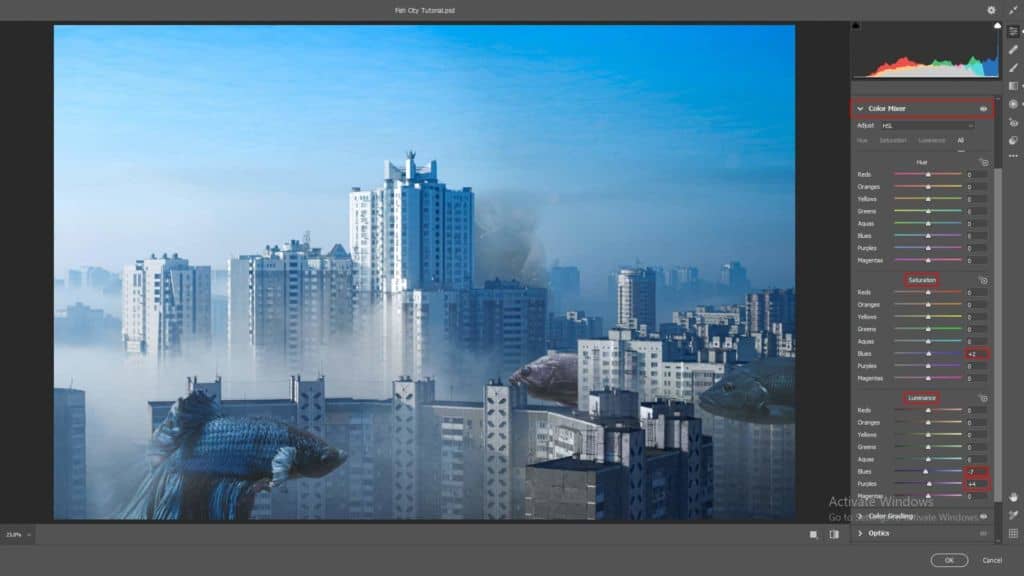
HSL Adjustments Saturaion
Luminance
Color Grading
Highlights:

Gradulated Filter
- Exposure: -0.15
- Highlights: -8
- Shadows: -7
- Blacks: -3
- Dehaze: +6

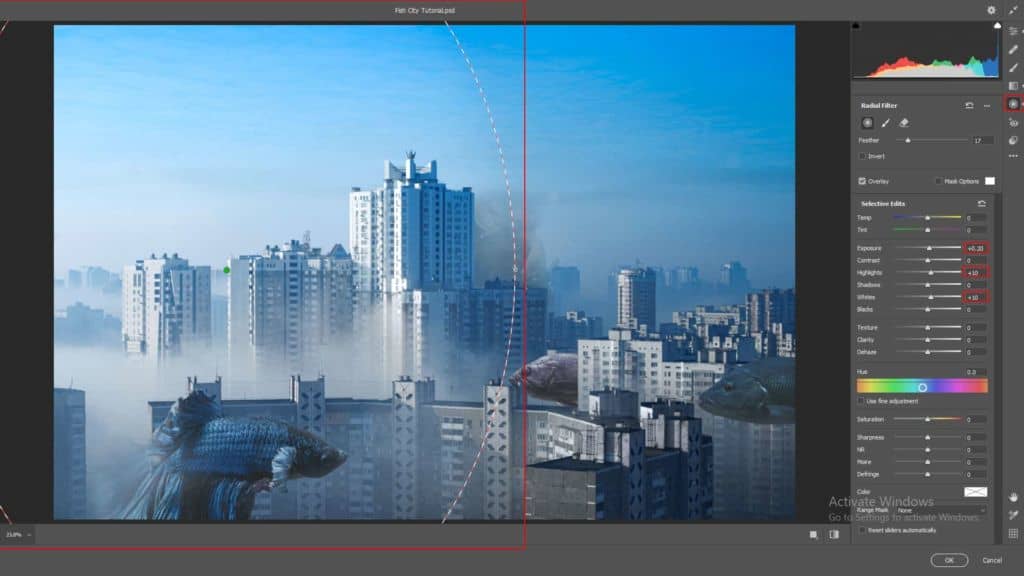
Radial Filter
- Exposure: +0.20
- Highlights: +10
- Whites: +10
And finally, everything should look like this.

Final Results