Pradip Chowdhury
Sometimes an image seems to lack contrast. Do you use the Brightness and Contrast to increase contrast? There is a simple way to increase contrast in any version of Photoshop. It can be done quickly and does not need special expertise.
Sometimes an image seems to lack contrast. Do you use the Brightness and Contrast to increase contrast? There is a simple way to increase contrast in any version of Photoshop. It can be done quickly and does not need special expertise.
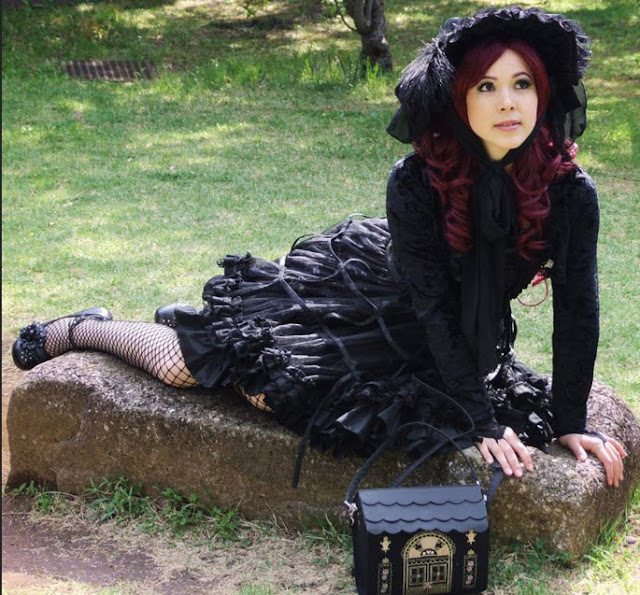
The contrast of this image has been increased. The original is below.
Step 1 : I will be using this stock image. You will find it here
It belongs to Lady-Lilith666-Stock
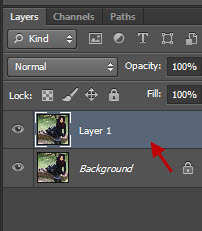
Step 2 : Duplicate the Background Layer by pressing CTRL+J. Layer 1 forms.
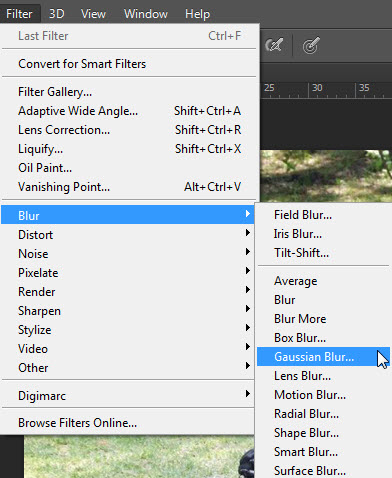
Step 3 : Go to Filter>Blur>Gaussian Blur.
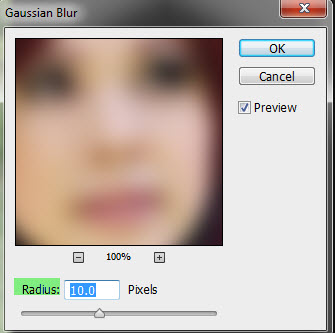
Step 4 : In the Gaussian Blur dialogue box set a high Radius depending on your image. I have set the Radius at 10. Click OK.
The image looks like this.
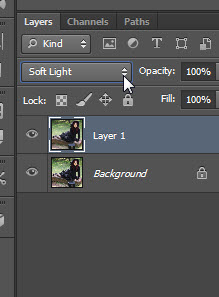
Step 5 : Change the Blend Mode to Soft Light from Normal.
The image looks like this. The contrast has increased, but some of the details like the hair and the pleats of the skirt are difficult to make out. That will be fixed in a moment.
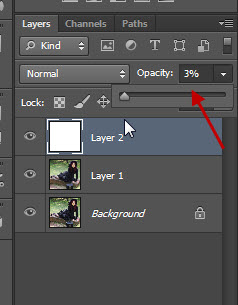
Step 6 : Click the New Layer icon. A new Layer 2 forms.
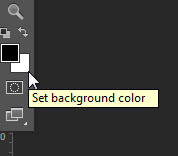
Step 7 : The Foreground/Background Colors are set the default Black/White.
Step 8 : Press CTRL+BACKSPACE to fill with the Background Color which is White. Layer 2 fills with White. The layers below cannot be seen.
Step 9 : Lower the Opacity of Layer 2 to 3%.
The image looks like this.
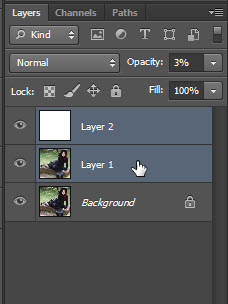
Step 10 : With Layer 2 highlighted, click on Layer 1. Both layers are highlighted.
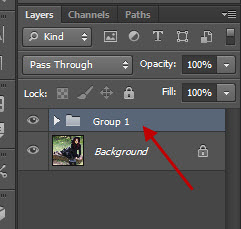
Step 11 : Press CTR+G. The two layers are now in Group 1 layer.
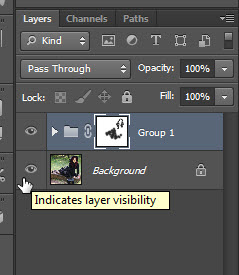
Step 12 : Click the Layer Mask icon. A layer mask forms on Group 1 layer.
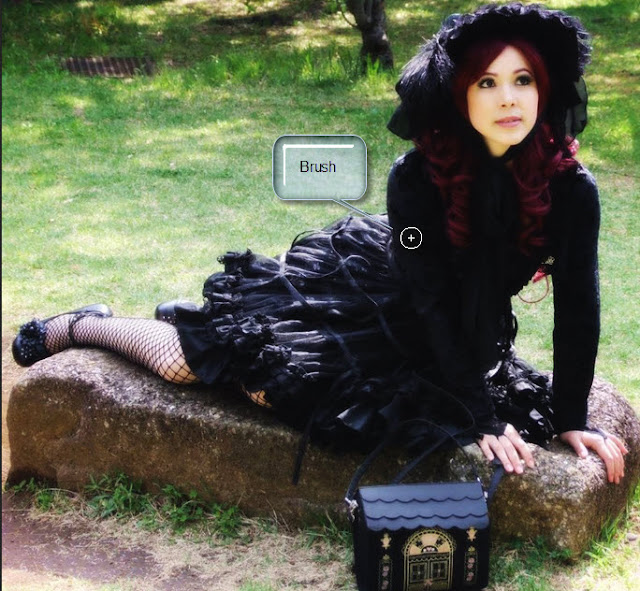
Step 13 : Press b for the Bush Tool. Press SHIFT+[ (square bracket) a number of times to make the Brush soft. To increase the size of the Brush press ] (right square bracket) and to decrease it [ (left square bracket).
Step 14 : In the top panel make sure that the Opacity and Flow is set to the default 100%.
Step 15 : Go over the hair with the Brush to make it visible.
Step 16 : Go over the skirt with the Brush to reveal the details.
Look at the Mask. You can see where I have painted with the Brush.
The completed image.
Press ALT+the eye icon of the Background Layer to see the difference.
Other photoshop tutorials are here
