You want to make your child a memorable picture or want to make an amazing gift, or an interesting looking child photo manipulation, or want to create a magical and lovely image, or want to learn how to create the effect of phosphorescent stars? Then this tutorial is for you! This tutorial will show you from start to finish how to create this magical photo manipulation! Read this tutorial and learn how to create interesting effects create interesting and beautiful picture!
What you’ll be creating
The first step is creating background and adding textures. The second step is adding mushrooms and bugs The next step is to add the model and create the effect of magic and neon stars. In the final stage, we will add small details and special effects. You need any version of Photoshop, inspiration, attention, good mood!
Tutorial Resources
Step 1
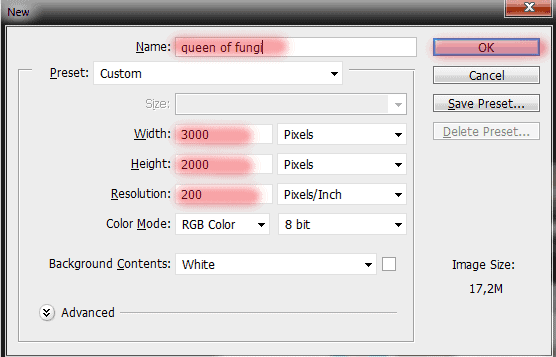
Before you start, download all the material in one place. So it will be easier to work with them. Download resources in the best quality, using the “Download” button in the top-right corner of the page with resource on site DeviantART.com. Open Photoshop and start by creating! Create a new document. Go to File > New or the short key Cmd /Ctrl+ N. A blank document with size of 3000 pixels wide and 2000 pixels high, resolution 200 Pixels/Inch. I named the document “Queen of fungi”.
Step 2
Now I have added a background picture. Go to File > Place and select the image “Moss_stock_6_by_rustymermaid_stock”.
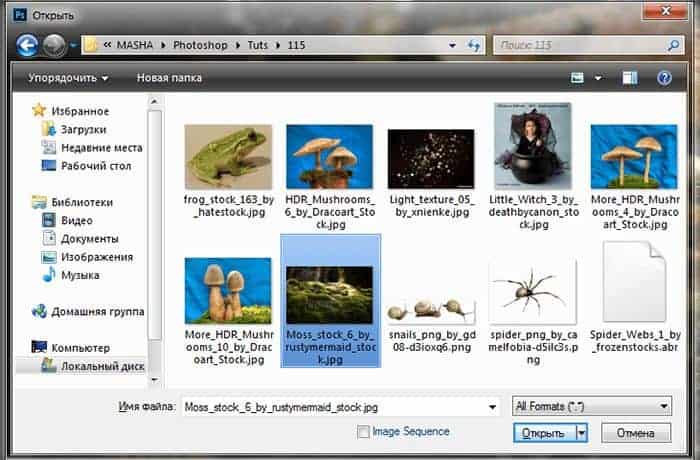
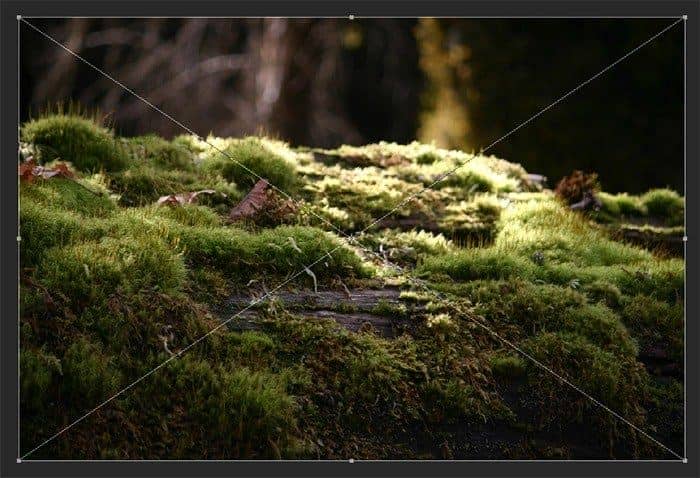
The picture should be opened to all Working field size. If you do not, then go to the resource page and download it as it is written in the first step.
Step 3
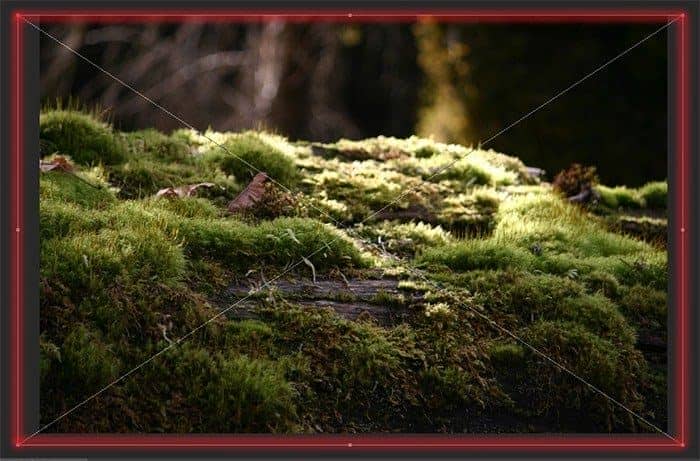
Zoom bit image, as shown in Figure. Use the Free Transform tool (Cmd /Ctrl+ T or go to Edit > Transform > Scale).
Step 4
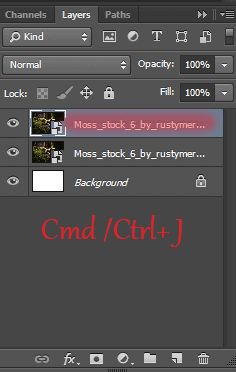
Duplicate this layer one time (the short key Cmd /Ctrl+ J or go to Layer> Duplicate Layer…).
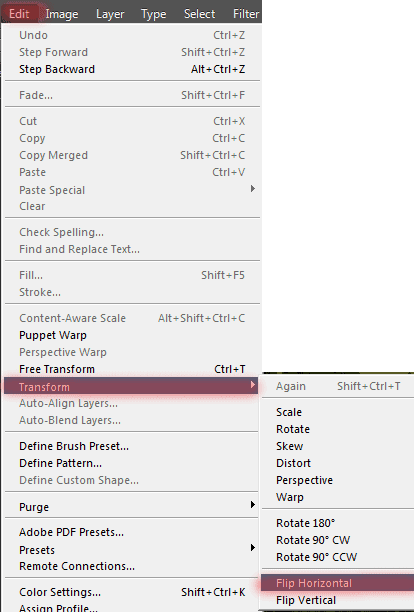
Now flip the duplicated image horizontally. Go to Edit> Transform> Flip Horizontal
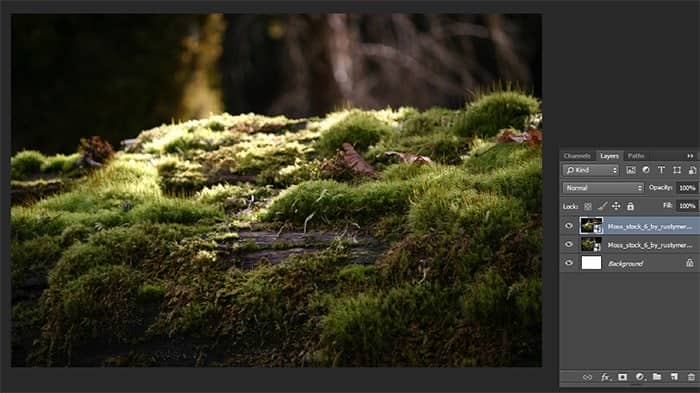
Move not reflected horizontally (first layer background) down a bit as shown in Figure.
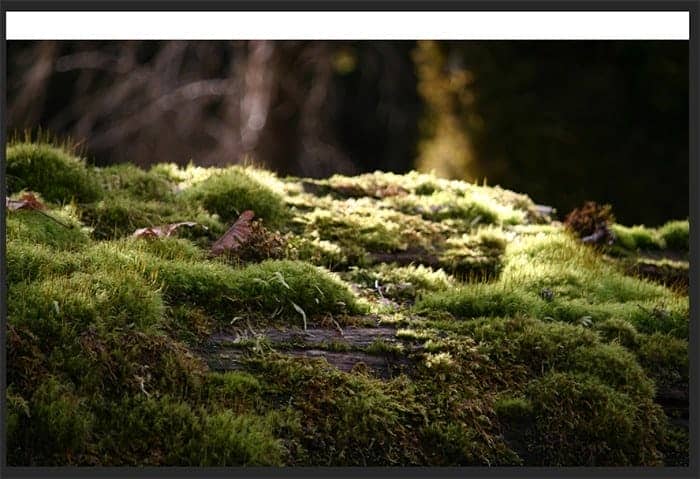
Step 5
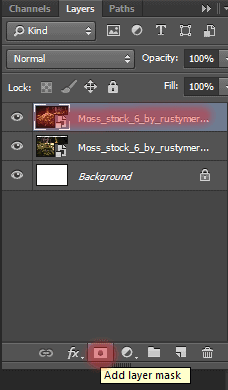
Add a layer mask to this layer.
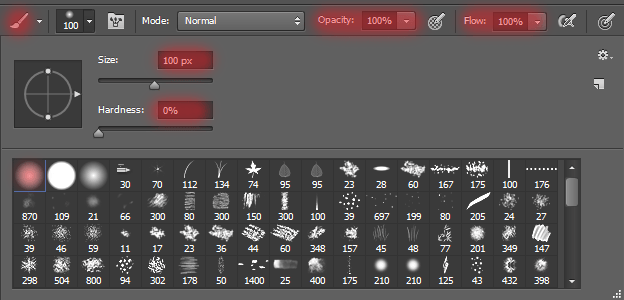
Select the Brush Tool (B) with there settings: Size: 100px, Hardness: 0%, Opacity: 100% – 50%, flow: 100%,
Step 6
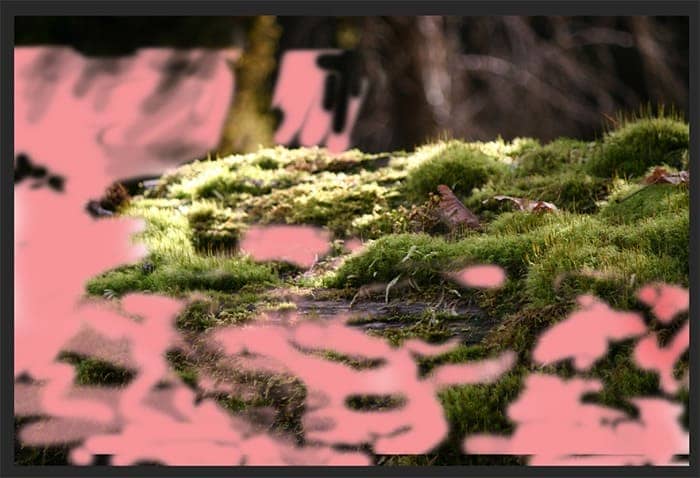
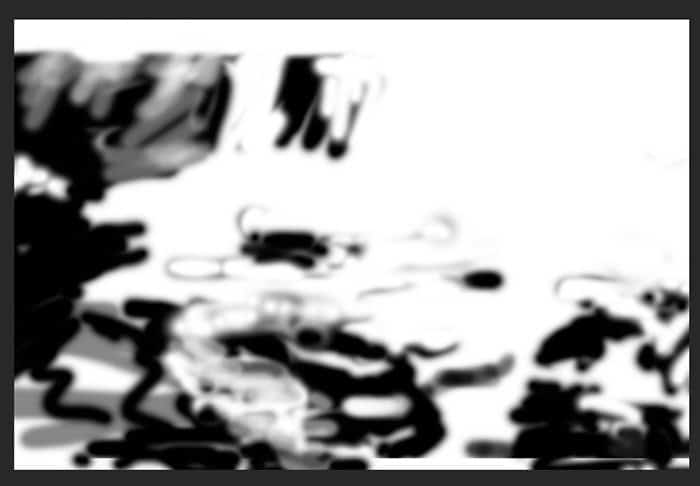
On the layer mask partially remove the image. Carefully work through the background that was not prominent features. make it smooth. To help, here so I did. First – this is where I remove, it is the second kind of mask layer.
Step 7
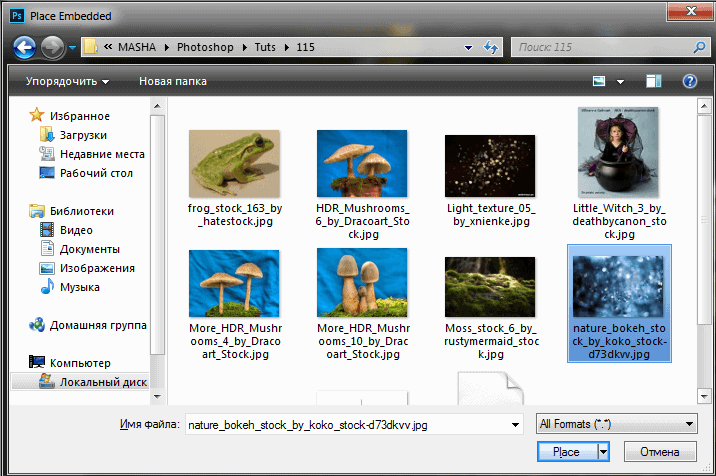
Add texture to convert background. Go to File > Place and select the image “nature_bokeh_stock_by_koko_stock-d73dkvv”.
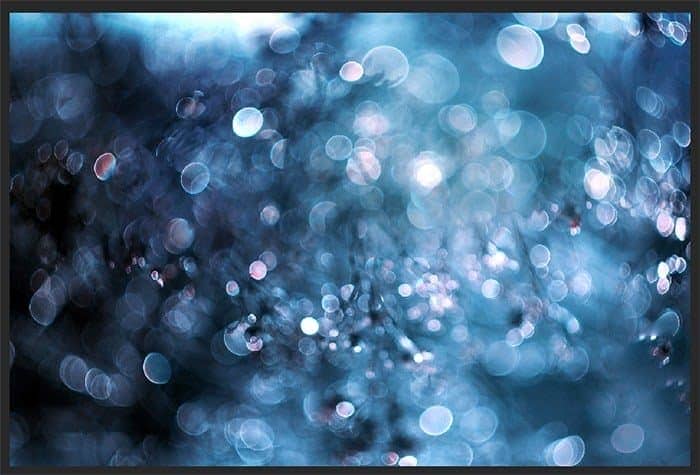
Transform the texture on all working fields.
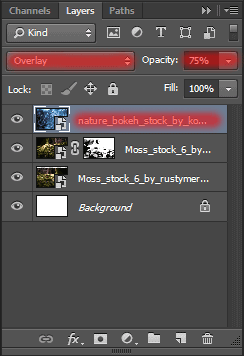
Change the values Opacity to 75%, Blending Mode to Overlay. A similar result can be achieved and adjustment layers, but will not look so impressive and fast. Sometimes I like such surprises. Should pay attention to them!
Step 8
Duplicate this layer (the short key Cmd /Ctrl+ J or go to Layer> Duplicate Layer…). Increase the size and place this layer as shown in Figure. Use the Free Transform tool (Cmd /Ctrl+ T or go to Edit > Transform > Scale). This is in order to make the texture is not the same type.